Physical Address
304 North Cardinal St.
Dorchester Center, MA 02124
Physical Address
304 North Cardinal St.
Dorchester Center, MA 02124

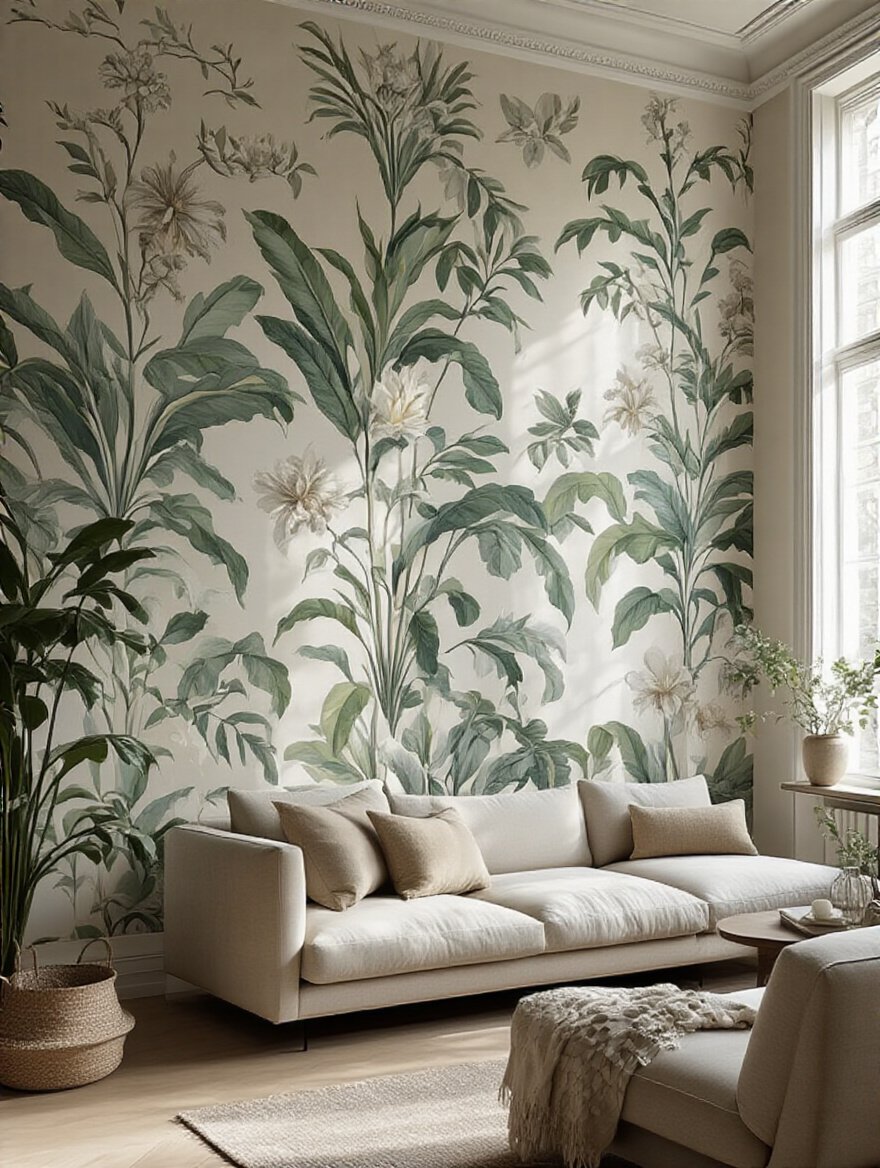
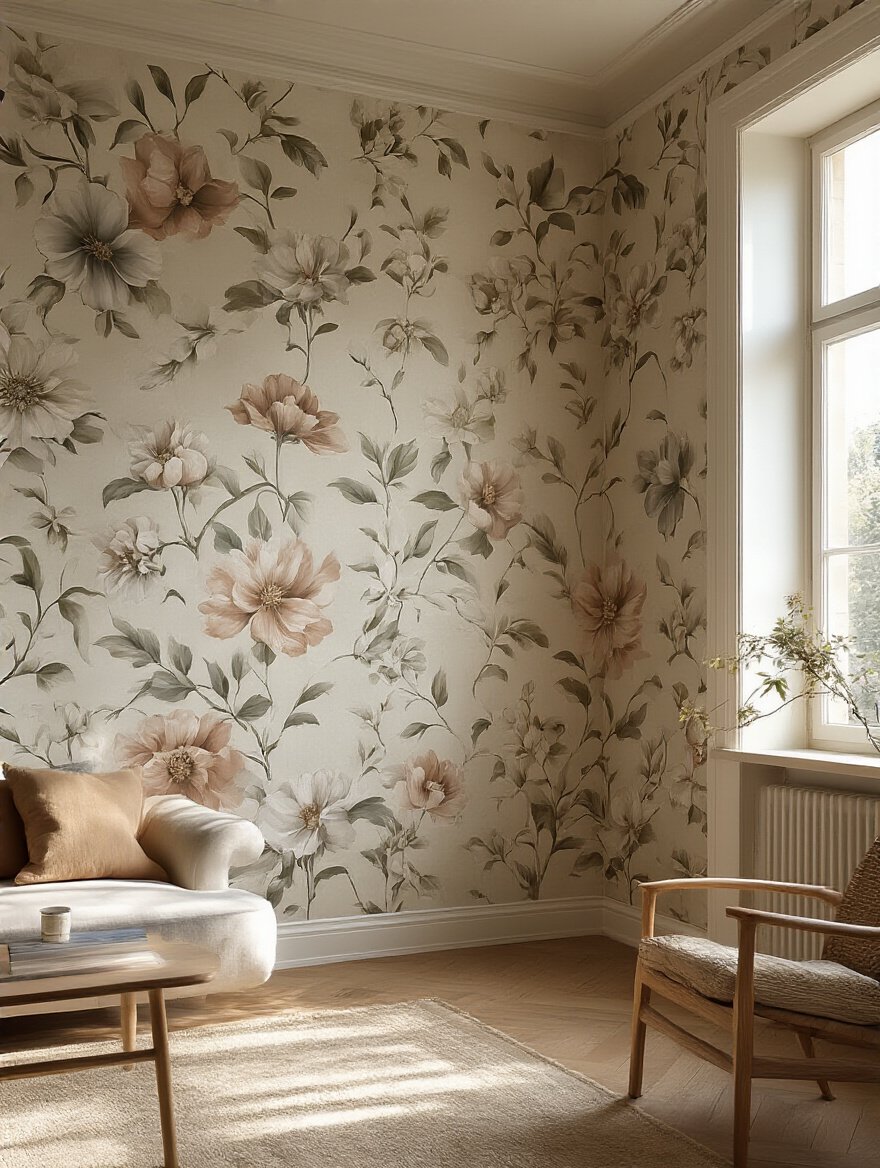
Create a living room sanctuary with a wallpaper accent wall. Marcus's 24 insider tips blend design with nature for a space that breathes life and beauty.
You know what I hear all the time? “Marcus, I have all these beautiful plants, but my room still feels… sterile.” They’ve got the Fiddle Leaf Fig, the Pothos trailing down the bookshelf, the whole urban jungle thing happening. But something’s missing. The room lacks a soul. It’s because the walls are just blank canvases, shouting back silence at all that beautiful, living greenery.
And my pet peeve is when people think the only answer is to just add more plants. But that’s not it. You need a backdrop. A foundation. You need to create an ecosystem for your design, and that starts with the largest surface in the room: the wall. Think of an incredible botanical wallpaper not as decoration, but as the foundational layer of your indoor sanctuary. It’s the visual soil from which everything else can grow. It’s the difference between a collection of pots on a floor and a truly immersive, biophilic haven. So, let’s talk about how to do it right.
This is the part everyone wants to rush, but it’s like choosing the right pot for a plant. Get this wrong, and you’re setting yourself up for a slow, sad decline. We’re talking about thinking before you peel, planning before you paste. This is where you lay the groundwork for a wall that doesn’t just look good, but feels right.
The biggest mistake people make is thinking any old wall will do. Wrong. You need to choose the wall that nature would choose. Walk into your living room and see where your eye lands first. Which wall gets the best light or has the strongest architectural feature, like a fireplace or built-ins? That’s your hero wall. That’s the canvas.

I once worked with a client who put a stunning fern-print wallpaper on a side wall that was mostly in shadow. Meanwhile, the wall opposite the window, which was bathed in gorgeous afternoon light, was just painted beige. All their beautiful plants were thriving in the light, but the room’s main statement piece was hiding in a corner. We moved it, and suddenly the entire space came alive. The light danced on the pattern, and it became the perfect, vibrant backdrop for their plant collection.
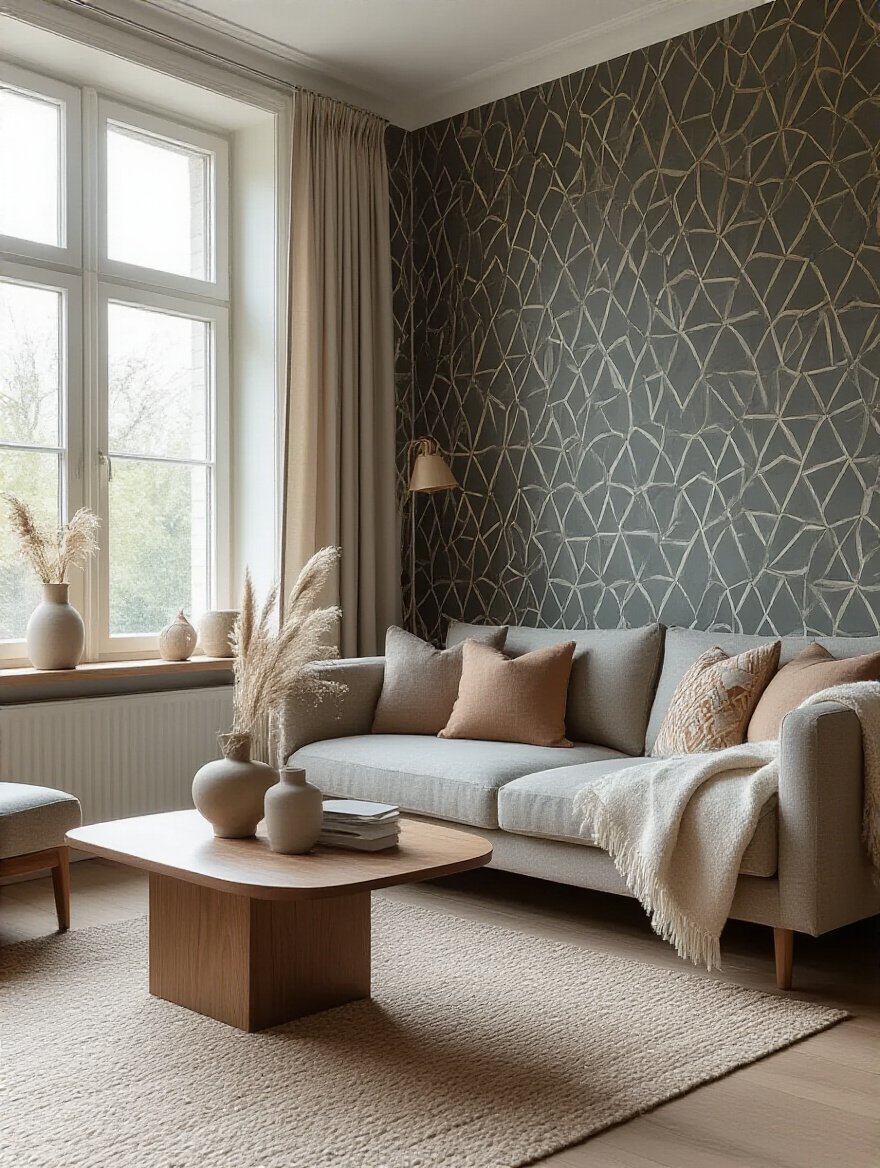
Think of this like choosing plants. You wouldn’t put a gigantic Bird of Paradise in a tiny powder room; it would feel suffocating. The same goes for wallpaper. A huge, dense, dark botanical pattern in a small, low-light living room will make the walls feel like they’re closing in on you. It’s a classic rookie move.
Instead, for smaller spaces, look for patterns with more “negative space”—more air. Think delicate vines, sparse floral motifs, or patterns with a light background. This allows the room to breathe. Conversely, if you have a massive room with tall ceilings, a tiny, repetitive print will just look like noise from a distance. That’s where you can go big. Go bold. A large-scale mural or a pattern with a generous repeat will feel proportional and make a real statement.
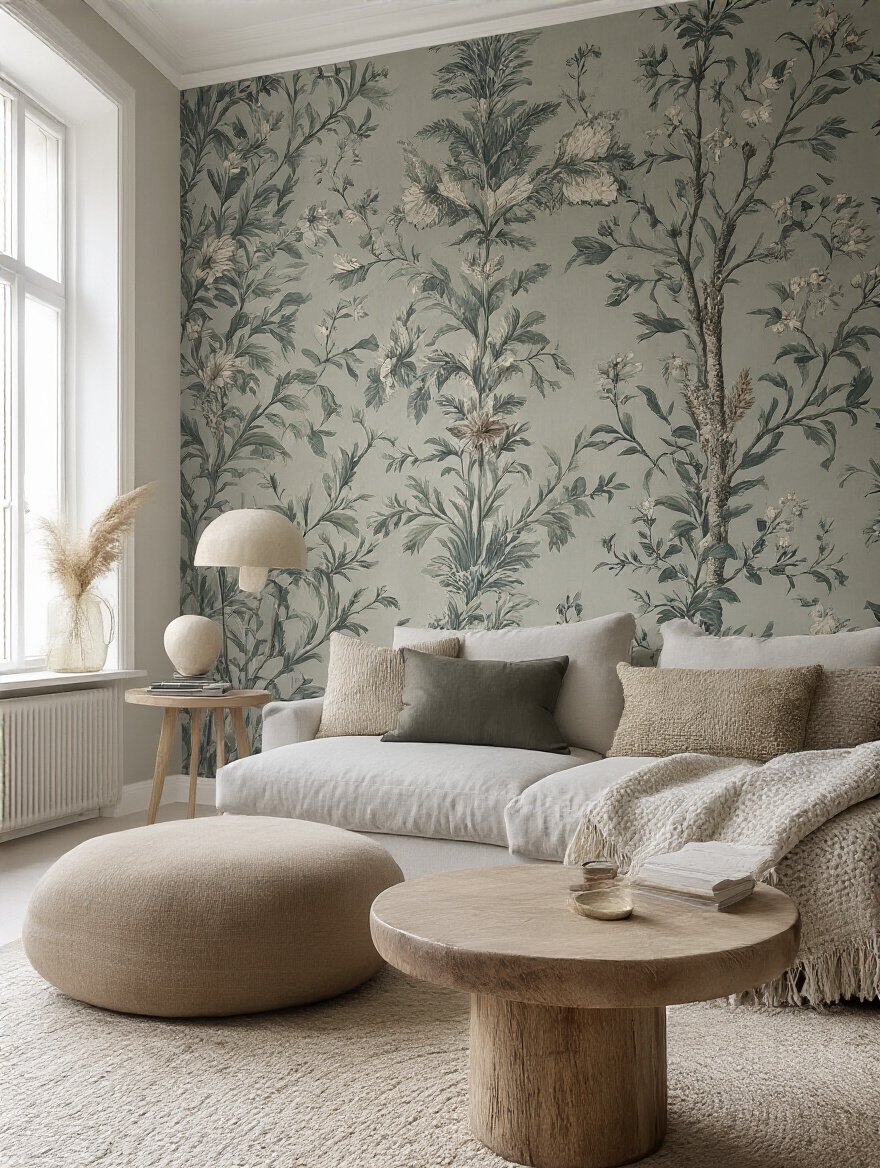
Your wallpaper shouldn’t be a stranger at the party; it needs to feel like it belongs. Before you fall in love with a pattern, do an audit of your room. What’s the vibe? Mid-century modern? Bohemian? The wallpaper needs to speak the same language. If your space is full of clean lines and walnut furniture, a busy, romantic floral might feel chaotic. A sleek geometric or a textured grasscloth would be a better fit.
A client of mine had a beautiful, rustic living room with exposed beams and a stone fireplace. They were considering a very modern, high-gloss geometric paper. I had to gently explain that it would feel like an alien spaceship had landed in their cozy cabin. We switched to a faux linen textured paper in a warm, earthy tone. It added depth and sophistication without fighting the room’s inherent character. It felt like it had always been there.
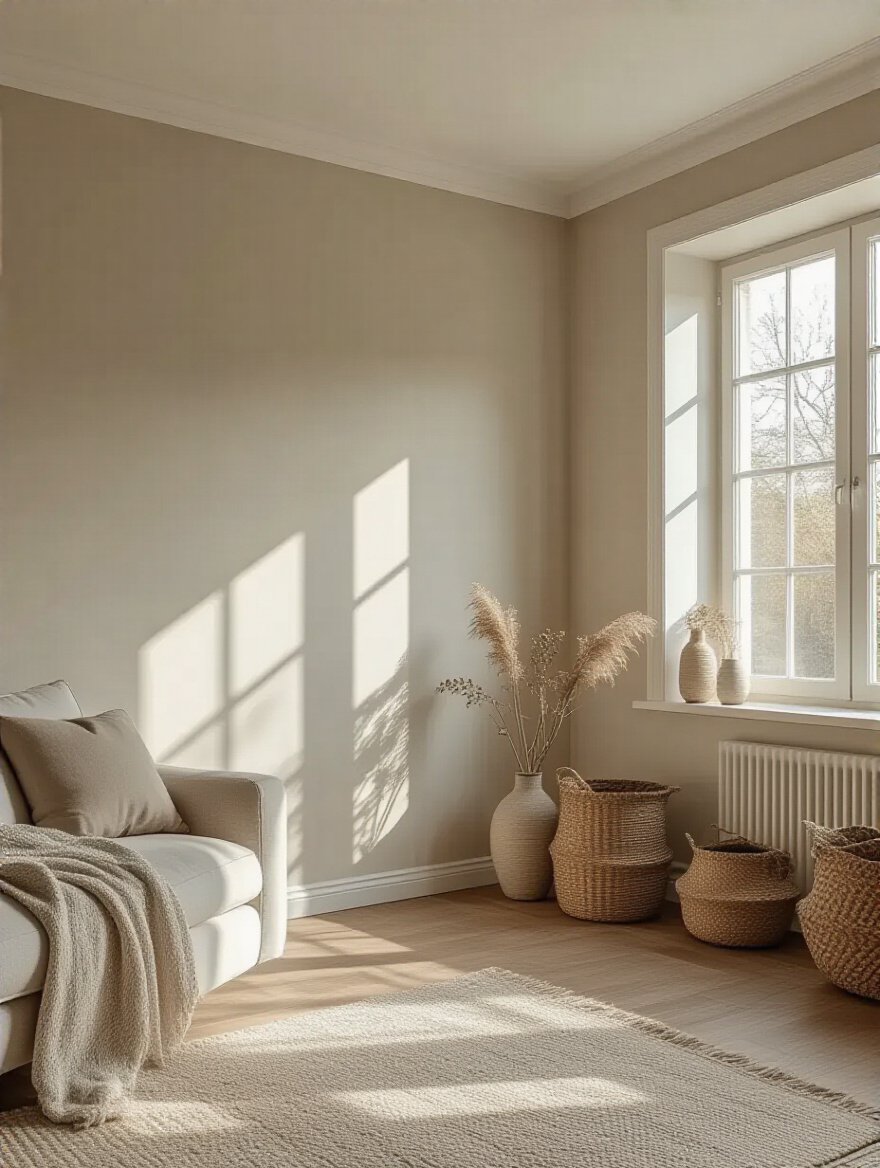
This is my zone. Light is everything—for plants, and for wallpaper. A wallpaper sample will look completely different in a north-facing room (cool, indirect light) than in a south-facing room (warm, direct light). A matte finish will absorb light and give you a soft, consistent color. A metallic or glossy finish will bounce light around, creating shimmer and movement that changes throughout the day.
I used to think this was all just fluff. Then I put a subtly metallic, dark charcoal paper in my own east-facing office. In the morning, it was breathtaking—the gold flecks caught the direct sun and the whole wall glowed. By the afternoon, in indirect light, it became a deep, moody, and sophisticated backdrop. If I hadn’t tested a large sample on that specific wall for a full day, I never would have understood its dynamic potential. Always, always tape a big sample up and live with it for a day or two.
Here’s a shortcut I wish I knew earlier: don’t try to introduce a bunch of new colors with your wallpaper. Instead, use the wallpaper to amplify a color that’s already in the room. Does your sofa have a beautiful emerald green velvet? Find a wallpaper that has a touch of that same green in its leaves. Do you have warm, honey-toned wood floors? Look for a pattern with a subtle gold or ochre accent.
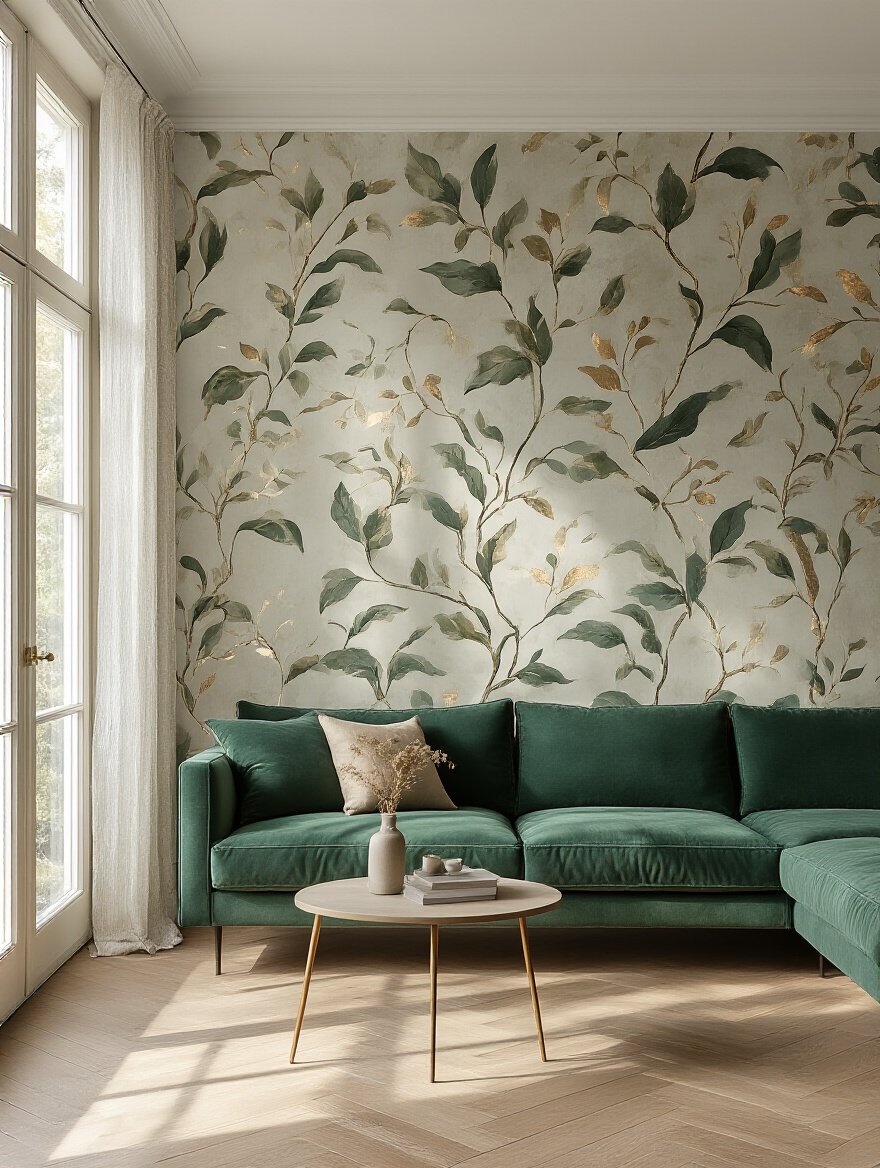
This creates a sense of harmony. The wallpaper becomes the element that pulls everything else together. It’s the difference between a room that feels curated and one that feels like a garage sale. A quick digital mood board can be a lifesaver here. Screenshot your sofa, your rug, and your potential wallpaper and throw them together in a simple doc. If they fight, they fight. If they sing, you’ve found your winner.
Now that you’ve done the thinking, it’s time to get your hands dirty. The prep stage is where a good idea becomes a great result. Skipping this is like trying to plant a tree in solid concrete and wondering why it won’t grow.
This is where the real work begins, and it’s the most-skipped part of the process. But I promise you, an hour of good prep will save you ten hours of future misery. Let’s make sure your beautiful wallpaper actually sticks to the wall and looks flawless for years to come.
Measure twice, cut once. It’s cliché for a reason. And when you measure, do it in three places—left, middle, and right for both height and width—and use the LARGEST number. Houses are never perfectly square. Trust me.
Also, the biggest BS line from wallpaper companies is just listing the square footage a roll covers. That’s useless for patterned paper. You have to account for the “pattern repeat.” If your pattern repeats every 21 inches, you could lose almost two feet of paper on every single strip just to get things to line up. Forgetting this is the #1 reason people run out of paper mid-project, and when you reorder, you risk getting a different dye lot, which can have a subtle but very visible color difference.
I can’t say this enough: NEVER order wallpaper based on what you see on your screen. Ever. It’s the biggest lie in home decor. Your monitor’s color calibration is different from the printer’s, which is different from how the light in your actual room works. That “soft sage green” online could look like murky pond scum in your north-facing living room.

Spend the $5 or $10 per sample. Get the largest size they offer. Tape them to the wall you plan to cover. Look at them in the morning, at noon, and at night with the lights on. I had a client who almost ordered a gorgeous navy wallpaper with a subtle silver sheen. The sample revealed that under her bright evening spotlights, it created a blinding glare right where the TV was supposed to go. Sample. Test. Always.
Think of your wall as the soil for your wallpaper. If it’s lumpy, dirty, or unprepared, nothing will thrive. You must clean the wall. Wipe it down to get rid of dust and oils. Then, you have to patch and sand every single little hole and bump. A tiny bump you can barely feel with your hand will look like a mountain under a smooth wallpaper.
The most important step, and the one everyone skips to save ten bucks, is using a dedicated wallpaper primer. It’s not the same as paint primer. This stuff “sizes” the wall, creating the perfect surface for the adhesive to grab onto evenly. It also makes removal a thousand times easier down the road. Not priming is the home decor equivalent of planting an Azalea in alkaline soil—it’s just not going to end well.
Here’s the real story, not the marketing speak. Peel-and-stick is fantastic for renters, commitment-phobes, or first-time DIYers. It’s forgiving; you can reposition it a few times. But, the quality can be hit-or-miss, and it may not hold up as well in humid climates or on walls that get direct, intense sun. Think of it as a beautiful potted plant you can move around.
Traditional paste wallpaper is a commitment. It’s like planting a tree. It requires more skill (and mess) to install, but the bond is superior and it will last for decades. Crucially, the world of high-end textures—grasscloth, silks, flocked velvets—is almost exclusively in the traditional paste-the-wall camp. So if you want that truly luxurious, tactile finish, you’re probably going to be working with paste.
Let’s get practical. Find the “pattern repeat” length on the wallpaper specs (e.g., 21″). Measure your wall height (e.g., 108″). For each strip you cut, you must cut it to the next full repeat length. So, if your wall is 108″ high, and the repeat is 21″, you’d do 108 ÷ 21 = 5.14. You have to go up to the next whole number, so 6. That means each strip you cut must be 6 x 21″ = 126″ long to guarantee a match. Yes, you are wasting 18 inches per strip. That’s the cost of a seamless pattern.
Most online calculators are pretty good, but here’s my shortcut: use the online calculator, then do the math yourself with the method above to double-check it. Then, no matter what, add one full extra roll to your order for “just in case.” You’ll thank me when you mis-cut a piece around a window and don’t have to pause your project for a week.
Okay, you’re prepped. Your materials are here. It’s time for the magic. This is where patience pays off. Go slow, stay calm, and trust the process. It’s less about speed and more about precision.
This is the moment of truth. Putting up wallpaper can feel intimidating, but it’s really a series of simple steps done carefully. My biggest piece of advice here: put on some good music, take a deep breath, and don’t rush. A happy, patient installer makes for a beautiful, bubble-free wall.
Don’t try to wing it with a credit card as your smoother. Just don’t. Go to the hardware store and get the right tools. It will cost you maybe $30 and save your sanity. You need a sharp utility knife with lots of snap-off blades (a dull blade will tear your paper), a wallpaper smoother (the plastic wedge thing), a seam roller (looks like a tiny pizza cutter), and a level.
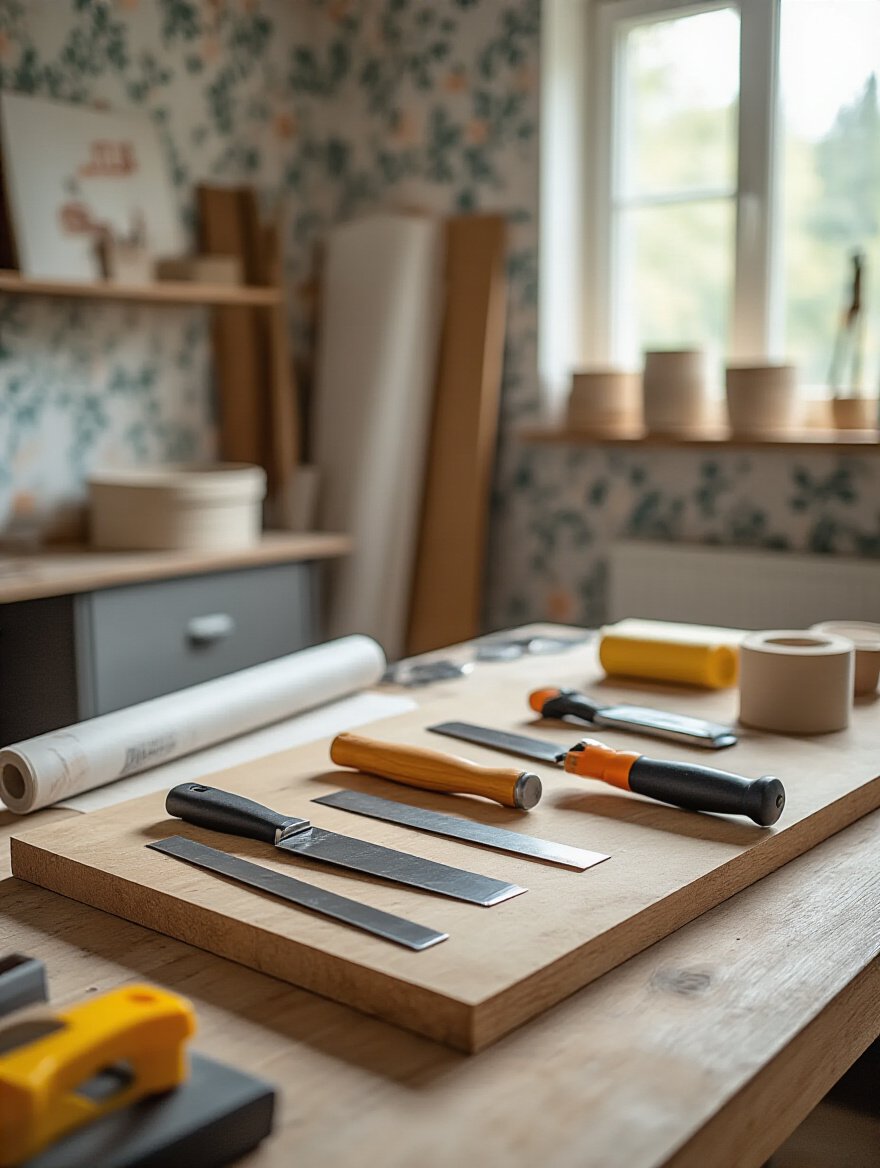
A laser level is a godsend, but a traditional plumb bob (basically a string with a weight) works just as well. Your walls are not straight. Your ceiling is not straight. The only thing you can trust is a perfectly vertical line that you create. Start your first strip against that line, and your whole wall will be perfect.
Everyone thinks peel-and-stick is foolproof, but I’ve seen some bubbly disasters. The secret is to go slow. Never peel off the entire backing at once. That’s how you get a giant, sticky mess. Peel down only the top 6-12 inches. Align the top perfectly. Then, working from the center out, use your smoother to press it to the wall.

As you smooth, then you slowly pull down more of the backing from behind. Work in small sections, smoothing as you go. This method pushes air out to the sides instead of trapping it in the middle. If you do get a stubborn bubble, don’t freak out. Just take a pin or the tip of your utility knife, prick a teeny tiny hole in it, and smooth it flat. The air will escape and the hole will be invisible.
The difference between a DIY job and a pro job is the seams. Your goal is a “butt seam,” where the edges of two strips touch perfectly without overlapping and without a gap. When you hang your second strip, loosely place it on the wall and slide it into place until the pattern locks in perfectly with the first strip. It’s a bit of a dance.
Once the patterns align, smooth it down. Then, take your seam roller and apply gentle, even pressure right down the seam. This fully bonds the edges to the wall. The BS you sometimes hear is to push hard to “flatten” the seam. Don’t do that. Over-rolling can squeeze out the paste and create a shiny, noticeable line. Just a gentle, firm roll is all you need.
First things first: turn off the power at the breaker. No exceptions. Then remove the outlet covers. When you get to an outlet, hang the wallpaper panel directly over it. Don’t try to cut the hole first. Once the paper is hanging, take your sharp utility knife and make an “X” cut from corner to corner over the electrical box.

Then, fold those four triangular flaps back and trim them carefully, leaving about a 1/4 inch of paper to tuck into the electrical box. This way, when you put the cover plate back on, it will completely hide the cut edge. It’s a simple trick that results in a perfectly clean finish every time.
Let’s be real. If you have a two-story-tall accent wall, walls that are visibly lumpy and out of square, or if you bought a $500/roll hand-painted silk grasscloth, hire a pro. I tried to hang grasscloth myself once. Once. It’s delicate, it shows every mistake, and you can’t get paste on the front. I ended up calling in a professional to fix my mess, which cost more than if I’d just hired him from the start.

If you have a straightforward, flat wall and a standard, durable wallpaper, DIY is totally achievable and rewarding. But for anything complex, a professional’s fee is an investment in a perfect, stress-free result. They have the tools, the experience, and the insurance if things go wrong.
The paper is up! It looks amazing. But we’re not quite done. Now we turn from an installer into a curator. It’s time to re-integrate the rest of your room so the wall feels like the star of the show, not just a loud guest.
Your wall is up, but now you need to make it feel like it belongs. This is the fun part—the styling. It’s where you add layers and textures to create a space that feels not just designed, but truly lived-in and loved.
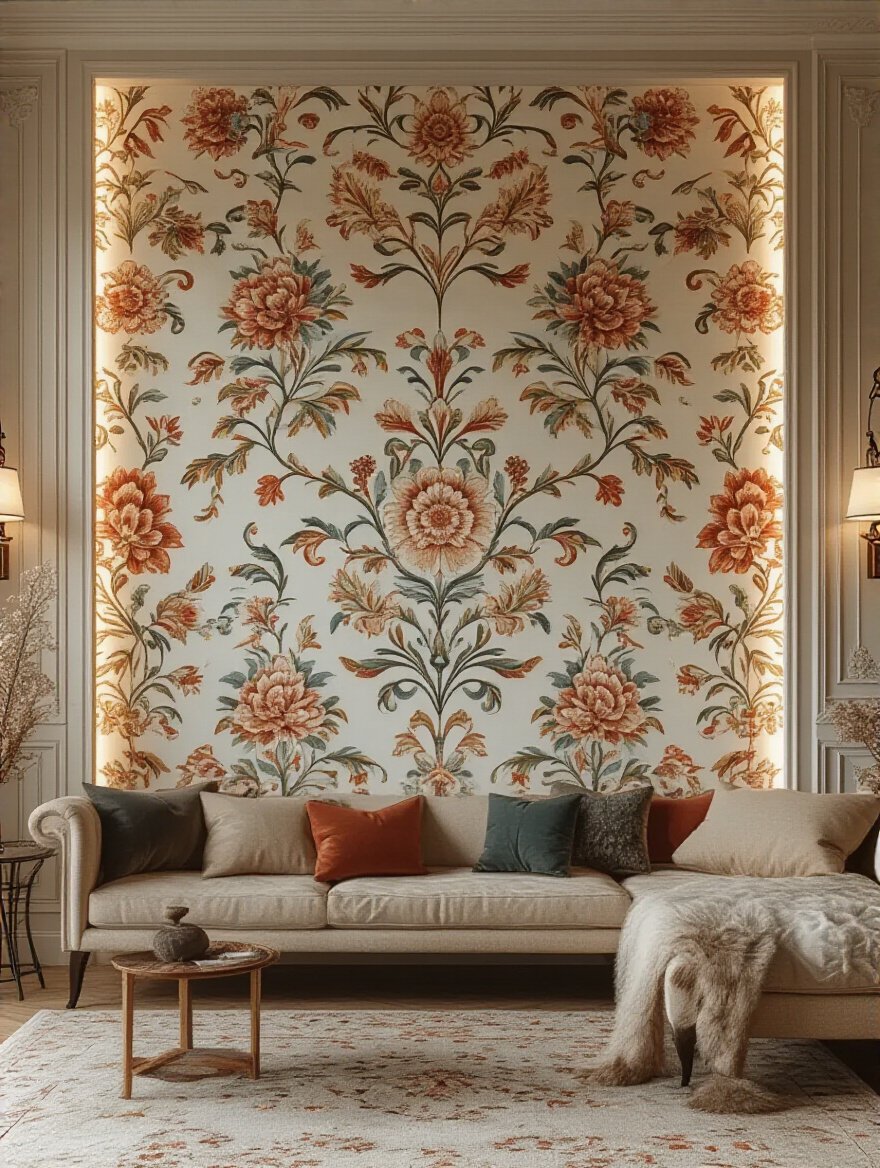
If you’ve chosen a wallpaper with any kind of texture—like a grasscloth, a linen, or an embossed pattern—lighting is your secret weapon. The goal isn’t just to light the room, but to “graze” the wall with light. This means placing a light source (like a track light or a floor lamp) close to the wall and aiming it down or up at a sharp angle.

This technique casts tiny shadows across the texture, making it pop and come alive. A flatly lit textured wall can look boring, but a wall grazed with light has depth, drama, and character. It’s the same reason a plant looks more interesting when it’s side-lit by a window, highlighting the veins in its leaves.
I learned this the hard way. I helped a client choose a magnificent, large-scale mural of a misty forest for their living room. It was breathtaking. A week later, they sent me a photo. They had pushed a massive, solid-backed black leather sofa and two towering bookcases right up against it, completely covering the bottom two-thirds of the forest. The mural was gone.

Let your accent wall breathe! Pull your sofa a few inches off the wall. Opt for lower-profile furniture that doesn’t obstruct the main design elements. Your furniture should frame the wallpaper, not hide it. Think of it as artwork—you wouldn’t put a filing cabinet in front of a painting, would you?
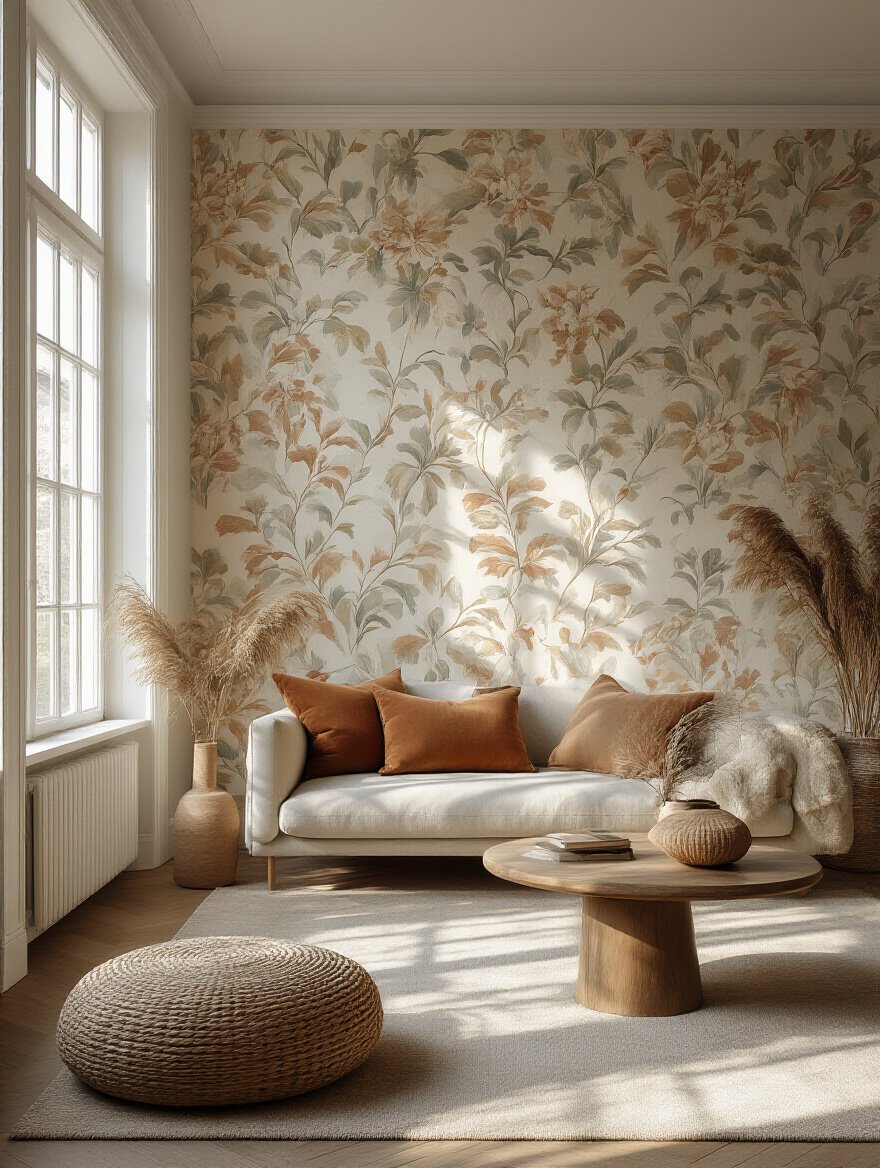
This is how you make the wall feel intentional. Look closely at your wallpaper. Pick out two or three of the less-obvious colors within the pattern. Now, find throw pillows, a cozy blanket, or a vase in those exact shades. This subtle repetition of color is what professional designers do to make a room feel cohesive and polished.

And don’t forget texture. If your wallpaper is a smooth, flat print, bring in nubby, textured pillows or a chunky knit throw to create contrast and warmth. If your wallpaper is a natural texture like grasscloth, echo that with a jute rug or linen curtains. It’s about creating a conversation between the different elements in the room.
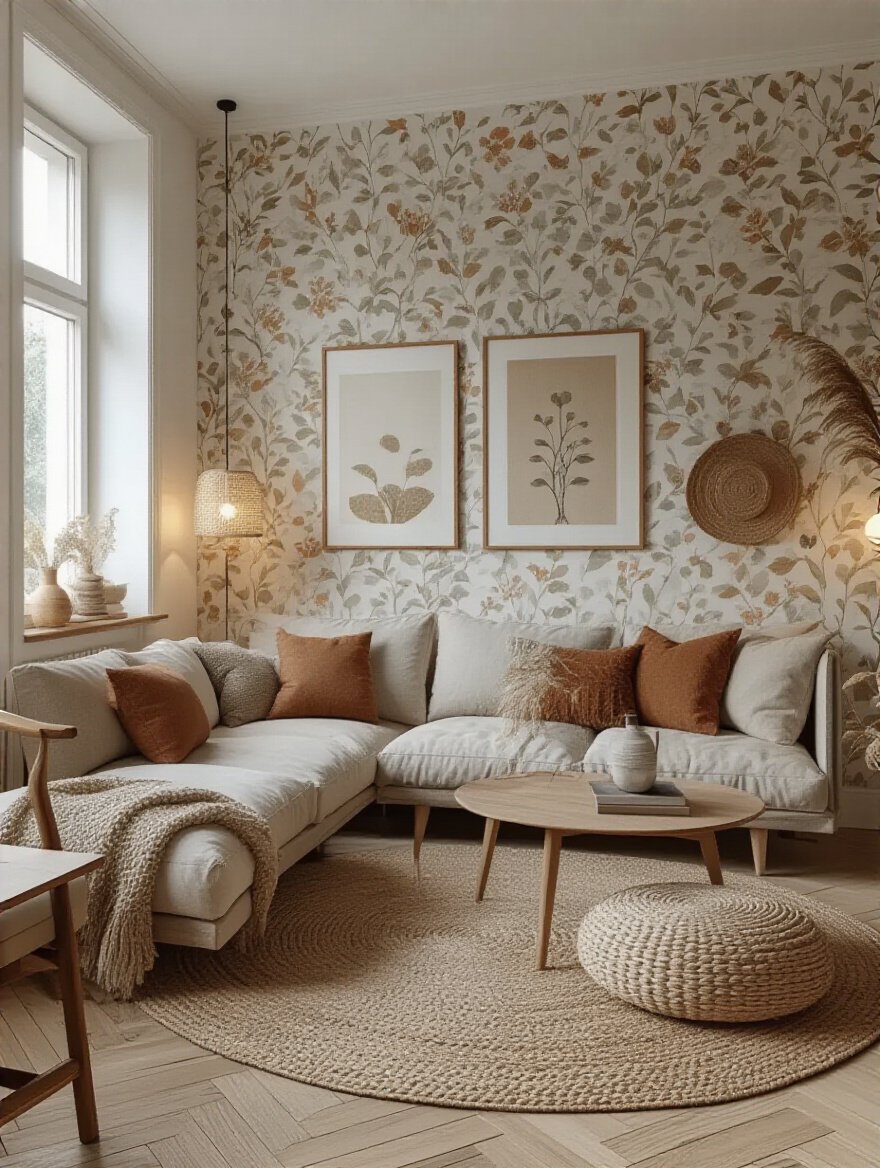
Yes, you can hang art on a wallpapered wall! But you have to be smart about it. If your wallpaper is bold and busy, the art needs to be simple and calm. Think a single large piece with a lot of negative space, or photography with a very wide, clean white mat. The mat acts as a buffer, giving the art breathing room from the pattern behind it.

My shortcut for this is to use a digital mockup. Take a photo of your wallpapered wall and use a simple app like Canva or even Instagram stories to overlay a picture of the art you’re considering. It takes five minutes and will immediately tell you if the combination is a harmonious pairing or a chaotic fight.
What color should you paint the other walls? Here’s the easiest, most foolproof trick in the book: find the lightest, most neutral background color in your wallpaper pattern—the cream, the off-white, the pale gray—and get a gallon of paint in that exact shade.

This ensures the other walls don’t compete for attention. They become a quiet, supportive backdrop that lets your accent wall be the star. It creates a seamless flow around the room and makes the whole space feel larger and more serene. Trying to pick a contrasting color is a high-risk move that can easily go wrong; sticking with a complementary neutral is a guaranteed win.
Your stunning wall is up, the room is styled, and you’re in love. Now, let’s talk about how to keep it that way. Just like a beautiful plant, a little bit of regular care will ensure your investment thrives for years.
You’ve put in the work, and your wall looks incredible. The goal now is to keep it that way. A little proactive care and foresight will protect your investment and ensure that when it’s time for a change years from now, it won’t be a nightmare.
Dust is the enemy of vibrant color. Just like you’d wipe the leaves of your houseplants, you need to gently dust your wallpaper. Use a microfiber duster or the soft brush attachment on your vacuum cleaner every few weeks. This prevents a grimy film from building up and dulling the pattern.

For smudges, first check if your wallpaper is “washable.” Most vinyls are. If so, a slightly damp sponge with a drop of mild dish soap is all you need. For non-washable papers like grasscloth or silk, never use water. Instead, get a “dry cleaning sponge” from a paint store. It’s a special type of rubber sponge that lifts dirt without any moisture. It’s a magic eraser for delicate surfaces.
Don’t ignore small problems! A tiny bubble or a lifting seam is a quick fix. If you ignore it, it will collect dust, get bigger, and eventually become a real eyesore. For a bubble, use a syringe to inject a tiny bit of wallpaper adhesive and smooth it flat. For a lifted seam or a small tear, use a toothpick to apply a dab of seam adhesive and press it back into place.

Wipe any excess glue off immediately with a damp cloth. A five-minute fix today will save you from a major repair job or having to replace a whole panel down the road. It’s like finding a single pest on a plant—deal with it immediately before it creates an infestation.
If your accent wall is in a high-traffic area, like behind a dining table or along a narrow hallway, you may need some invisible armor. You can apply a clear, water-based acrylic topcoat (often called a “decorator’s varnish”) over the wallpaper. It comes in matte, satin, or gloss finishes and creates a wipeable, protective layer without changing the color.

This is a game-changer for homes with kids or pets. I’ve seen clients use this on a beautiful but delicate paper behind their kitchen table, and it completely protected it from splashes and smudges. It’s an extra step, but it’s a brilliant one for ensuring your beautiful wall stands up to real life.
This is about being kind to your future self. The #1 thing that determines how easily wallpaper comes off is whether the wall was primed correctly before the paper went up. That wallpaper primer we talked about in step 8 creates a barrier so the adhesive sticks to the primer, not the drywall paper itself.

When it is time to remove traditional paper, a scoring tool and a steamer are your best friends. Peel-and-stick should, in theory, just peel off, but gently warming it with a hairdryer can help soften the adhesive for a cleaner release. Knowing this now, and especially priming correctly, will be the difference between a pleasant weekend project and a week of scraping, patching, and regret.
Creating a wallpaper accent wall isn’t just about sticking a pretty pattern on a surface. It’s an act of transformation. It’s about giving your room a heart, a central axis around which everything else can revolve. When you thoughtfully choose a pattern that speaks to you, prepare your space with care, and integrate it with the light and life already in your home, you’re doing more than just decorating—you’re curating a sanctuary.
This wall can be the bridge that connects your love for nature and plants with the principles of good design. It’s the visual deep breath your space has been missing, a permanent piece of living art that reduces stress and brings a sense of the outdoors in. So don’t be intimidated. Embrace the process, trust your instincts, and create a space that doesn’t just look beautiful, but feels beautifully, wonderfully alive.