Physical Address
304 North Cardinal St.
Dorchester Center, MA 02124
Physical Address
304 North Cardinal St.
Dorchester Center, MA 02124
Transform your home with a kitchen flooring remodel that balances beauty and function. Explore 20 essential insights on materials, costs, installation options, and design trends for a stunning result that lasts.
Is your kitchen floor showing signs of wear, or simply not reflecting your style anymore? The kitchen—where family gathers, meals come to life, and memories form—deserves flooring that can withstand life’s beautiful chaos while complementing your home’s aesthetic language.
A kitchen flooring remodel transforms more than just what’s beneath your feet. It sets the foundation for your entire kitchen’s ambiance, impacts functionality, and can even affect your home’s value. Whether you’re dreaming of sleek Porcelain Tile, warm engineered hardwood, or practical luxury vinyl, these 20 insights will guide you toward a kitchen floor that balances beauty with performance.
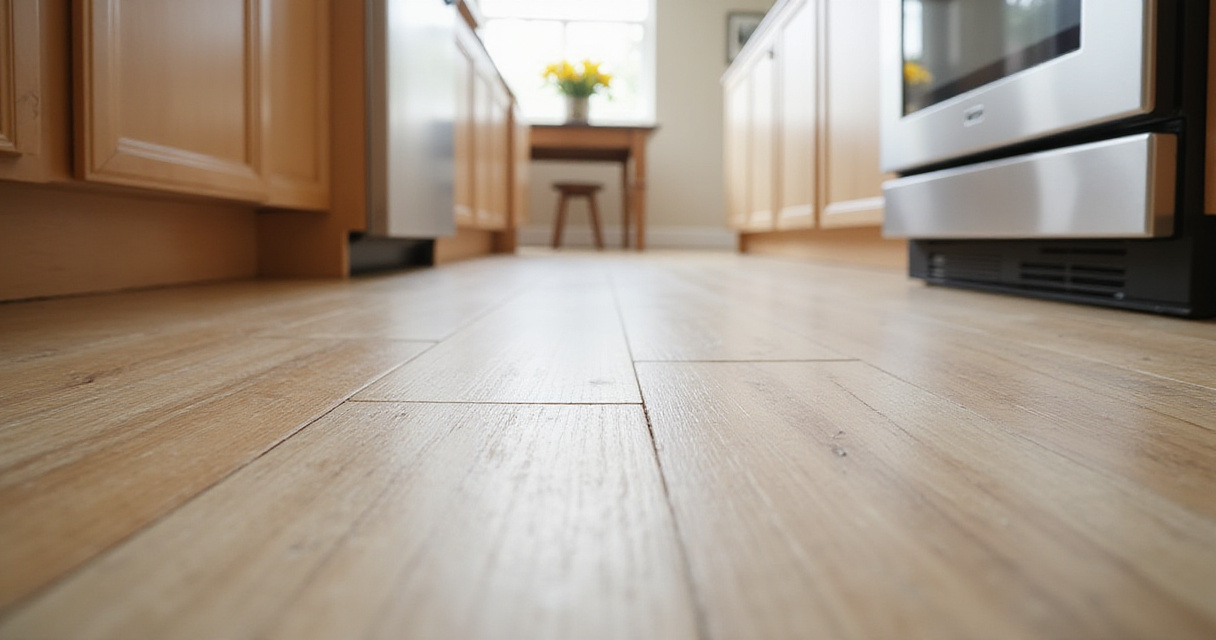
The kitchen floor endures more than any other surface in your home. From heavy foot traffic and dropped cookware to spills ranging from water to red wine, your kitchen flooring must withstand daily assaults while maintaining its beauty. The most durable options include porcelain tile—virtually indestructible and completely waterproof—and luxury vinyl plank (LVP) with its impressive resistance to moisture, scratches, and stains.
When evaluating durability, pay particular attention to wear layers on vinyl products. For busy kitchens, look for LVP with at least a 20 mil wear layer, while households with children and pets benefit from 30 mil or thicker. Natural stone options like granite and slate offer exceptional durability with luxury appeal, though they require periodic sealing. Even engineered hardwood can work well with its improved stability over solid hardwood, especially when finished with a robust protective coating.
Here’s where it gets interesting—even the most durable material will fail prematurely without proper installation and maintenance. Ensure your subfloor is level, use appropriate underlayment, and develop a regular cleaning routine specific to your flooring material.
Each kitchen flooring material offers distinct advantages and limitations. Hardwood brings timeless warmth and can increase resale value, but it’s vulnerable to water damage and scratches. Porcelain tile offers unmatched durability and moisture resistance, though it can feel cold underfoot without radiant heating. Luxury vinyl plank has surged in popularity for good reason—it’s waterproof, comfortable, and available in styles that convincingly mimic wood and stone at a fraction of the price.
Laminate provides affordability and scratch resistance, but it’s susceptible to water damage at the seams. Engineered hardwood strikes a middle ground, offering real wood’s beauty with enhanced stability against moisture fluctuations. For something different, consider cork—sustainable, comfortable underfoot, and naturally antimicrobial.
The heart of the matter is finding the right balance between practicality and aesthetics for your specific kitchen needs. Before committing, bring samples home to see how materials look under your kitchen lighting and with your existing cabinetry.
A realistic budget for your kitchen flooring remodel must account for multiple components beyond just the flooring material itself. Labor costs for professional installation, subfloor preparation, underlayment, demolition and disposal of existing flooring, and finishing touches like trim and transition strips all contribute to the final price tag. Always include a contingency fund of 10-20% to handle unexpected issues that might emerge once the old floor is removed.
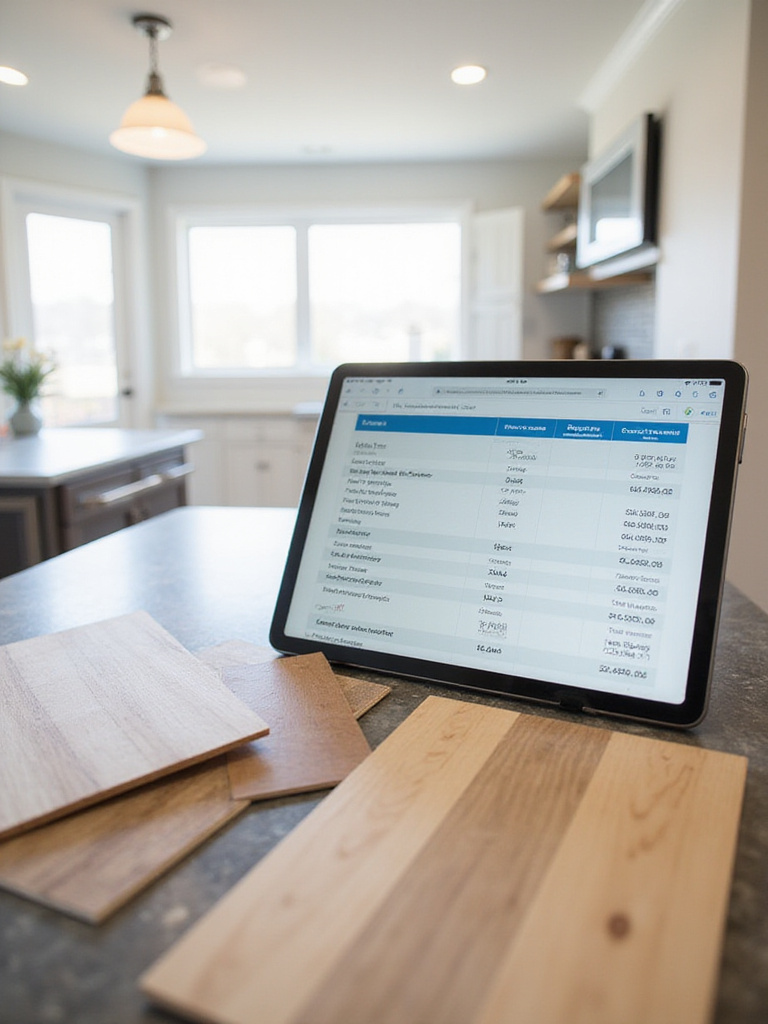
To obtain accurate quotes, provide detailed information about your kitchen dimensions and existing conditions to multiple suppliers and installers. Be specific about the exact flooring product you’re considering and ask for itemized quotes that clearly outline what’s included. Remember that the lowest quote isn’t always the best value—verify credentials, read reviews, and check references before making your decision.
What many people overlook is the true long-term cost of their flooring choice. A material that costs more upfront but lasts twice as long may actually be the more economical option when calculated over time. Consider maintenance requirements and potential repair costs as part of your budgeting process.
The allure of DIY installation is primarily financial—eliminating labor costs can save 50-70% of your project budget. However, this approach only makes sense if you have the skills, tools, and time to execute the installation correctly. Some materials like click-lock vinyl planks or laminate are more DIY-friendly, while others like tile or hardwood demand specialized expertise for proper installation.
Professional installers bring experience, efficiency, and often a warranty on their workmanship. They can identify and address subfloor issues before they become problems, ensure proper material acclimation, and execute complex patterns with precision. Many flooring manufacturers actually require professional installation to maintain warranty coverage, which is something to consider before grabbing your tools.
The breakthrough came when I realized that the true cost of DIY isn’t just measured in dollars. Factor in the value of your time, the potential for mistakes requiring expensive fixes, and the impact of an unusable kitchen during an extended installation period. For many homeowners, the peace of mind that comes with professional installation is worth the investment.
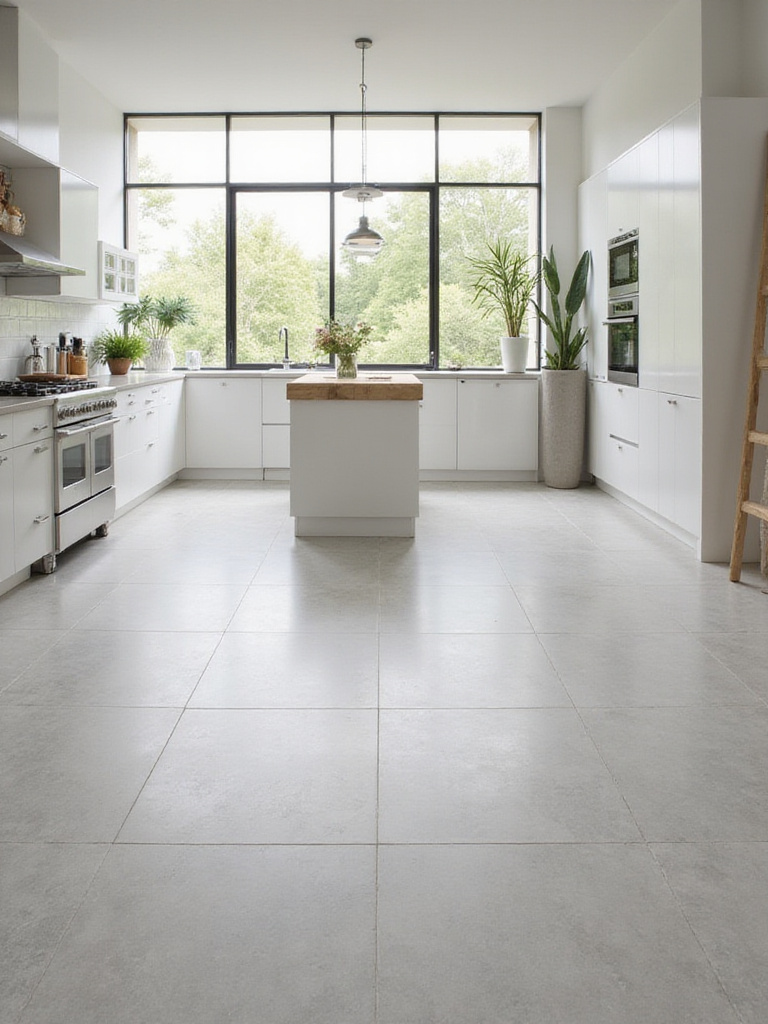
Kitchen flooring trends in 2024 embrace both aesthetic appeal and practical performance. Large-format tiles create a sleek, spacious feel with fewer grout lines to clean. Waterproof wood-look vinyl continues its reign for obvious reasons—it delivers the warmth of wood without the worry. Natural stone brings timeless luxury, while patterned tiles inject personality and visual interest. Cork is experiencing a renaissance for its sustainability, comfort, and unique texture.
The appeal of waterproof flooring in kitchens is undeniable—spills, splashes, and humidity are constants in this environment. Modern luxury vinyl and porcelain technologies have advanced to create remarkably realistic wood and stone looks without the maintenance concerns. For those seeking natural materials, properly sealed cork offers antimicrobial properties and inherent water resistance along with cushioned comfort underfoot.
What complicates this is balancing trendy choices with timeless appeal. While bold patterns make a statement today, consider how they’ll feel five or ten years from now. The most successful kitchen flooring remodels often incorporate subtle trend elements within a classic foundation.
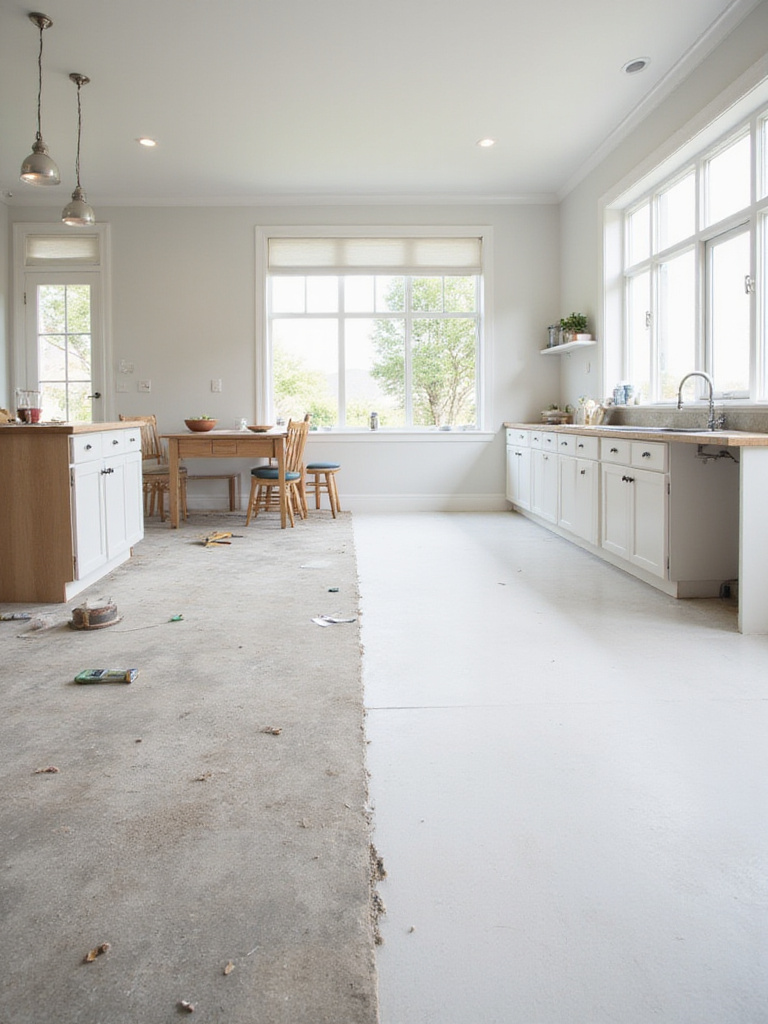
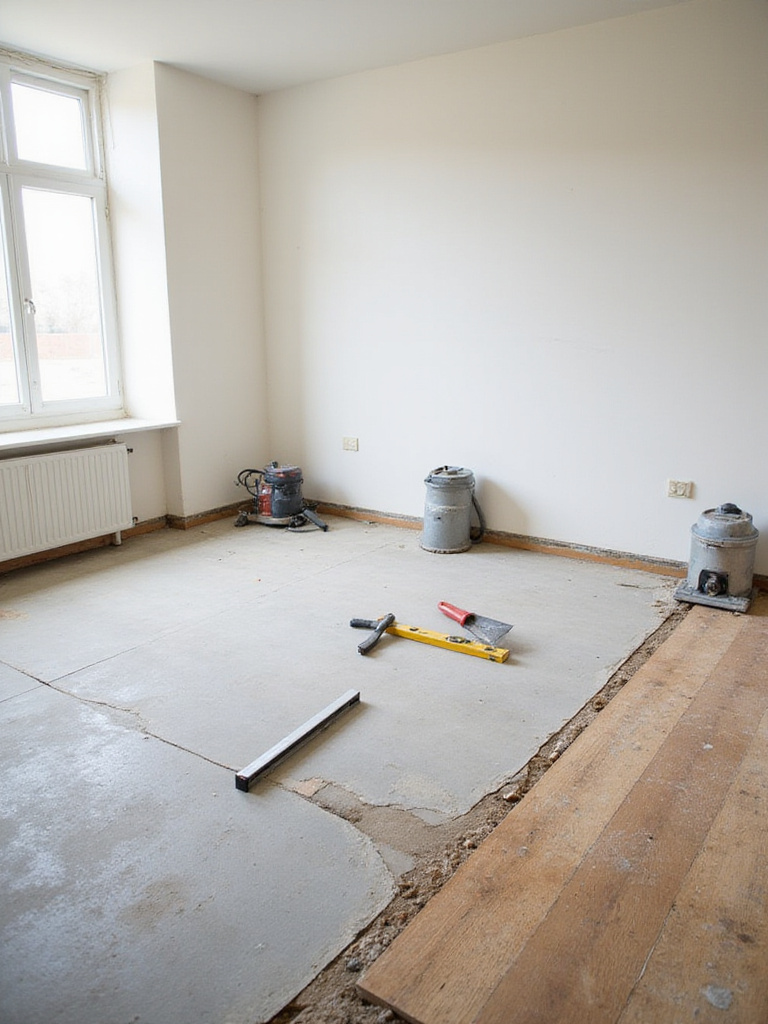
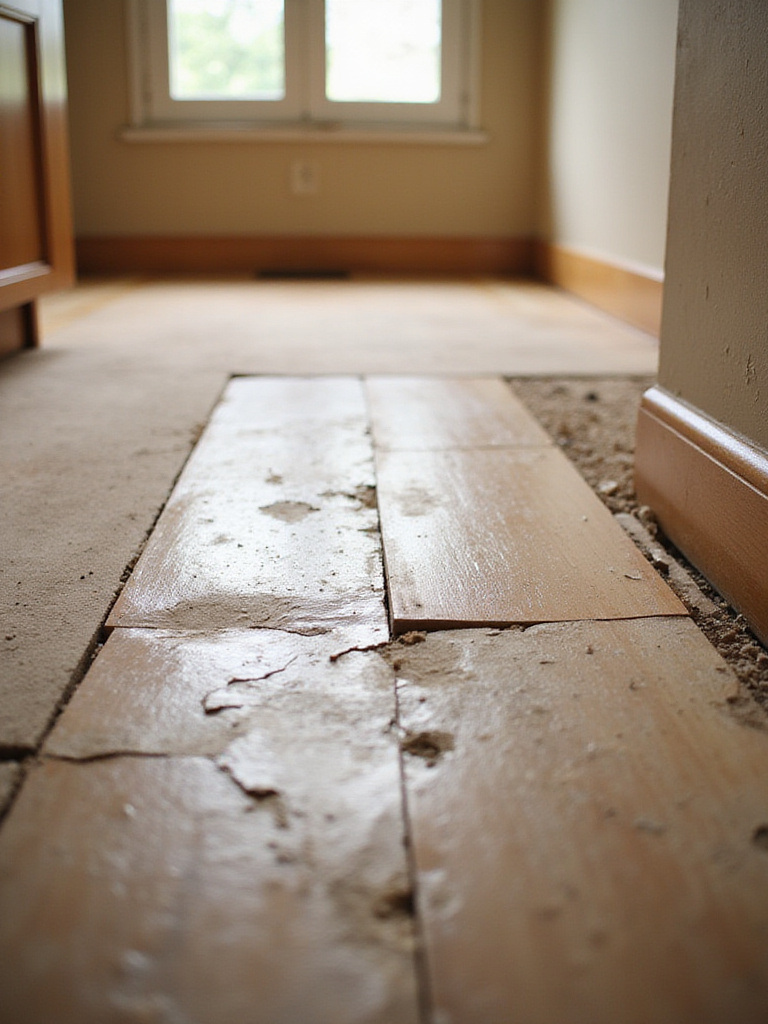
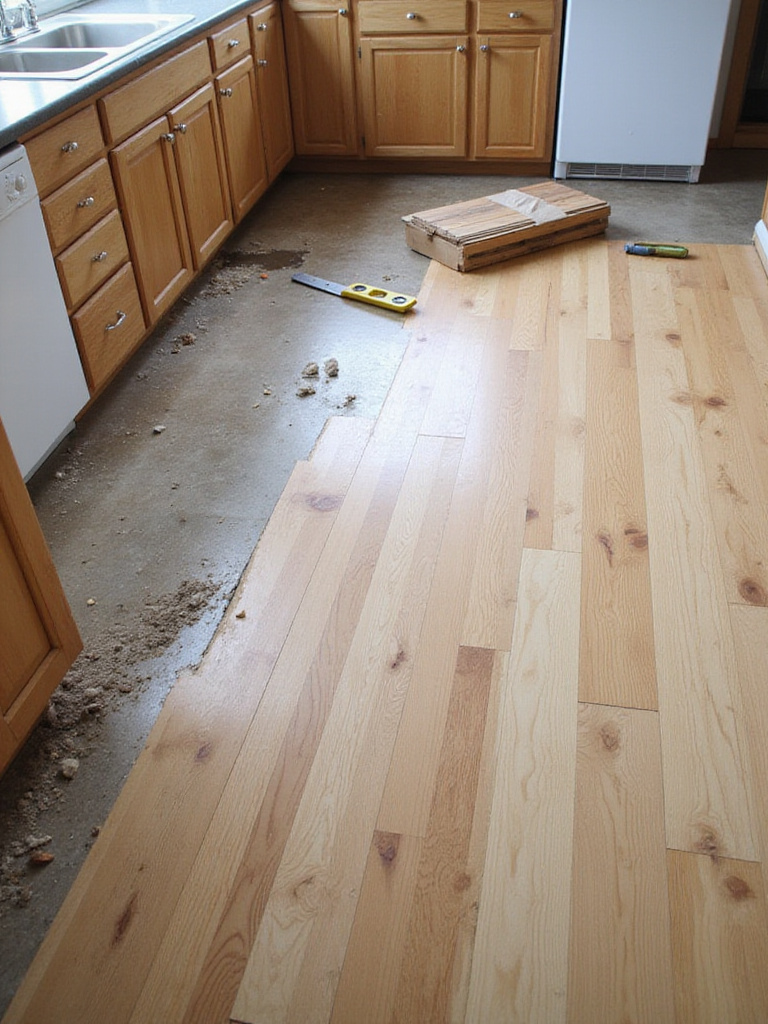
Proper preparation lays the groundwork for a successful kitchen flooring remodel. Begin by completely removing all traces of existing flooring, including adhesive residue and underlayment. Thoroughly inspect the subfloor for damage, addressing any cracks, rot, or uneven areas before proceeding. Clean the subfloor meticulously, removing all dust and debris that could compromise the new installation.
Testing for moisture is critical, especially for moisture-sensitive materials like hardwood. Use a moisture meter to check subfloor conditions and address any issues before installation begins. Depending on your chosen flooring, you may need to install an appropriate underlayment for cushioning, sound dampening, or moisture protection.
The missing piece in many kitchen flooring remodels is adequate acclimation time. Many materials, particularly wood and some vinyl products, need to adjust to your home’s temperature and humidity before installation. This seemingly small step can prevent warping, gapping, and other problems down the line.
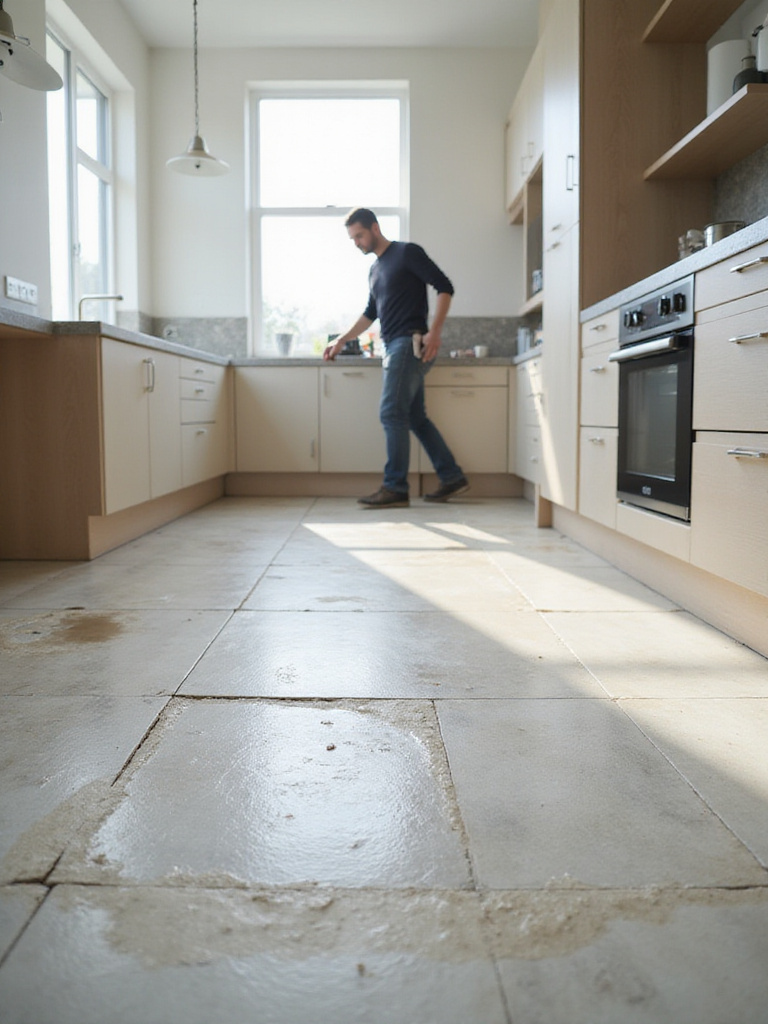
The subfloor is the hidden foundation that can make or break your kitchen flooring remodel. Common kitchen subfloors include plywood, oriented strand board (OSB), and concrete, each with different characteristics and preparation requirements. A thorough inspection might reveal water damage near plumbing fixtures, soft spots indicating rot, or uneven areas that could lead to an unstable finished floor.
For concrete subfloors, preparation involves cleaning, filling cracks, and potentially applying a self-leveling compound to create a perfectly flat surface. Wood subfloors may require reinforcement to eliminate squeaks, replacement of damaged sections, or leveling to ensure the new flooring performs as expected. Moisture barriers are often essential, particularly with concrete subfloors that can transmit dampness from below.
You might be wondering when a complete subfloor replacement becomes necessary. The answer lies in the extent of damage—widespread rot, significant water damage, or structural issues that can’t be adequately repaired typically require starting fresh. While this adds cost to your kitchen flooring remodel, it provides a solid foundation that will support your new floor for years to come.
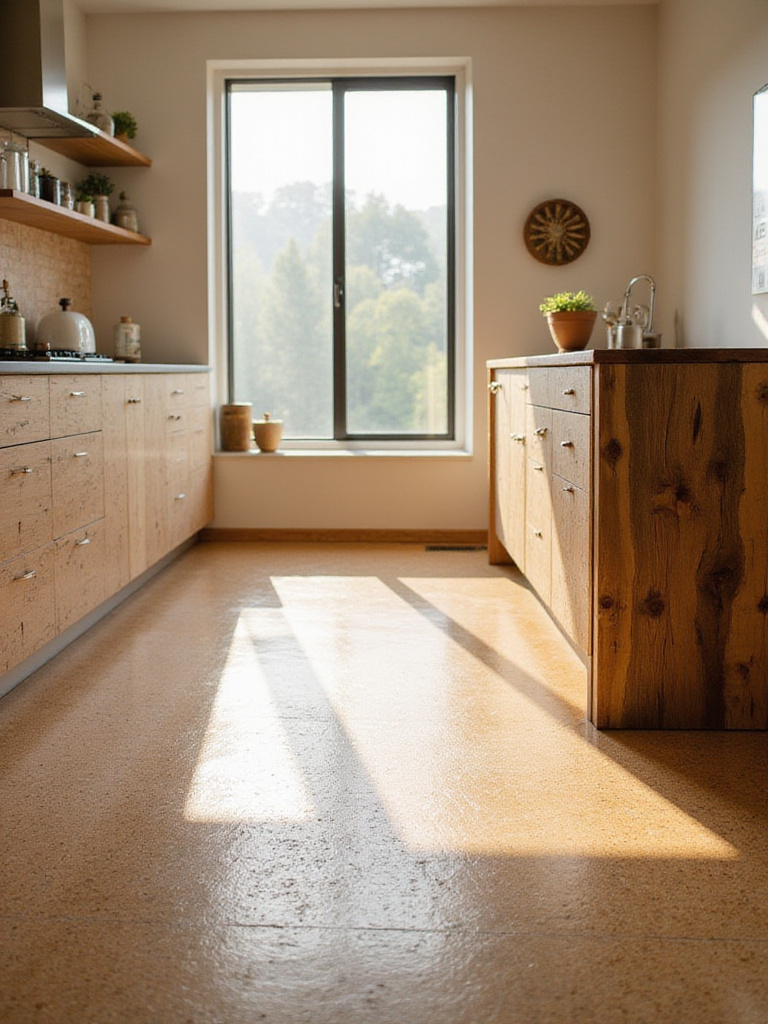
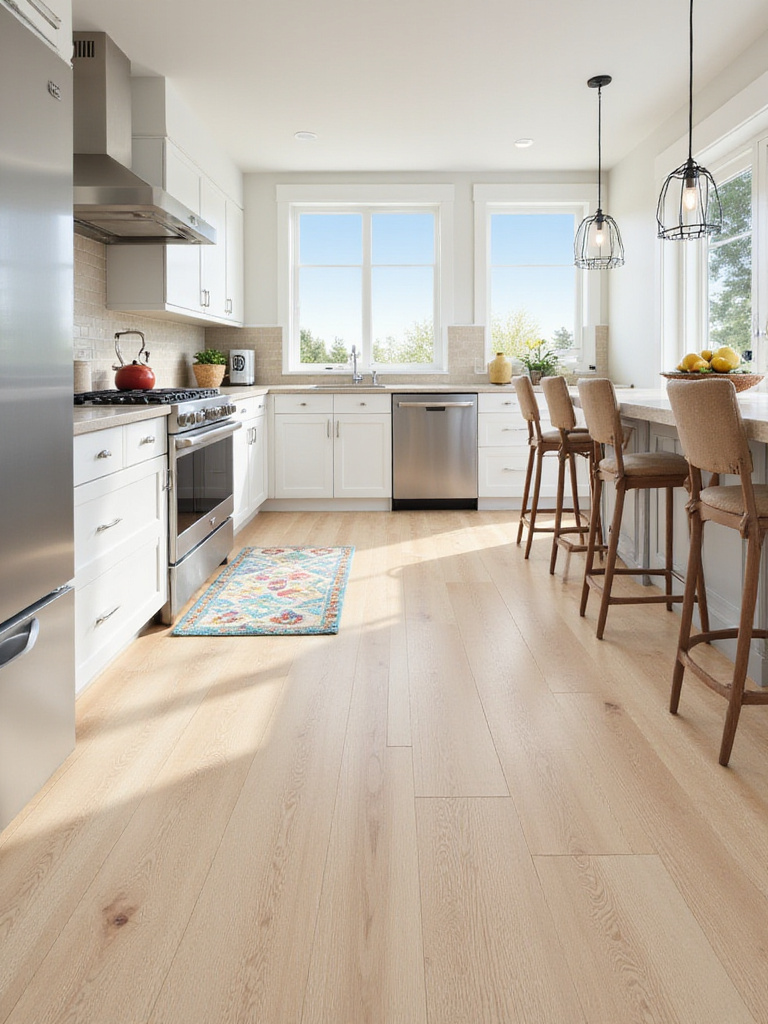
The color of your kitchen floor influences far more than aesthetics—it affects the entire emotional experience of your space. Light colors like cream, pale gray, or white reflect more light, making kitchens feel larger and brighter. They create an airy, clean atmosphere but may show dirt more readily. Dark floors like deep brown or black absorb light, creating a cozy, intimate feeling while hiding some dirt and imperfections.
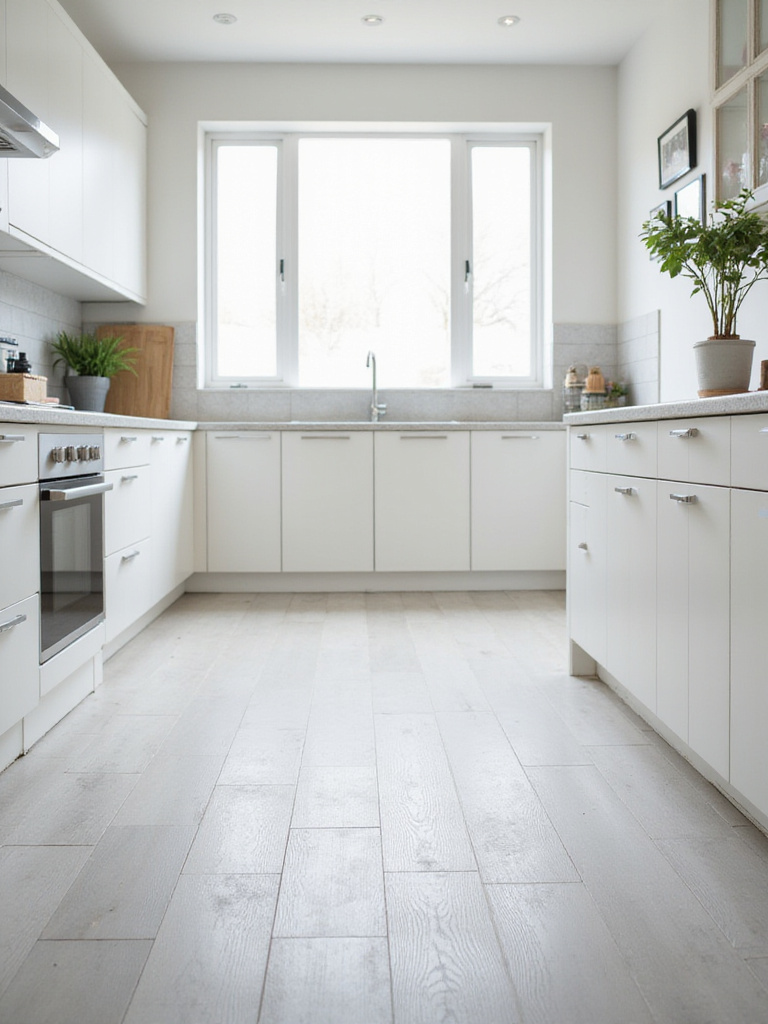
Each color carries psychological associations: whites suggest cleanliness and modernity, browns convey warmth and tradition, grays project sophistication and neutrality, while blues and greens can create a refreshing, calming atmosphere. The floor color you choose should complement your existing cabinetry and countertops while supporting the overall mood you want to create in your kitchen.
It works something like this: your floor color sets the foundation for your kitchen’s color story. A warm-toned floor creates a different feeling than a cool-toned one, even with identical cabinets and countertops. Before committing to a color, bring home samples and observe them at different times of day to see how natural and artificial light affects their appearance.
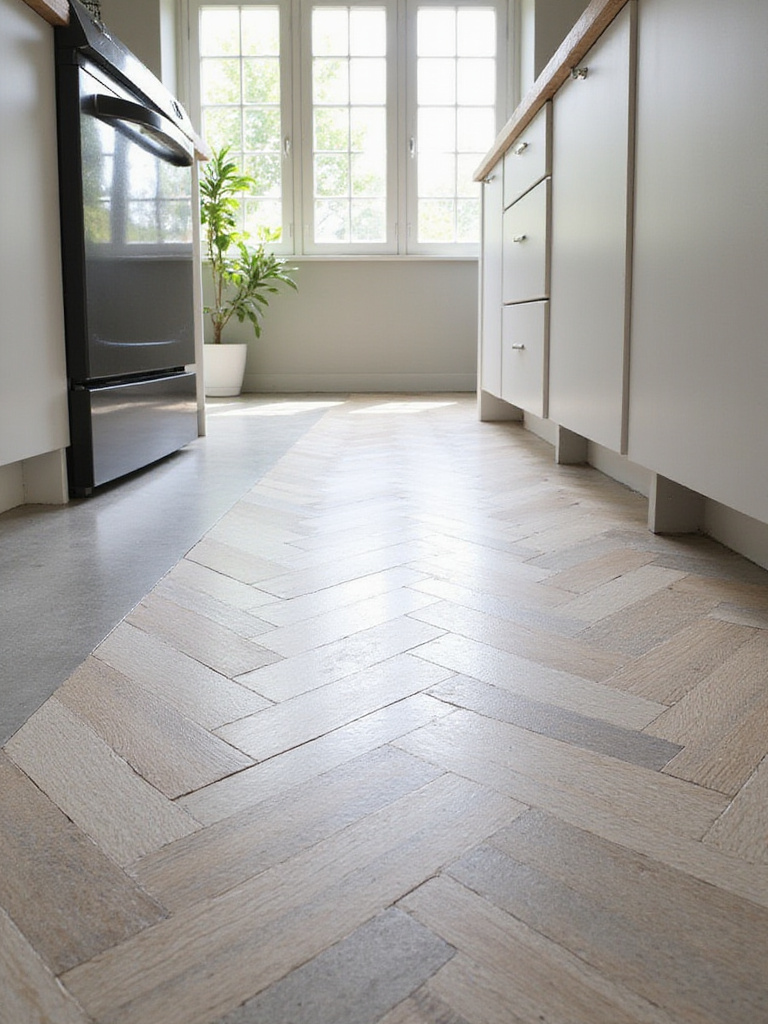
Patterns transform ordinary kitchen flooring into a design statement. Classic options like herringbone and chevron bring timeless sophistication, while basketweave and checkerboard patterns offer traditional charm. For contemporary appeal, consider geometric designs using hexagons or diamonds. Even simple installations can become distinctive through diagonal placement or thoughtful color combinations.
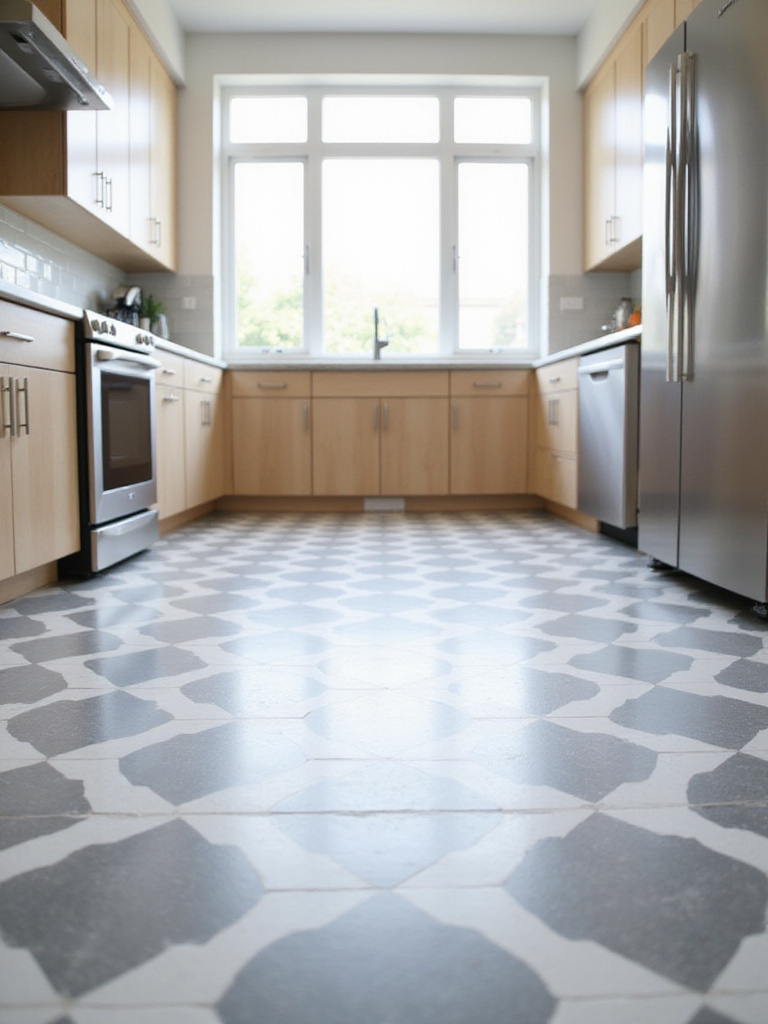
When selecting patterns, consider your kitchen’s size and overall style. Smaller kitchens generally benefit from simpler patterns or those installed on a diagonal to create a sense of spaciousness. Larger kitchens can accommodate more intricate designs without feeling overwhelmed. The pattern should complement your kitchen’s architectural style—a rustic farmhouse kitchen might call for a different approach than a sleek, modern space.
The tricky part is balancing pattern with practicality. Some complex patterns require more material due to additional cuts and waste, increasing your kitchen flooring remodel cost. They may also date more quickly than simpler designs. Consider creating a focal point with pattern in one area while keeping the rest of the floor more subdued for a balanced approach.
Your lifestyle and cleaning habits should directly influence your kitchen flooring choice. Hardwood requires regular sweeping and prompt attention to spills, while vinyl and porcelain can handle more casual maintenance routines. Tile is generally easy to clean, but grout lines require special attention and periodic resealing to prevent staining and mildew.
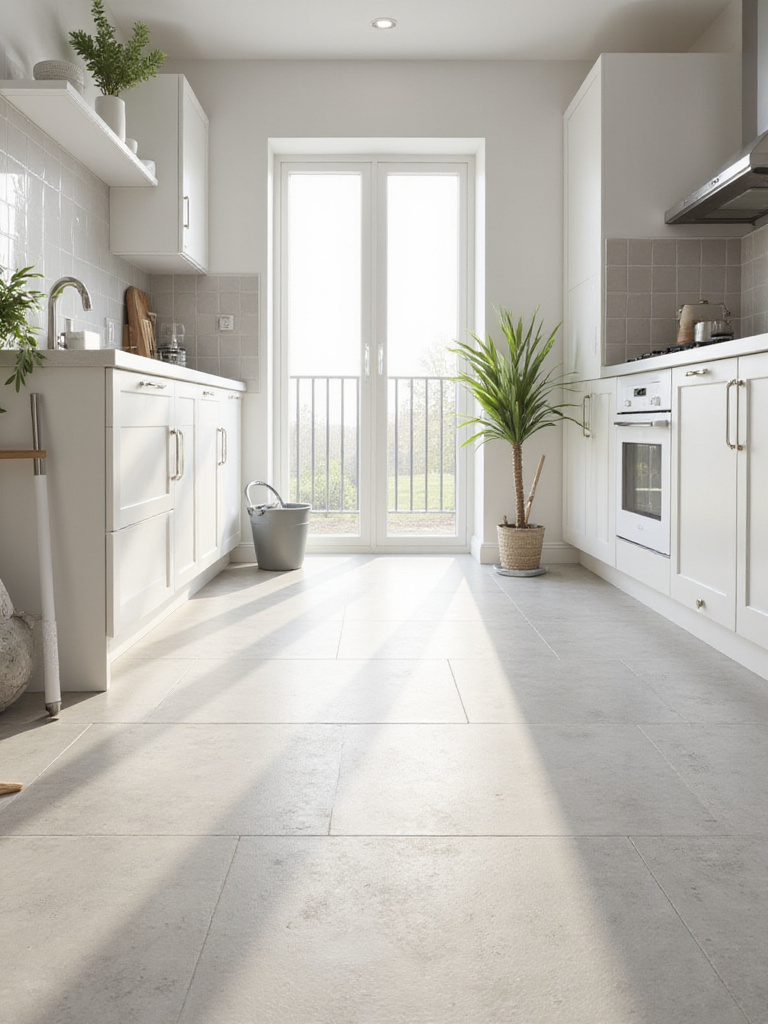
Be honest about your cleaning style—are you diligent about immediate cleanup, or do spills sometimes sit until you have time to address them? Do you prefer quick daily maintenance or deeper, less frequent cleaning sessions? Households with children and pets typically benefit from highly forgiving materials like luxury vinyl or porcelain tile with dark grout that hide minor dirt between cleanings.
“The best kitchen floor isn’t just beautiful—it’s beautiful in a way that works with your real life, not an idealized version of how you might live.” — Amira Hassan
Think of it as matching your flooring to your actual habits rather than aspirational ones. Even the most beautiful floor will become a source of frustration if its maintenance requirements exceed what you’re willing or able to provide.
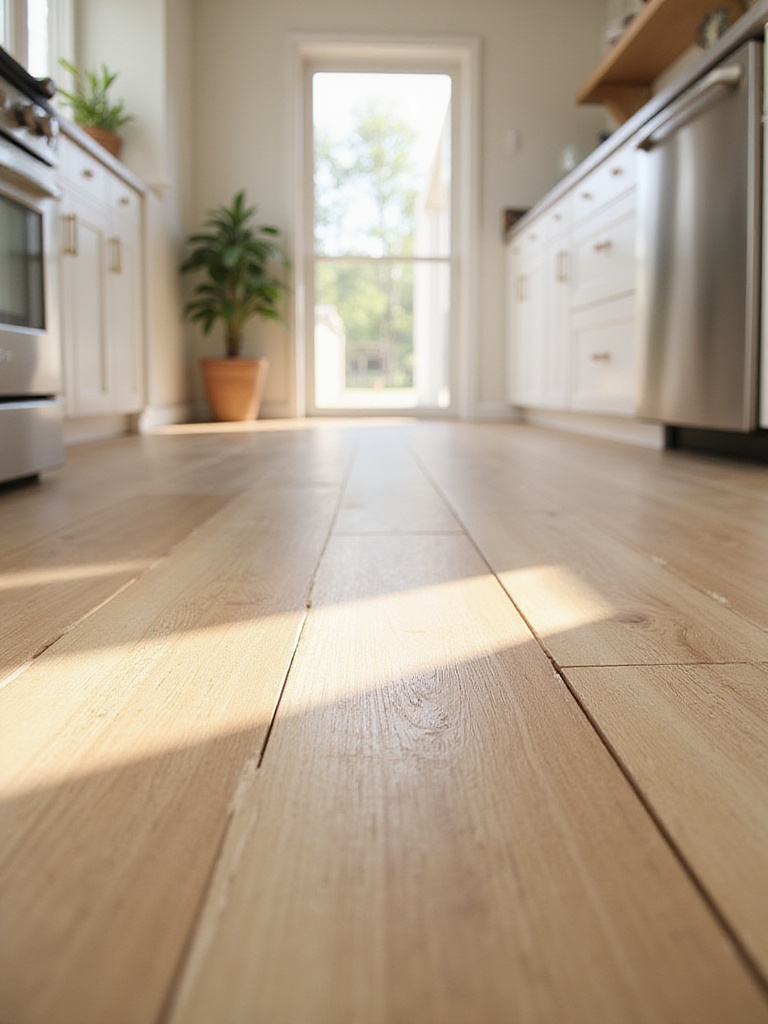
Natural and artificial lighting dramatically influence how your kitchen flooring appears. Flooring with high-gloss finishes can create glare in rooms with abundant natural light, while matte finishes scatter light more evenly. Dark floors absorb light and may make a kitchen feel darker unless balanced with ample lighting, while light floors reflect and amplify available light.
The color temperature of your artificial lighting also matters—warm lighting enhances red and yellow undertones in flooring, while cool lighting brings out blues and greens. Under-cabinet lighting can highlight textural elements in stone or tile, creating beautiful shadow play. Consider how your kitchen lighting changes throughout the day and how your flooring will appear under different conditions.
My experience went like this: I installed what I thought was the perfect warm gray tile in a kitchen, only to discover it appeared distinctly purple under the client’s existing cool LED lighting. After changing to warmer bulbs, the floor showed its true color. This taught me that flooring and lighting must be considered as a system rather than separate elements during a kitchen flooring remodel.
Environmentally responsible kitchen flooring options have expanded dramatically, offering beautiful solutions with reduced ecological impact. True eco-friendly flooring features sustainable, renewable, or recycled materials, low VOC emissions, responsible manufacturing processes, and consideration for end-of-life disposal or recycling.
Cork stands out as a renewable resource harvested without harming the tree, offering natural antimicrobial properties and comfort underfoot. Bamboo grows rapidly and can be harvested sustainably, though quality varies widely. Linoleum (not to be confused with vinyl) is made from natural materials like linseed oil and wood flour, offering durability with biodegradability. For those who prefer tile, look for options with recycled content or companies with transparent environmental practices.
To ensure you’re making truly sustainable choices in your kitchen flooring remodel, look for respected certifications like Forest Stewardship Council (FSC) for wood products, FloorScore or GREENGUARD for indoor air quality, or Cradle to Cradle for comprehensive sustainability assessment. These third-party verifications help cut through marketing claims to identify genuinely eco-friendly options.
A typical kitchen flooring remodel progresses through several distinct phases. Planning and design typically takes 1-7 days, depending on how quickly you make decisions. Preparation and demolition requires 1-3 days to remove existing flooring and prepare the subfloor. The actual installation ranges from 1-5 days based on material type and kitchen size. Finishing touches like trim installation and cleanup add another day, while some materials require additional curing or acclimation time.
Several factors can extend this timeline. Material availability issues might cause delays, particularly with specialty or imported products. Unexpected subfloor problems discovered during demolition often add repair time. DIY installations typically take significantly longer than professional ones due to learning curves and limited equipment. Complex patterns or designs require more precise cutting and placement, extending installation time.
The ripple effects of a delayed kitchen flooring remodel can impact your entire household routine. Creating a realistic timeline that includes buffer days for unexpected issues helps manage expectations. Consider scheduling your project during a time when kitchen disruption will cause minimal stress, such as when you might be traveling or can easily arrange alternative meal preparation.
The path to a successful kitchen flooring remodel is littered with potential missteps. Prioritizing style over function leads many homeowners to choose beautiful but impractical materials that quickly show wear or damage in the demanding kitchen environment. Neglecting proper subfloor preparation can result in uneven floors, squeaking, or premature failure regardless of the quality of your chosen flooring.
Other common mistakes include skimping on quality to save money (which often costs more in the long run), ignoring moisture concerns in this wet-prone area, and underestimating the complexity of installation. Even seemingly small details like using the wrong underlayment or transition strips can compromise your results. Taking shortcuts during a kitchen flooring remodel almost always leads to disappointment.
Let me paint you a picture: I once worked with clients who installed gorgeous marble tile themselves to save money, only to discover they hadn’t properly sealed the grout. Within months, cooking spills had permanently stained the grout lines, and the beautiful floor looked perpetually dirty despite regular cleaning. The lesson? Some investments—whether in materials or professional installation—pay dividends in long-term satisfaction.
If resale value factors into your kitchen flooring remodel decision, certain materials consistently appeal to buyers. Hardwood and engineered hardwood remain perennial favorites, offering warmth and character that transcends trends. High-quality porcelain tile, especially in neutral tones or convincing stone looks, also performs well. Luxury vinyl plank has gained acceptance among buyers who recognize its practical benefits for kitchen environments.
Materials that might detract from value include dated or low-quality sheet vinyl, basic ceramic tile with white grout (which shows stains), and any flooring that appears worn or damaged. Even expensive materials can hurt value if they’re highly personalized or trend-specific, limiting appeal to a broader buyer pool. The installation quality matters as much as the material itself—poorly installed premium flooring can actually decrease value.
Do you see how huge that is? Your kitchen flooring choice isn’t just about your current enjoyment but potentially thousands of dollars in future return. For maximum resale value, aim for quality materials in relatively neutral designs that will appeal to a wide range of potential buyers while still reflecting current design trends.
Creating a pet-friendly kitchen starts with flooring that can withstand claws, accidents, and the general wear that comes with furry family members. Truly pet-proof kitchen flooring must resist scratches, repel stains, withstand moisture, and provide adequate traction to prevent slipping. Ease of cleaning is equally important for managing pet hair and occasional accidents.
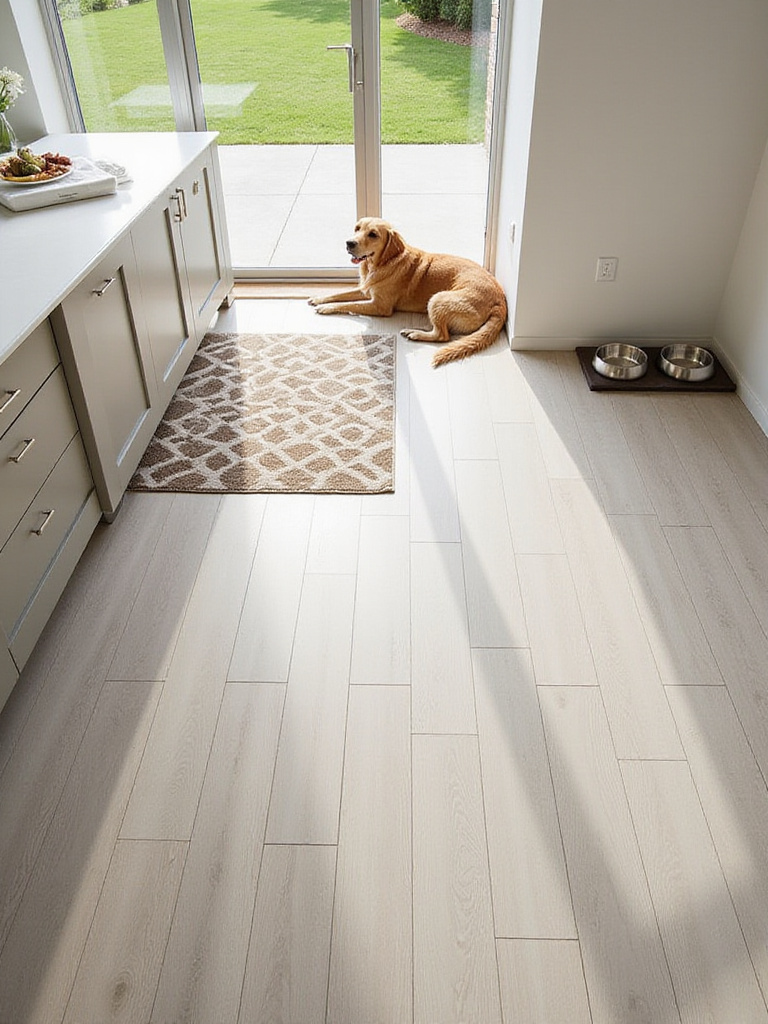
Luxury vinyl plank (LVP) and tile lead the pack for pet-friendly kitchen flooring options. Quality LVP with a thick wear layer (20+ mil) resists scratches and is completely waterproof, while offering comfort underfoot for both humans and pets. Porcelain tile provides unmatched durability and easy cleaning, though it can be cold and hard—consider adding area rugs in pet rest areas. Both options are available in styles that don’t show pet hair between cleanings.
The game-changer happened as I worked with a client whose three large dogs had destroyed their previous kitchen floor. We installed textured luxury vinyl plank in a medium tone that disguised paw prints and pet hair, with a matte finish that didn’t show scratches. Five years later, their floor still looks remarkable despite daily canine traffic. The right material makes all the difference in a pet-focused kitchen flooring remodel.
Kitchens in homes with children need flooring that balances durability with safety. Spills happen frequently, dropped dishes are inevitable, and high traffic is constant. The ideal family kitchen floor withstands these challenges while providing a safe surface for little feet and a forgiving landing for dropped items.
Luxury vinyl plank and sheet vinyl offer excellent waterproof protection with some cushioning underfoot. Cork provides natural warmth and resilience, absorbing impact when items fall. Porcelain tile delivers unmatched durability, though its hardness means dropped dishes are more likely to break. For all options in family kitchens, consider slip resistance ratings and avoid high-gloss finishes that become slippery when wet.
It’s similar to choosing the right vehicle for a growing family—you need something practical that can handle daily use while still looking good. Your kitchen flooring remodel should prioritize materials that will maintain their appearance despite juice spills, dropped cereal, and the occasional art project gone awry.
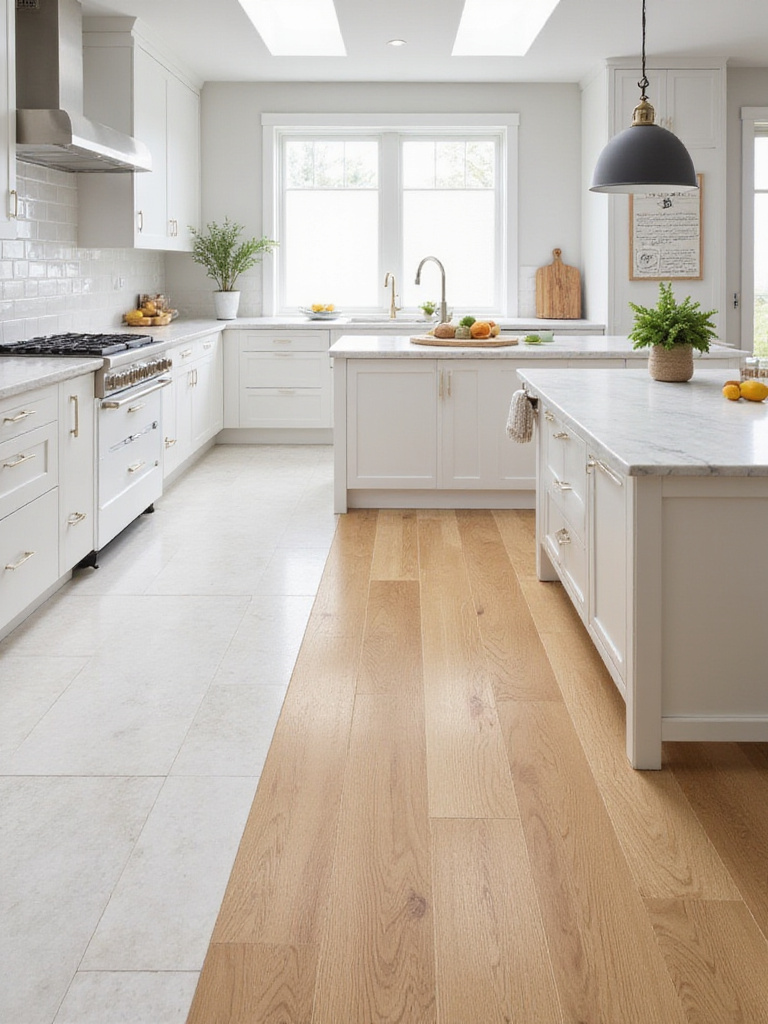
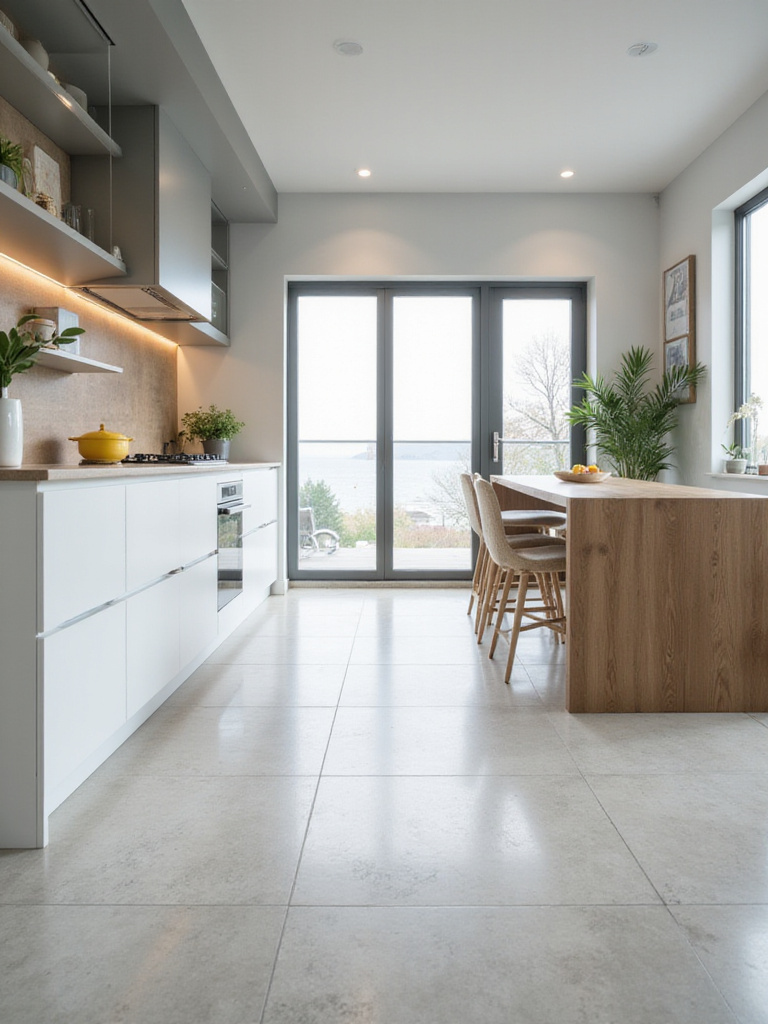
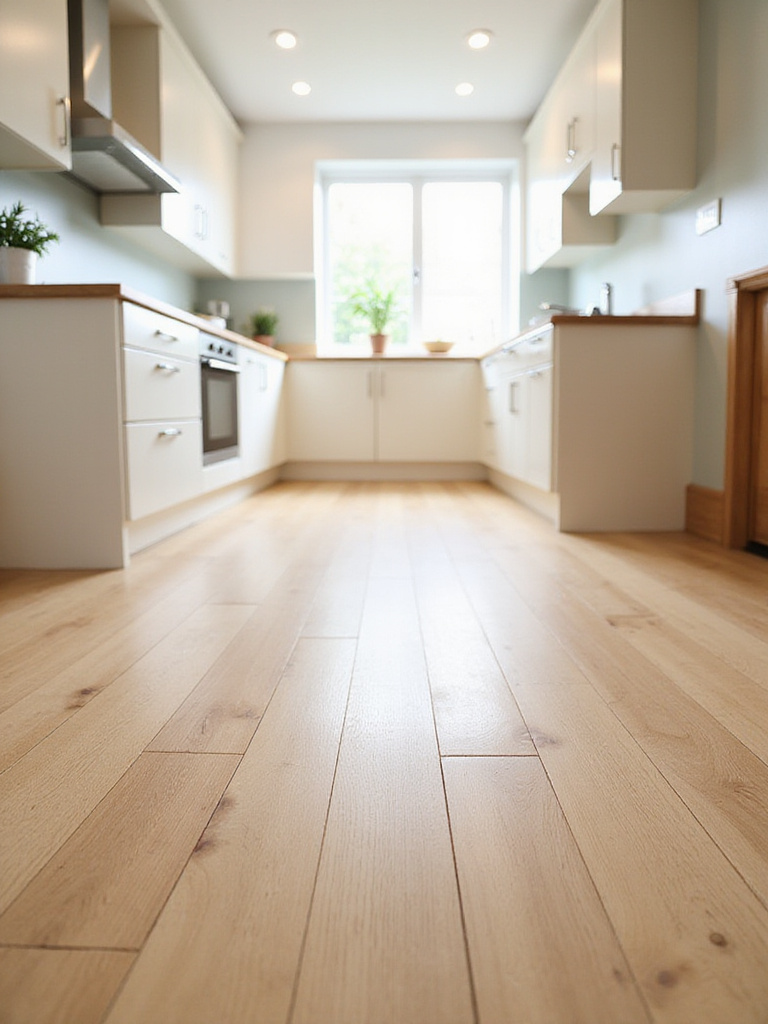
Your kitchen flooring should harmonize with your overall design aesthetic rather than competing with it. Begin by clearly defining your kitchen style—is it modern minimalist, traditional, farmhouse, industrial, or something else? Gather inspiration from design magazines, social media, and home improvement shows, noting which flooring options consistently appeal to you in kitchens with similar styles to yours.
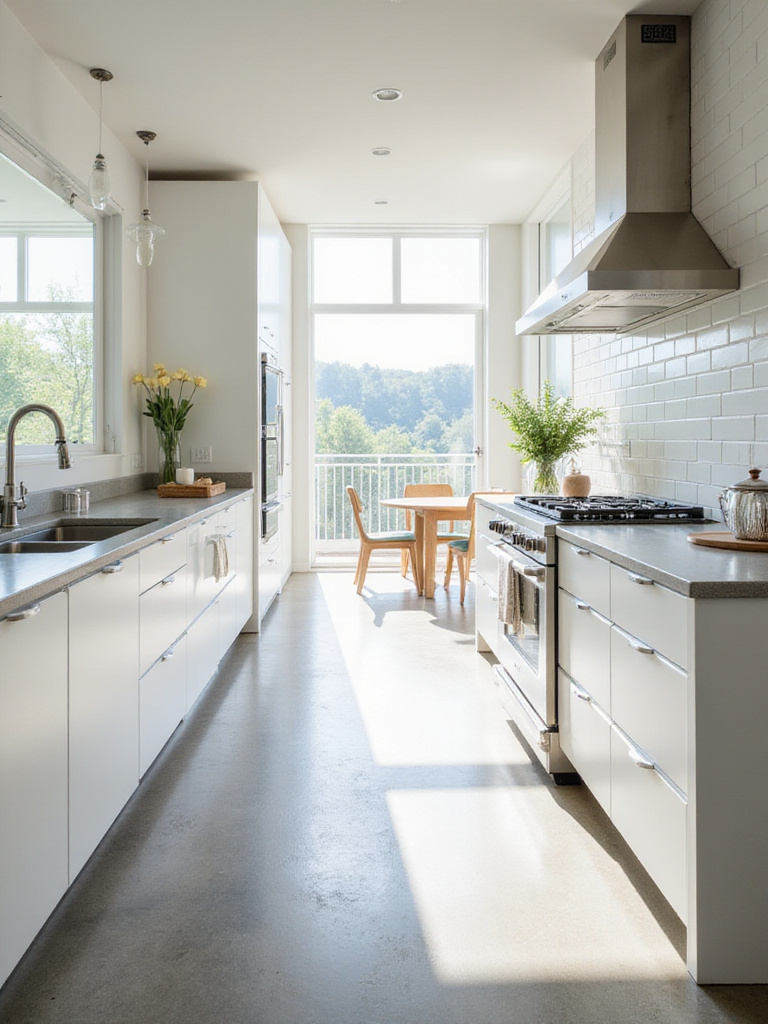
Different kitchen styles naturally pair with certain flooring types. Modern kitchens often feature large-format porcelain tiles or polished concrete for a sleek look. Farmhouse kitchens embrace wide-plank wood or wood-look vinyl with character. Traditional kitchens pair beautifully with classic hardwood or natural stone. Industrial kitchens might incorporate concrete or distressed wood for an authentic feel.
The crucial element is creating a cohesive look that flows with your existing or planned cabinetry, countertops, and backsplash. Your kitchen flooring remodel shouldn’t exist in isolation but rather as part of a comprehensive design vision that creates harmony throughout the space.
The flooring industry continues to evolve with exciting innovations for kitchen applications. Wood-look porcelain tile has reached remarkable realism, offering the aesthetic of hardwood with superior durability and water resistance. Advanced luxury vinyl planks now incorporate rigid cores for enhanced stability and dent resistance, along with improved printing technologies that create authentic wood and stone visuals.
Beyond materials themselves, technology integration is entering the flooring realm. Radiant floor heating systems work beneath most flooring types to provide comfortable warmth in cooler climates. Moisture-sensing technology can be installed under vulnerable areas to alert homeowners to leaks before they cause damage. Some forward-thinking homeowners are even incorporating subtle LED lighting along floor edges for nighttime illumination.
Things took an interesting turn when I worked on a kitchen flooring remodel for a tech enthusiast who integrated a programmable radiant heating system beneath porcelain tile that mimicked reclaimed wood. The system connected to their smart home hub, automatically warming the floor before they woke each morning and adjusting based on weather conditions. This marriage of traditional aesthetics with modern technology created a kitchen floor that was both beautiful and functional.
The journey to your perfect kitchen flooring begins with inspiration. Online platforms offer boundless ideas—Pinterest provides visual collections organized by style and material, Houzz features searchable photo galleries with product information, and Instagram showcases real-world installations in homes similar to yours. Manufacturer websites often feature visualization tools that let you see different flooring options in room settings.
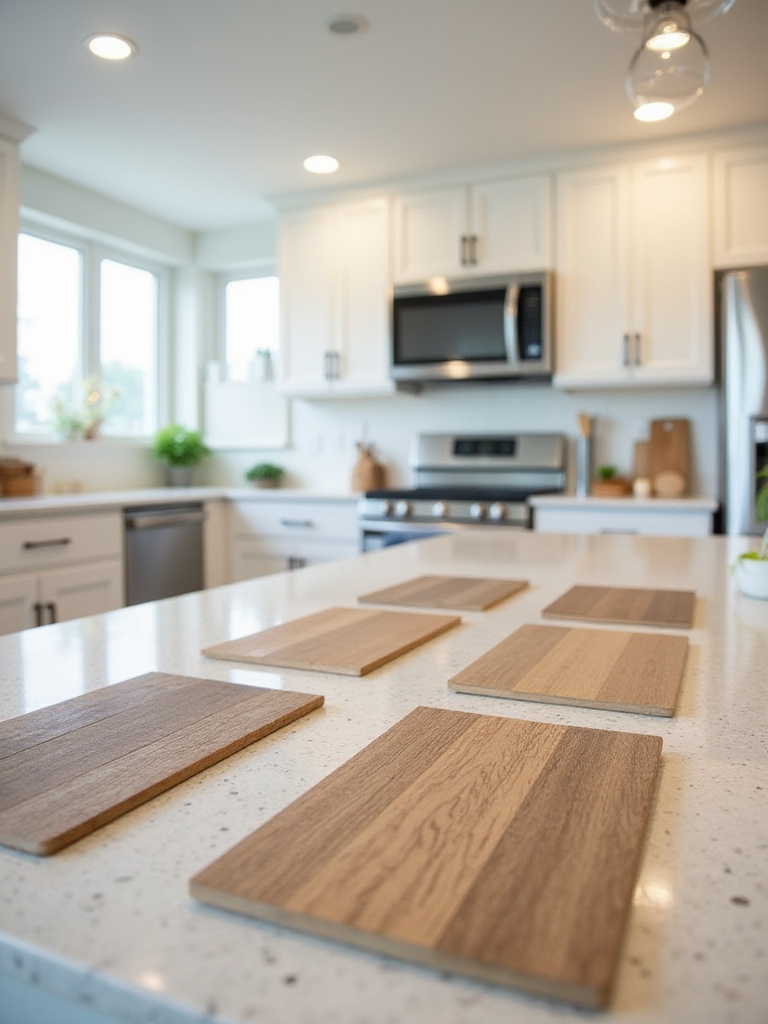
While digital inspiration is valuable, nothing replaces seeing and touching actual flooring samples in your space. Order samples of your top contenders and place them in different areas of your kitchen, observing how they look throughout the day as lighting changes. Consider how they feel underfoot and how they coordinate with your existing elements. Take photos of the samples in your space to review later when making your final decision.
Perhaps you’ve already guessed that the most meaningful inspiration often comes from your existing kitchen elements. Your cabinets, countertops, backsplash, and overall architectural style provide valuable context for your flooring choice. The most successful kitchen flooring remodel doesn’t try to compete with these elements but rather complements and enhances them, creating a cohesive space that feels intentionally designed.
A kitchen flooring remodel represents more than just a surface change—it’s a transformation of your home’s most active space. The floor you choose sets the foundation for your kitchen’s style, influences its functionality, and contributes significantly to how the room feels and performs. By carefully considering durability, material options, budget constraints, and installation methods alongside aesthetic preferences, you create a floor that beautifully balances form and function.
Remember that the perfect kitchen floor varies from home to home. What works beautifully in a designer showcase might not suit your family’s lifestyle. Be honest about your maintenance preferences, the realities of your household traffic, and your long-term plans for the home. Invest in quality where it matters most—in materials that touch your daily life and in proper installation that ensures longevity.
Your kitchen floor silently supports countless family moments—from midnight snacks to holiday meal preparations, from children’s first steps to late-night conversations. A thoughtful kitchen flooring remodel honors these moments by creating a beautiful, durable foundation for the heart of your home. With these insights as your guide, you’re well-equipped to make choices that will bring you satisfaction for years to come.