Physical Address
304 North Cardinal St.
Dorchester Center, MA 02124
Physical Address
304 North Cardinal St.
Dorchester Center, MA 02124
Get the real story on choosing bathroom flooring for a multigenerational home. 20 practical tips for a safe, harmonious, and beautiful family bathroom.
You know what people always ask me? They have this idea for a beautiful, spa-like bathroom, and they show me pictures from a magazine. And I always ask, “Who is this bathroom for?” Because the bathroom in a magazine is for a photo shoot. Your bathroom is for your aging mother who needs a non-slip surface, your toddler who splashes water everywhere, and you, who just wants a space that’s easy to clean at the end of a long day.
Creating a home for multiple generations isn’t just about adding a bedroom. It’s about understanding that the most practical rooms, like the bathroom, have to work the hardest. The floor you choose is the foundation for all of it—the safety, the harmony, the sense of peace. It’s where different needs and cultural habits meet. Forget the glossy brochures for a minute. Let’s talk about what really works.
This is where the real work happens, long before anyone picks up a tile. This is the thinking phase. Getting this part right means creating a foundation of safety and peace that will last for years. Getting it wrong means creating a daily source of stress and expensive problems down the line.
People get tripped up by this all the time. “Water-resistant” is a marketing term that often means very little in a room where water is a daily reality. It might survive a small spill, but it won’t survive your kids’ bath time splash wars or the constant humidity from a hot shower. True peace of mind comes from materials that are genuinely waterproof—meaning water can sit on them for a long time and will never, ever get through to the subfloor beneath.

I had a client, a lovely family from India, whose previous “water-resistant” laminate floor failed within two years. Their bathing rituals sometimes involved more water on the main floor than a typical Western shower, and the flooring just couldn’t handle it. We replaced it with a beautiful porcelain tile. It cost a bit more upfront, but it saved them from the disaster of a rotted subfloor, which is a nightmare you want to avoid. Your best friends here are porcelain tile, ceramic tile, and high-quality luxury vinyl plank (LVP). That’s the real story.
And with that durability in mind, you have to think beyond just water.
Durability isn’t an abstract concept found on a spec sheet; it’s how the floor holds up to your real life. Will your father be using a walker that could scuff the surface? Do your grandkids play with toys on the floor? Will you be using traditional cleaning agents that could stain a more sensitive material? All of this matters more than some industry rating you’ll never think about again.
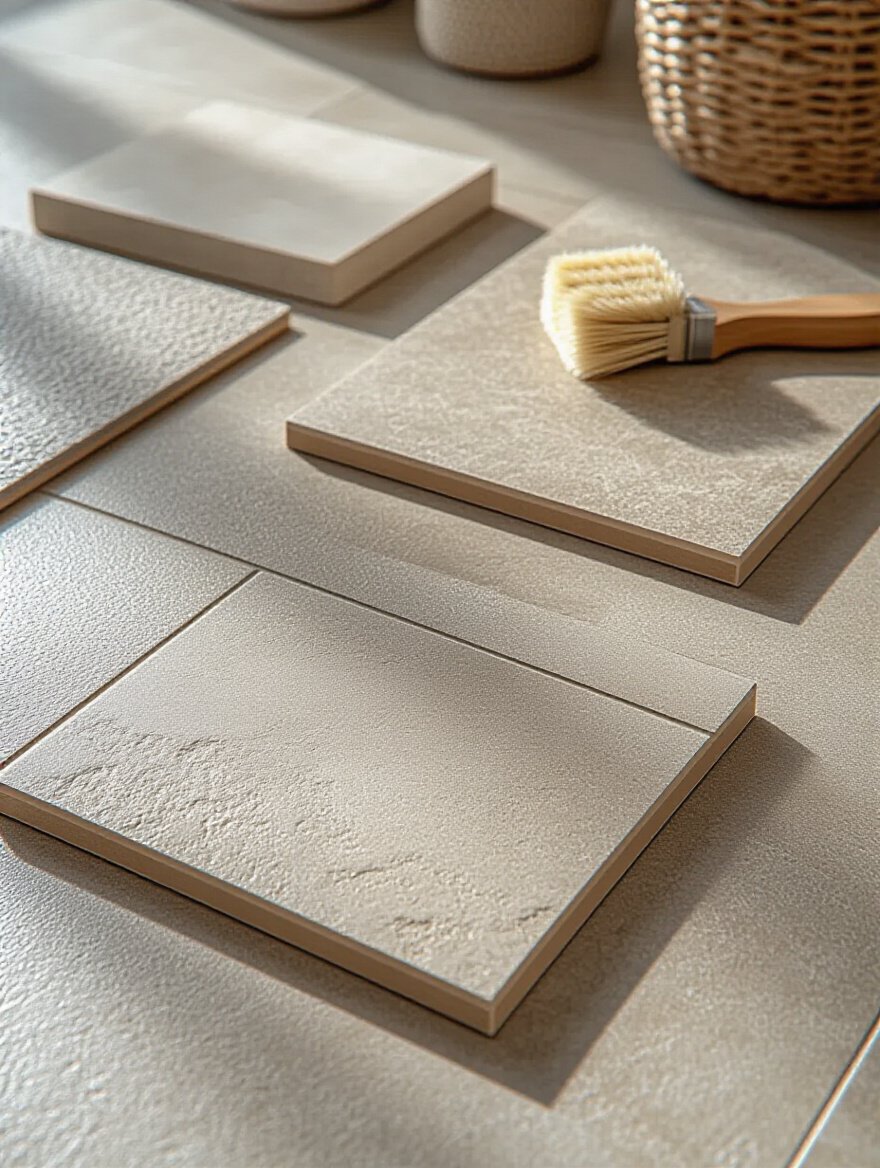
For vinyl flooring, the key is the “wear layer.” Forget the jargon; just know it’s a clear, protective coating on top. Thicker is better. I always tell my clients to look for a wear layer of at least 20 mil for a Family Bathroom. It’s the difference between a floor that looks tired after a few years and one that still looks fresh a decade later. For tile, it’s about choosing one that’s rated for floors, not just walls, so it can handle the foot traffic. Don’t be afraid to ask the hard questions about how a material stands up to scratches, scuffs, and real-life messes.
Once you know what’s tough enough, you can think about how it feels.
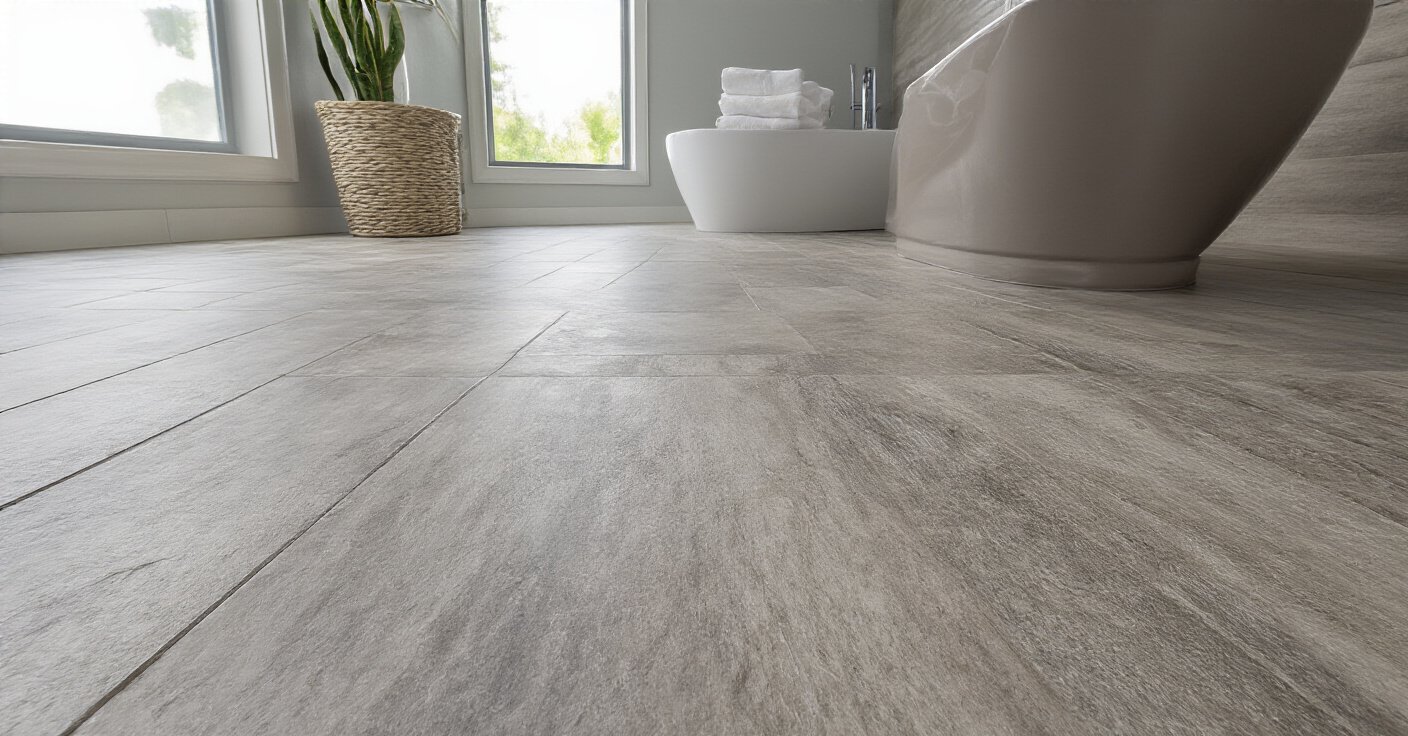
This is where Eastern design principles can really bring harmony to a space. A bathroom floor isn’t just a surface; it sets the entire tone of the room. Does it feel cold and sterile, or warm and grounding? A well-chosen floor can transform a purely functional room into a sanctuary, a place of quiet ritual for everyone in the family.
Think about texture. A highly polished, slick floor might look glamorous, but it can feel tense and dangerous, especially for older family members. A matte finish or a floor with a subtle, stone-like texture feels more secure underfoot and much calmer to the eye. For a client’s home where three generations lived together, we used a wood-look vinyl plank. It had the visual warmth of wood, which was comforting to the grandparents, but the complete waterproof practicality needed for the grandkids. It bridged the gap, creating a space that felt both serene and practical.
Of course, all these ideas have to meet the reality of your wallet.
Here’s where so many people get into trouble. They budget for the beautiful tiles or the LVP planks they fell in love with, and they completely forget about everything else. The real cost of a bathroom floor isn’t just the material you see. It’s the demolition of the old floor, the cost of repairing or leveling the subfloor underneath, the waterproof membrane, the right kind of adhesive, the grout, the sealer, and the labor to put it all together.
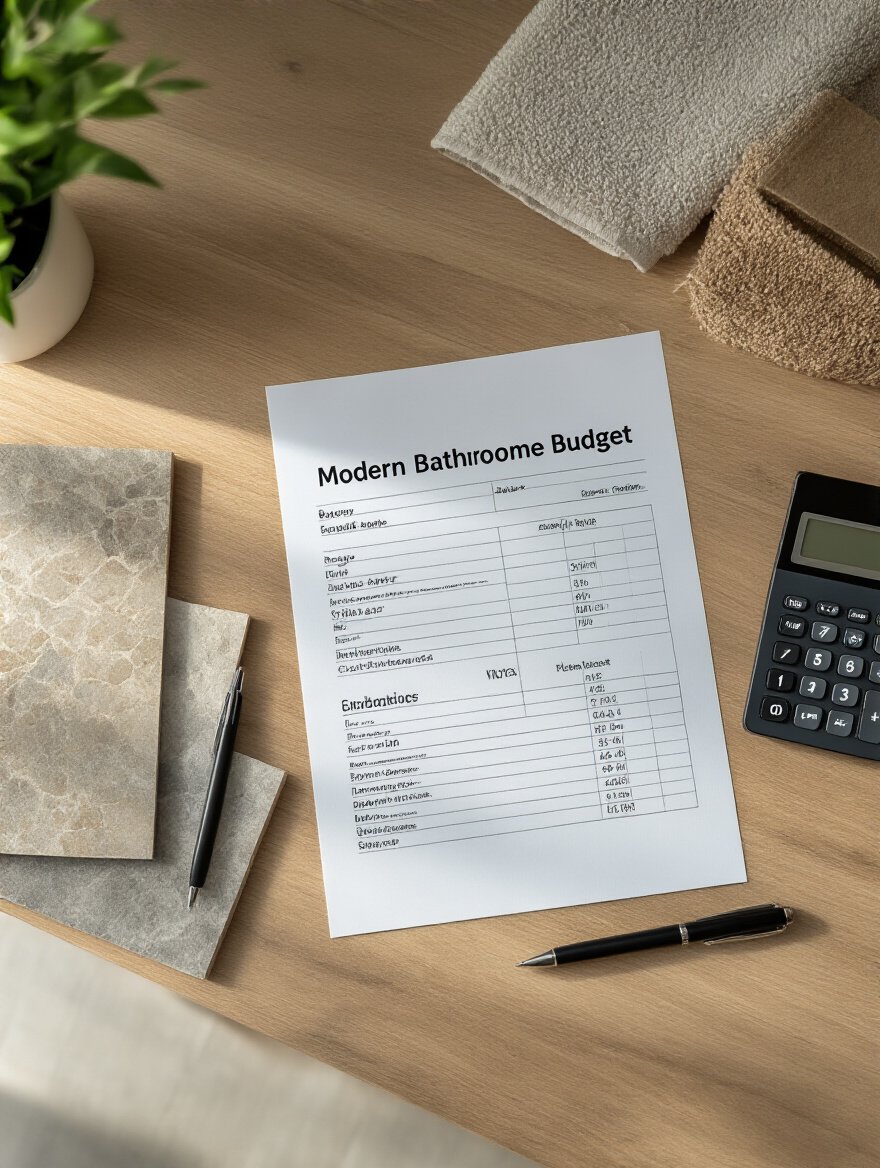
I tell every client the same thing: take your material budget and add at least another 50% for labor and prep materials. Then, add another 15-20% on top of that for a contingency fund. I promise you, especially in an older home, you will open up that floor and find something you weren’t expecting—a slow leak, an uneven joist, old damage. That contingency fund isn’t a “nice to have”; it’s what keeps your project from grinding to a halt because of a surprise. It buys you peace of mind.
And if you have room in the budget, there’s one upgrade that’s a true act of care.
Underfloor heating might sound like a lavish luxury, but for a multigenerational home, I see it as a beautiful expression of care. Imagine your elderly parent with arthritis not having to step onto an ice-cold floor in the middle of the night. Or a small child being wrapped in ambient warmth after their bath. It transforms the experience of the room from a cold utility into a place of genuine comfort.
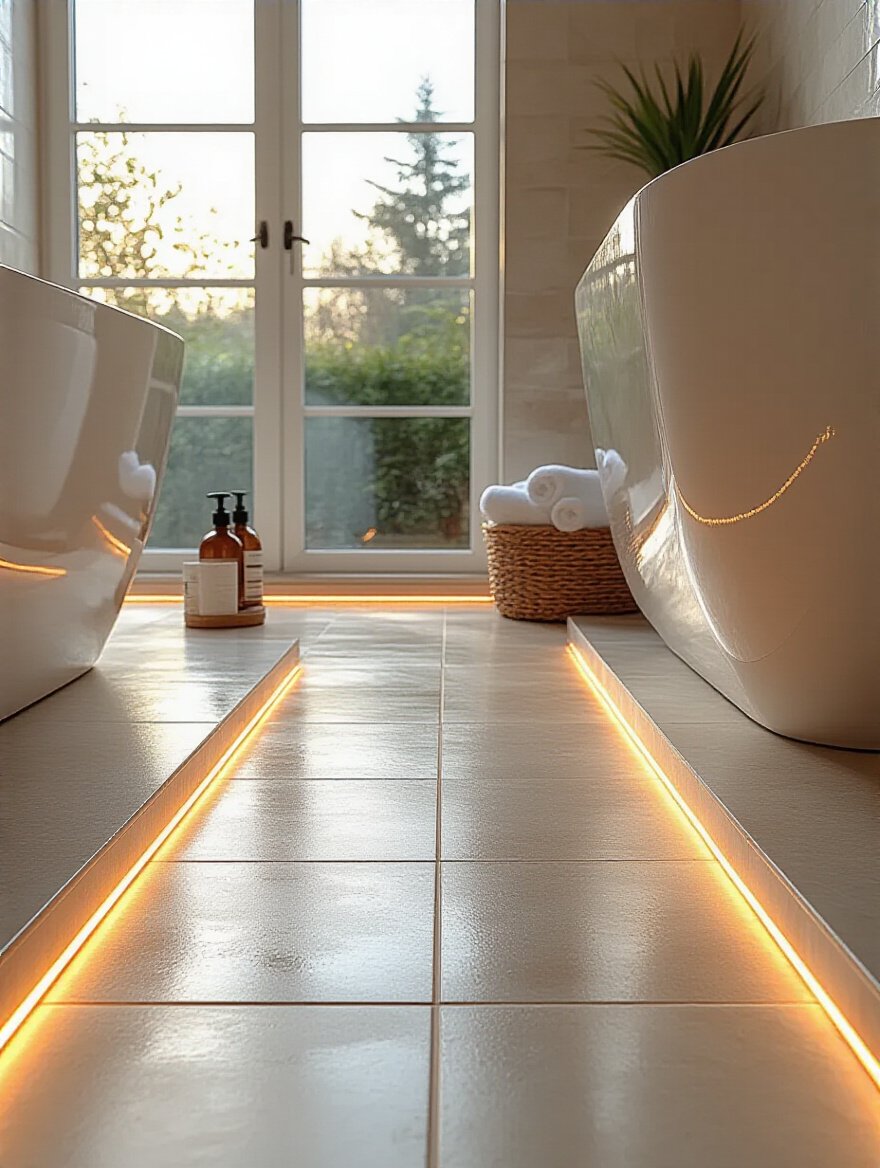
It’s not just about feeling good, either. Radiant heat is gentle and even. It doesn’t kick up dust and allergens like forced-air vents do, which is a huge benefit for anyone with asthma or allergies. While it’s an investment, it’s one that pays dividends in daily well-being. It says, “Your comfort matters here.” For families I work with, this is often the single most-loved feature of their new bathroom.
Now, let’s get into the work itself. It all starts with the hidden foundation.
You can buy the most expensive, beautiful tile in the world, but if you put it on a bad subfloor, you’ve wasted your money. The work you do here—the work nobody will ever see—is what determines whether your floor will last for five years or for fifty. This is where you cannot cut corners.
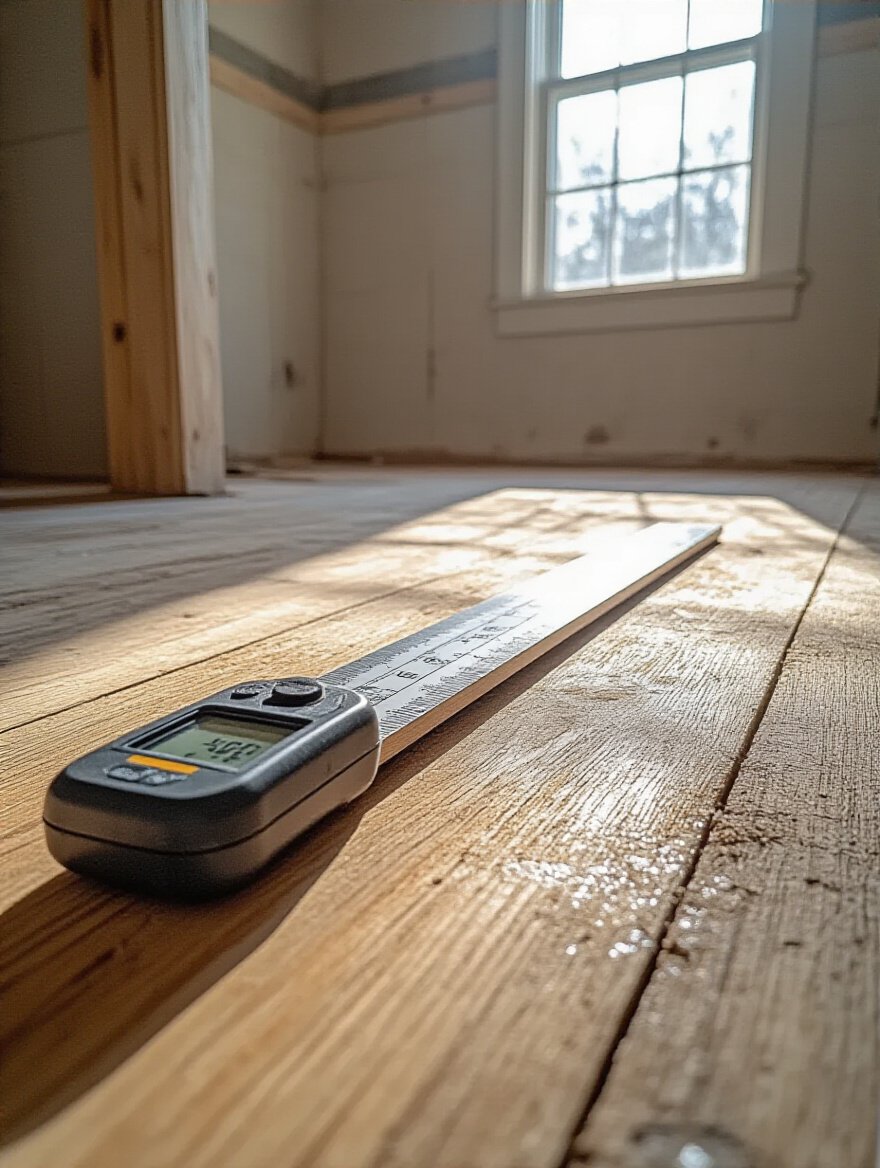
When the old floor comes up, that’s your moment of truth. You have to be a detective. Is the subfloor wood or concrete? Is it perfectly flat and level? Are there any soft spots, dark stains from old leaks, or signs of mold? You need to check for this with your eyes, your feet (by walking on every square inch to feel for give), and with a good straightedge or level.
I once took a client’s word that their subfloor was “probably fine.” We laid this gorgeous, large-format tile, and within a year, a long crack appeared right down the middle. It turned out there was a slight hump in the subfloor we’d missed. The stress on the tile was too much, and it broke. We had to tear it all out. It was a costly and heartbreaking lesson: never, ever assume. Assess everything.
After you’ve looked, you have to fix what you find.
Most people think “level” and “flat” mean the same thing. They don’t. A floor can be flat but sloped (which is good, for drainage!) but it can’t have hills and valleys. Rigid materials like tile or LVP cannot bend over high spots or dip into low spots. If you try to force them, they will either crack or the edges will pop up, creating trip hazards.

The most common mistake people make is thinking that the thin-set mortar or adhesive will somehow fix an uneven subfloor. It won’t. Its job is to stick the flooring down, not to be a leveling product. If you have low spots, you use a self-leveling compound. If you have high spots, you grind them down. This step is tedious and not at all glamorous, but it’s the absolute key to a professional, long-lasting result. It’s the difference between a floor that feels solid and one that feels cheap and unstable.
With a level subfloor, you’re ready for the most important layer of protection.
Remember how we talked about “waterproof” flooring? That’s your first line of defense. The waterproof underlayment is your second, and it’s non-negotiable in a bathroom. This is a membrane that goes on top of the subfloor and under your flooring. Its only job is to be a bulletproof barrier that stops any and all water from reaching the structure of your home.
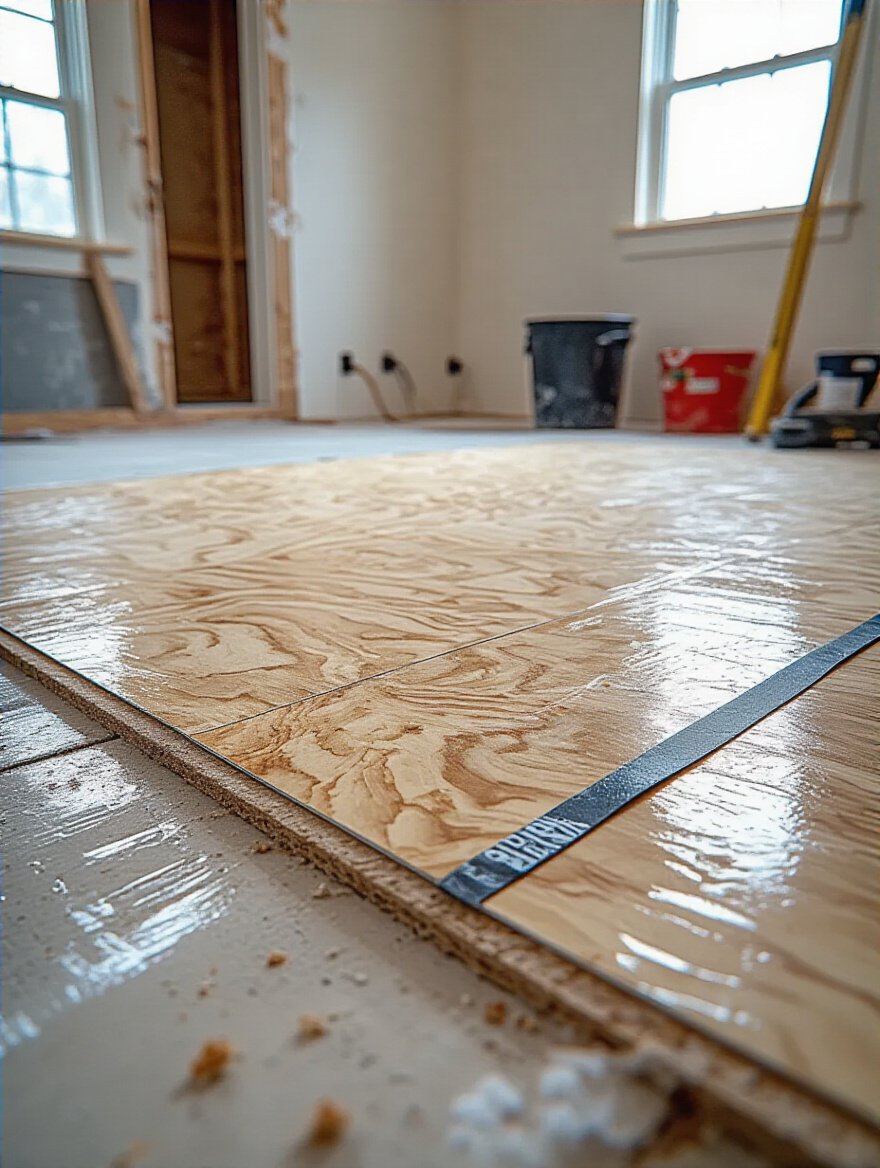
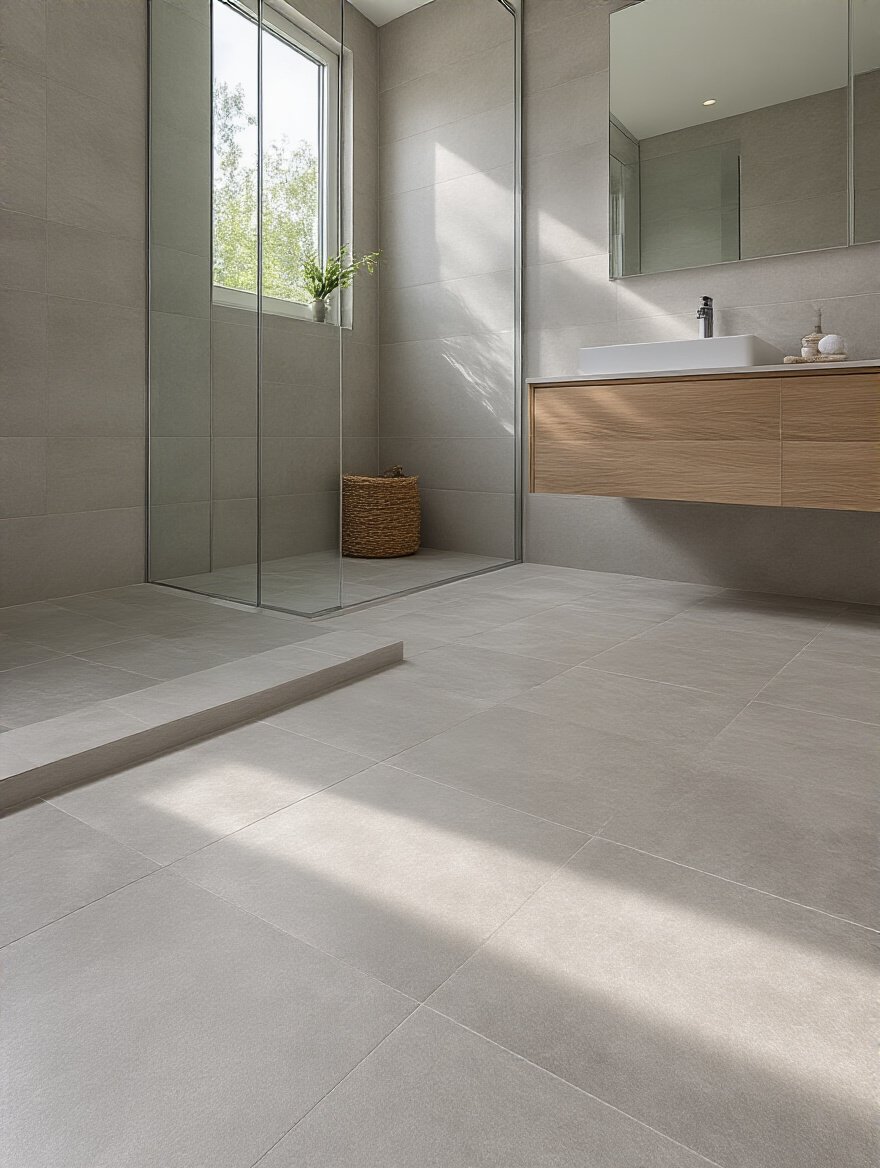
This is especially critical in homes where bathing customs might lead to more water on the floor, or in a bathroom designed with a curbless, walk-in shower for accessibility. In those cases, I always insist on extending the waterproofing membrane a few inches up the walls to create a shallow, invisible “pan.” It’s a technique that ensures even if water gets past the tile and grout (which it eventually can), it has nowhere to go but down the drain. This layer is your ultimate insurance policy against the silent destruction of water damage.
And what holds it all together? The right glue.
This seems so simple, but it’s a place where things can go wrong fast. You wouldn’t use wood glue on metal, right? The same principle applies here. The type of adhesive you need depends entirely on your flooring material, your subfloor type, and whether you have underfloor heating. Using the wrong kind can lead to tiles that come loose or vinyl that bubbles up.
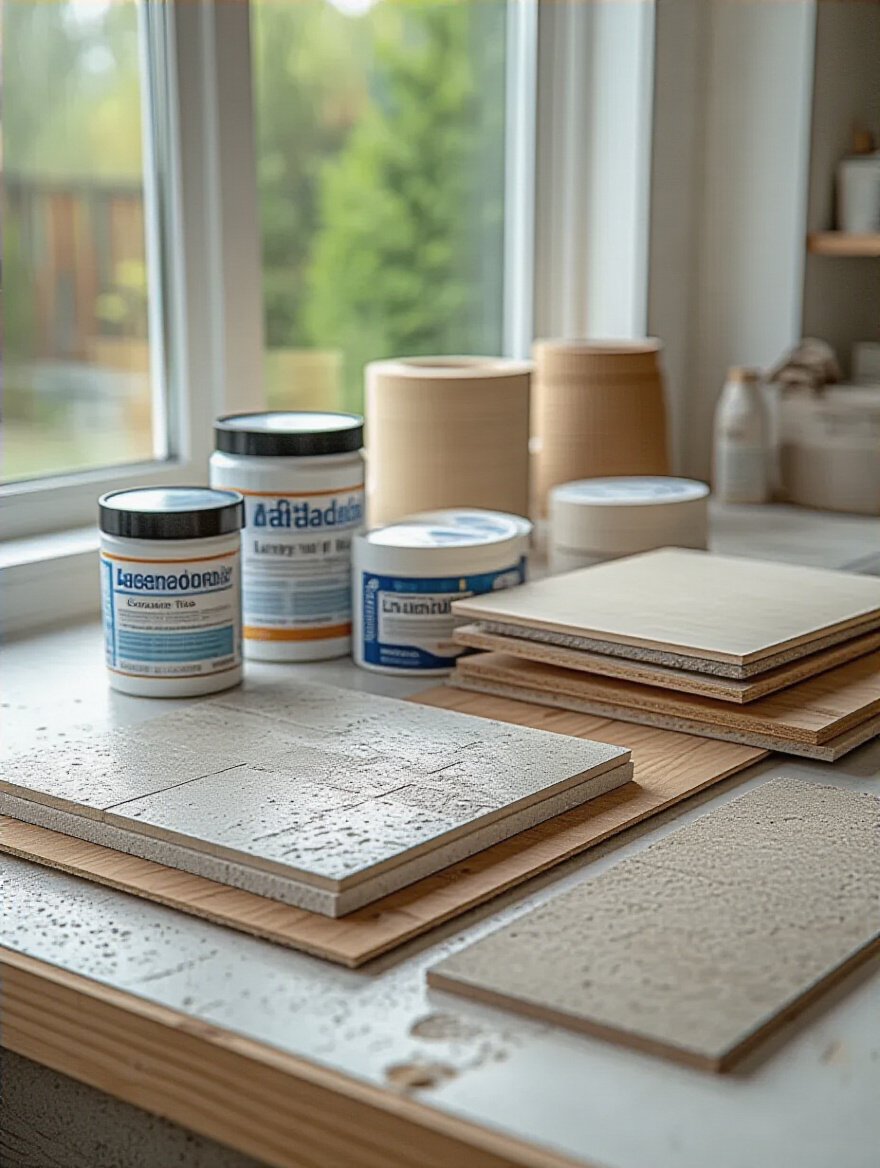
The shortcut here is simple: read the instructions. Don’t just grab any tub of adhesive from the shelf. The flooring manufacturer will tell you exactly what kind of product you need to use to maintain your warranty. The adhesive manufacturer will have a technical data sheet telling you exactly how to apply it. Following these instructions is one of the easiest ways to ensure a successful installation. It takes five extra minutes of reading to prevent a massive headache later.
For tile floors, there’s one more layer that smart installers always use.
If you’re installing tile, especially large-format tile, please hear me on this. An uncoupling membrane is one of the best inventions in modern construction. Think of it as a set of shock absorbers for your floor. Your house is always moving, shifting, and expanding or contracting with changes in temperature and humidity. A wood subfloor will move differently than the tile on top of it.

That difference in movement creates stress, and that stress is what cracks tiles. The uncoupling membrane is a plastic layer with a waffle-like pattern that sits between the subfloor and the tile. It allows the subfloor to move independently without transferring that stress to the tile. It “uncouples” them. Many of these membranes are also waterproof, so they do double duty. It adds a bit to the cost, but it’s the single best way to protect your investment in a beautiful tile floor.
With the foundation expertly prepared, it’s time to focus on the details that make the finish flawless.
This is where artistry meets engineering. All the careful planning comes to life here, but success depends on sweating the small stuff. A good installation looks beautiful the day it’s done. A great installation looks beautiful and functions perfectly a decade later.
In any area that will get wet, like a shower, the floor can’t be perfectly flat. It needs a subtle, almost imperceptible slope toward the drain. The standard is a quarter-inch drop for every foot of distance. This is what ensures that water flows away efficiently instead of creating stagnant puddles in the corners, which are a breeding ground for mold and a slipping hazard.

This is especially crucial when designing an accessible, curbless shower for an aging family member. The entire bathroom floor becomes part of the drainage system. This isn’t something you can eyeball. It requires careful planning and the use of tools like a laser level to ensure the slope is consistent and effective. Getting this right is a fundamental part of creating a safe and hygienic wet room.
Next up is the skill that separates the amateurs from the pros.
Nothing screams “DIY job” faster than a jagged cut or a wide, messy gap around a toilet flange or a doorframe. Precision cutting isn’t just for looks; it’s about function. A tight, clean fit means there are fewer places for water to get in and less reliance on a thick bead of caulk to hide your mistakes.

My best advice? Make templates. For a tricky curve around a pipe or toilet, use a piece of cardboard or craft paper to trace the exact shape first. Then, transfer that template to your tile or plank. It’s a simple step that takes all the guesswork out of it. And use the right tool for the job. A good wet saw for tile and a sharp, dedicated cutter for LVP will give you clean edges that look professional and create a tighter, more water-resistant seal.
And to seamlessly connect different spaces, you’ll need the right bridges.
Transition strips aren’t just an afterthought; they’re essential for safety and longevity. They create a smooth and safe path between the bathroom floor and the flooring in the hallway, especially if they’re at different heights. A raised edge is a major trip hazard, particularly for someone with shuffling feet or impaired vision.

But beyond that, they also protect the edges of your flooring from chipping and wear. And in the case of a “floating” floor like LVP, which needs room to expand and contract, the right transition strip allows for that movement without buckling. Choose a style and finish that complements both floors. It’s a small detail that, when done right, makes the entire design feel more intentional and cohesive.
Once the tile is down, the most-hated part is next—but it’s critical.
Let’s be direct about this. Standard cement grout is basically a hard sponge. It’s porous and will soak up every drop of dirty water, soap scum, and anything else that lands on it. This is why grout gets so dingy and becomes a haven for mold. Sealing it creates an invisible, protective barrier that repels all of that gunk.

This is a step you cannot skip. After your grout has fully cured (check the manufacturer’s instructions, but it’s usually 48-72 hours), it needs to be sealed. A better solution? Use an epoxy or urethane-based grout from the start. They are more expensive and a bit trickier to work with, but they are non-porous and highly stain-resistant. For a busy family, it’s one of the best investments you can make for a low-maintenance, hygienic bathroom.
There’s another way to minimize grout issues, too.
The trend toward large-format tiles is one I fully support, not just for aesthetics but for practical reasons. A bigger tile means fewer grout lines. And fewer grout lines mean less to clean, less to seal, and less opportunity for mold and mildew to take hold. In a small bathroom, large tiles can also trick the eye into seeing a larger, more serene, and less busy space.

The one major caveat here is that large tiles demand a perfectly flat subfloor. Any imperfection will be magnified and can lead to lippage (where one edge of a tile is higher than its neighbor) or cracking. This is why all that subfloor prep we talked about is so important. If you’re going big with tile, you have to be obsessive about the foundation underneath.
Now let’s look at the finishing touches and long-term thinking that elevate your project.
You’re almost there. A flawless floor isn’t just about the installation; it’s about thinking through the details of how the room will actually be used and cared for over the years. These final steps ensure your beautiful new floor remains a source of pride and comfort.
This sounds so obvious, but it’s one of the most common oversights I see. Your new flooring system—the underlayment, the membrane, the tile, and the mortar—is almost certainly thicker than the old floor you ripped out. If you don’t account for this, your bathroom door won’t be able to open. It will scrape across your beautiful new floor, leaving a scar, or simply get stuck.

Before you install anything, calculate the total finished height of your new floor. Measure it against the current gap under your door. Chances are, you’ll need to take the door off its hinges and trim a half-inch or so off the bottom. It’s a simple job to do before the floor is in, but a huge pain to deal with afterward. This little bit of foresight saves a lot of frustration.
Next, a point that is close to my heart when designing for families.
In a home with young children or aging parents, the safety of the bathroom floor is my number one priority. A wet, glossy tile is a serious accident waiting to happen. The beauty of a floor is irrelevant if it puts your loved ones at risk. Look for tiles with a matte or textured finish that provide natural grip.

The industry has a rating for this called the DCOF (Dynamic Coefficient of Friction). You don’t need to be an expert, but you should know that for wet areas, you want a tile with a DCOF rating of 0.42 or higher. It will usually say right on the box or the product specs. Smaller tiles, like mosaics, also provide more grip because of the higher number of grout lines. In the shower itself, I almost always use small, textured tiles for this very reason. Safety must always come before shine.
And thinking about the long run, make life easier on yourself.
When I design for a “sandwich generation” family—caring for both kids and parents—the last thing they have is time to scrub floors. Your flooring choice can either add to your workload or reduce it. The easiest surfaces to clean are non-porous and have minimal texture or grout lines. Large-format porcelain tiles and seamless luxury vinyl are champions here.

Think about how you’ll clean the junction where the floor meets the wall. A sharp 90-degree angle is a magnet for dust and grime. Some materials, like sheet vinyl, can be installed with an integrated “cove base” that curves up the wall, creating a seamless and incredibly easy-to-clean corner. It’s a technique often used in commercial spaces for hygiene reasons, and it’s brilliant for a hardworking family bathroom.
Let’s also think about the health of your home’s environment.
A healthy home is a harmonious home. Many conventional building materials can release chemicals called Volatile Organic Compounds (VOCs) into the air, which can be irritating for everyone, but especially for children or family members with respiratory issues. When choosing flooring, adhesives, and sealants, look for products that are labeled “low-VOC” or “zero-VOC.”

There are also wonderful flooring options made from sustainable and natural materials. Cork, for example, is naturally anti-microbial and soft underfoot. Linoleum (the real kind, made from linseed oil) is another great choice. You can also find beautiful tiles made from recycled glass. Look for certifications like GREENGUARD Gold, which ensures a product has met strict standards for low chemical emissions. A healthy floor contributes to the overall well-being of everyone in the house.
And finally, the big question you have to ask yourself.
There is no shame in hiring a professional. In fact, knowing your limits is a sign of wisdom. A simple, click-lock vinyl plank floor in a small, square powder room? That might be a great DIY project. Tiling a large master bathroom with a curbless shower, in-floor heat, and large-format tiles? That is a job for an experienced professional.

The complexities of waterproofing, creating a proper slope for drainage, and correctly setting large tiles are skills that take years to master. A mistake in a bathroom can lead to thousands of dollars in water damage down the road. Be honest with yourself about your skills, your tools, and your available time. Sometimes, the most cost-effective decision you can make is to pay a professional to do it right the first time.
So you see, a bathroom floor is never just a floor. It’s a quiet promise of safety to an elder parent. It’s a durable play surface for a splashing child. It’s a low-maintenance, easy-to-clean foundation for a busy caregiver. By thinking through these steps, you’re not just planning a renovation; you’re building a more harmonious and respectful space for your entire family.
You’re creating a room that works for everyone, bridging cultural needs and generational divides with thoughtful design. When you get the foundation right, the rest of the room falls into place, providing a backdrop for the small, daily moments that make a house a home.