Physical Address
304 North Cardinal St.
Dorchester Center, MA 02124
Physical Address
304 North Cardinal St.
Dorchester Center, MA 02124
Designing for a multi-generational family? Sarah shares 20 essential, practical tips for choosing, installing, and maintaining the perfect bathroom floor tiles. Learn how to prioritize safety, durability, and harmony to create a beautiful, functional space where everyone feels valued and comfortable.
You know the question I get asked most often when I’m designing a home for multiple generations? It’s not about the kitchen layout or the size of the living room. It’s, “Sarah, what do we do about the bathroom floor?” It sounds so simple, but it’s where all the complexities of family life collide. You have a grandparent who needs a non-slip surface, a toddler who splashes water everywhere, and a teenager who seems to think a wet towel is a permanent floor fixture. It’s a battlefield of needs.
I used to think choosing a tile was just about picking a pretty color. Then I watched a family I was working with—a wonderful couple, their two young kids, and her aging mother who had just moved in from India—nearly come to tears over it. The daughter-in-law wanted something sleek and modern. The mother was used to a specific type of stone and was worried about the cold, slick feel of porcelain. And everyone was terrified of falls. It hit me then: the bathroom floor isn’t just a floor. It’s the foundation for a family’s daily comfort, safety, and peace of mind. Getting it right is about more than aesthetics; it’s an act of love.
So, let’s talk about how to choose, install, and care for a floor that works for everyone. This is the real story, not the brochure version.
This is the most important part. If you get these first few steps right, everything else falls into place. This isn’t just about picking tile; it’s about building a foundation of safety and practicality that will serve your family for years. We’re thinking long-term here.
Before you even look at a single tile, think about who uses which bathroom and how. Is this the main Family Bathroom that sees an endless parade of muddy feet, bath toys, and teenage rush hours? Or is it a powder room that’s used maybe twice a day? Or perhaps it’s the ensuite for your parents, where the traffic is light but the need for safety is paramount. They’re not all the same, and your tile choice shouldn’t be either.
The biggest myth is that a tile is a tile. It’s not. There’s something called a PEI rating, which basically tells you how tough a tile is. For that chaotic family bathroom, you need something that can take a beating (a PEI rating of III or IV). For the quieter ensuite or powder room, you can get away with something less rugged. Choosing a beautiful but weak tile for a high-traffic area is like buying silk gloves for gardening—it’s a waste of money and will end in disappointment and scratches within a year.
Think about this before you even step into a store. Durability first. Pretty comes second. This decision alone will save you so much heartache down the road.
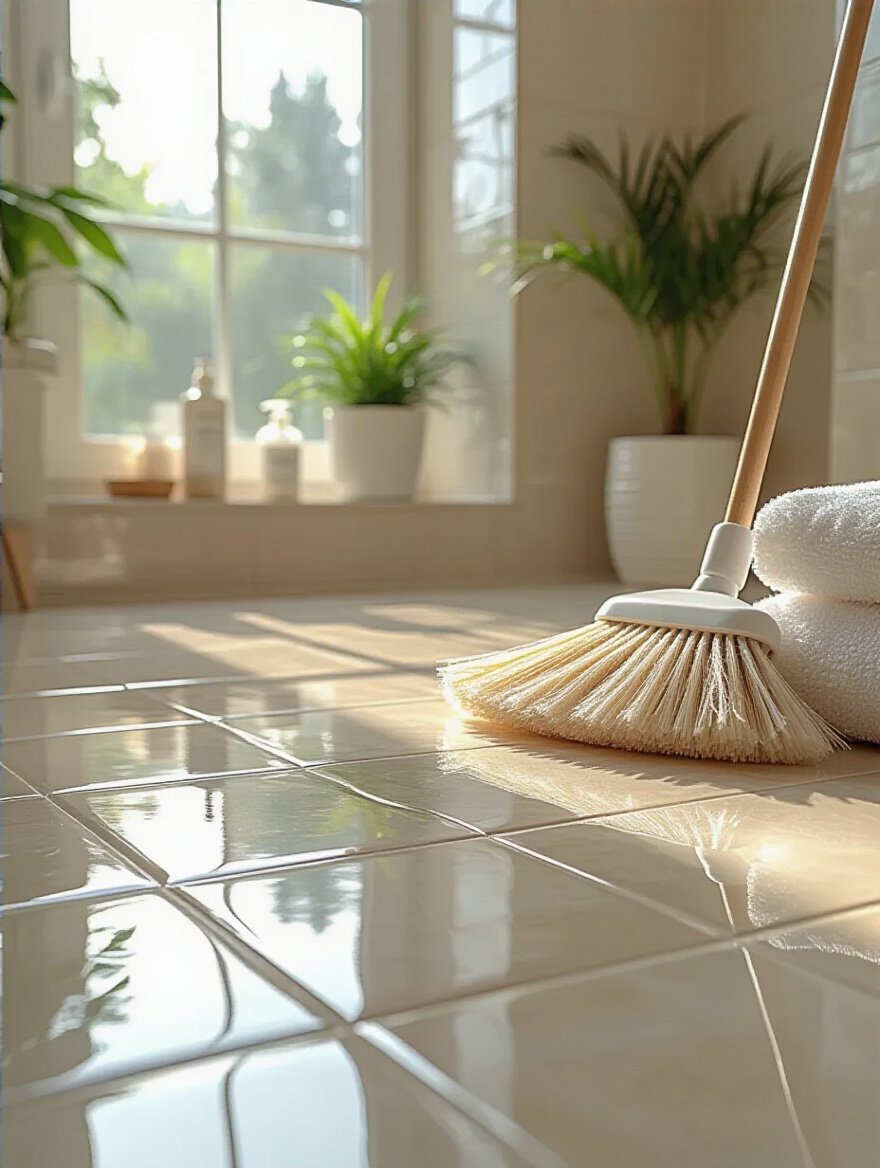
This is my non-negotiable. I don’t care how beautiful a tile is—if it’s slick when wet, it doesn’t belong in a family bathroom. Full stop. Everyone talks about getting a great deal on polished porcelain, but I’ve seen the aftermath of a fall, and no discount is worth that risk. A bathroom is a wet zone, and creating a safe one is your primary job. This is especially true when you have young children running around or older parents whose balance might not be what it once was.

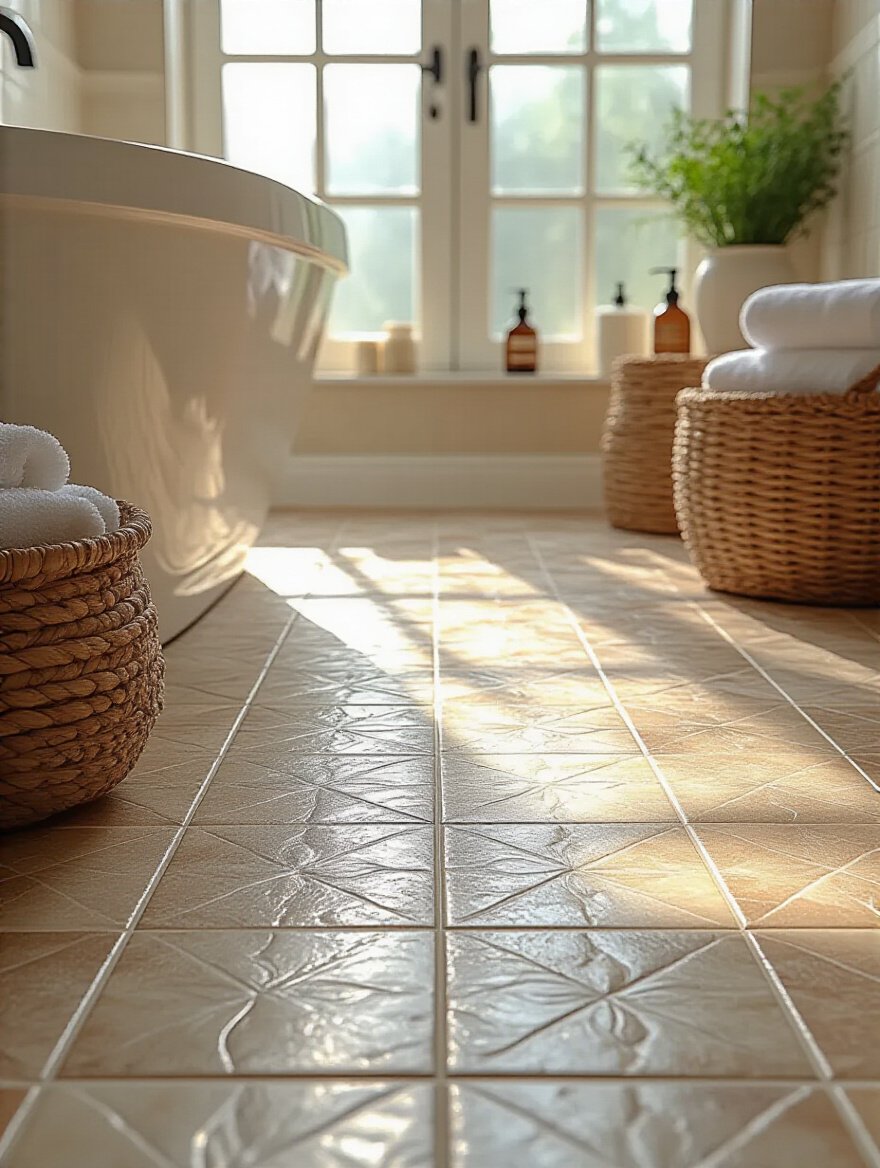
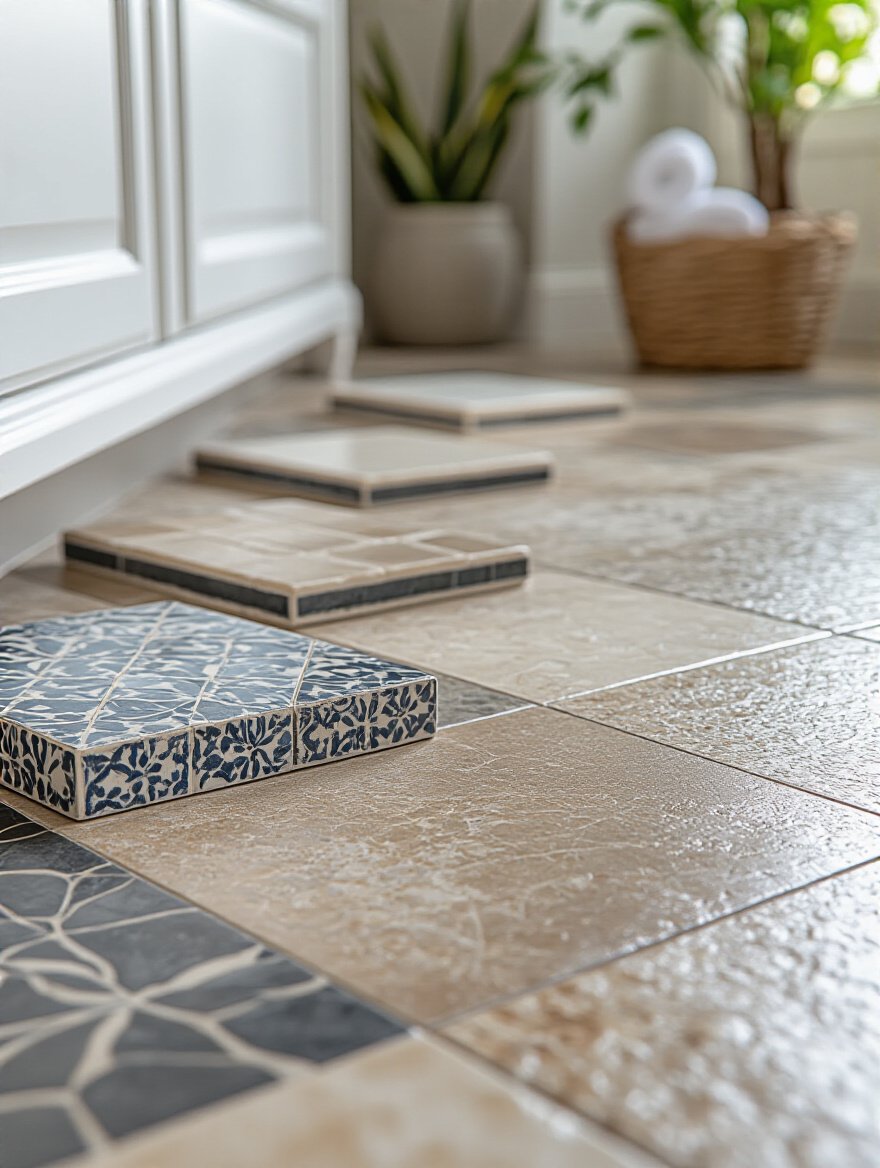
So here’s the shortcut: ask for the DCOF rating. It’s a number that tells you how slip-resistant a tile is. You want a rating of 0.42 or higher. Anything less is an invitation for trouble. Look for tiles with a matte or textured finish; they provide a natural grip that polished tiles just can’t. And here’s a little secret from a design perspective: smaller tiles. Think 2×2 mosaics or 4×4 squares. The extra grout lines they create act like treads on a tire, adding a ton of extra grip to the floor.
After a client’s elderly father had a close call on their newly renovated (and very shiny) floor, they called me in a panic. We covered it with bath mats, which ruined the look and created a new trip hazard. Prioritize a safe, high-DCOF tile from the start, and you design safety right into the room.
Everyone thinks that large tiles make a small bathroom look bigger, and that’s often true. Fewer grout lines create a more seamless, expansive feeling. This can be a wonderful trick for a small guest bath or a basement bathroom you’ve tucked into a tight corner. Plus, and this is a big plus for any busy parent, fewer grout lines mean less to scrub. It’s a win for both aesthetics and maintenance.
But it’s not always the right answer. In a very small or awkwardly shaped bathroom, trying to force a huge tile in can result in a lot of weird, skinny cuts that actually make the room look clumsy and unplanned. A good rule of thumb I use is to see if you can fit at least three full tiles across the shortest part of the room. If not, you might want to consider a smaller format. For a client who was converting a closet into a small washroom for her father, we used beautiful 4×4 tiles. They fit the space perfectly and the extra grout gave him more confidence when moving around.
Think about the room’s flow and function. Don’t just follow a trend. Use paper cutouts of your top tile choices and lay them on the floor to see how the cuts will land. Your eyes will tell you what works.
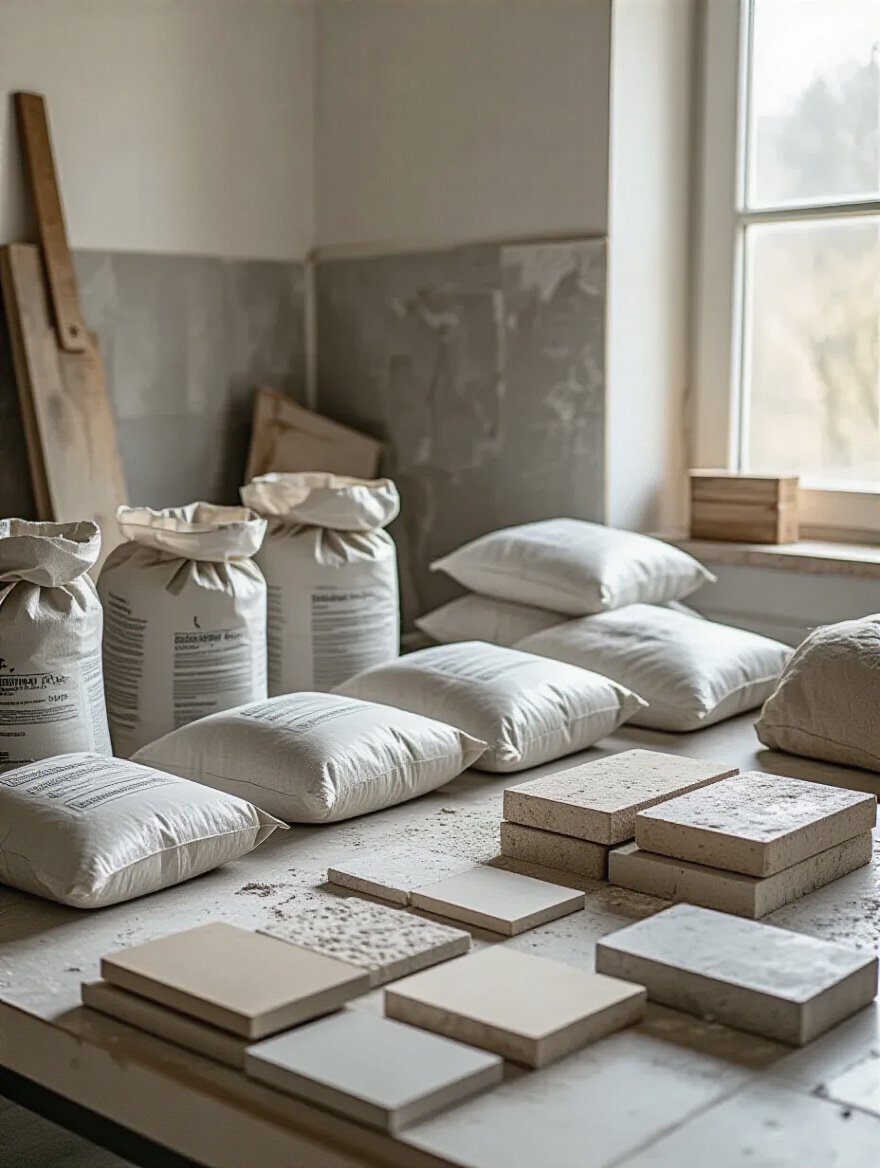
This is where people get overwhelmed, so let’s simplify it. For 90% of family bathrooms, the best answer is porcelain. It’s incredibly dense, it doesn’t absorb much water, and it’s tough as nails. It’s the workhorse of the tile world, perfect for that main bathroom that has to withstand everything. You can get it in a million different looks, from wood grain to concrete to marble.
Ceramic is often a bit more budget-friendly and is a great option for walls or low-traffic floors, like a powder room. It’s just not quite as tough as porcelain. And then there’s natural stone, like marble or travertine. It’s beautiful, no question. It carries a certain weight and history, and for some cultures, using natural materials is deeply important. I honor that. But I also have to be honest with my clients: stone is porous and high-maintenance. It stains easily and needs to be sealed regularly. In a busy family bathroom, that’s a big ask.
I often suggest a compromise: use a beautiful natural stone for the vanity countertop or a decorative accent, and a durable, practical porcelain on the floor. You get the beauty without the constant worry.
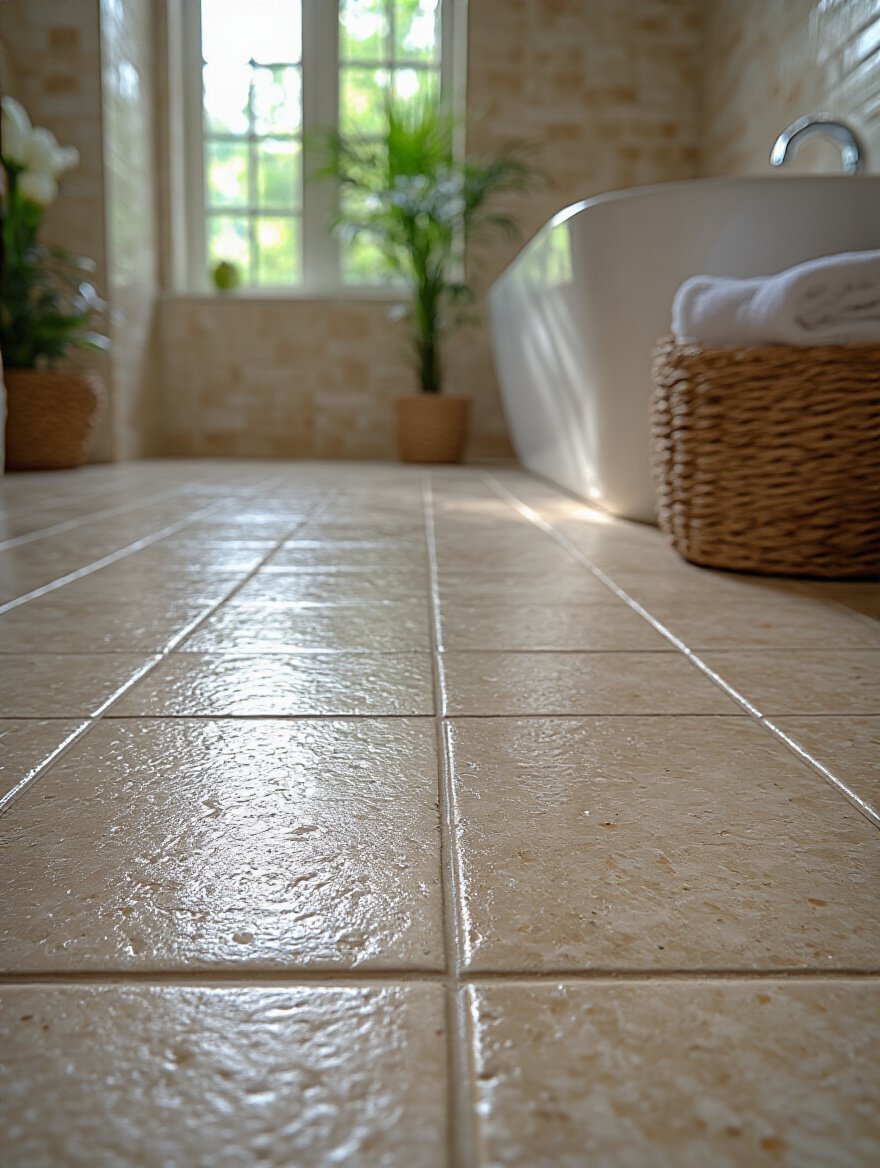
This sounds technical and boring, but stick with me. This is about preventing the silent destroyer of bathrooms: mold. A tile’s absorption rate is simply how much water it soaks up. In a room that’s constantly steamy and splashed, you want a tile that is as non-absorbent as possible. A tile that drinks up water is a breeding ground for mold and mildew hiding underneath, which is a serious health concern for everyone, especially children and elders.
This is another reason why I’m such a fan of porcelain. Its absorption rate is incredibly low (less than 0.5%), which is why it’s classified as “impervious.” It basically creates a shield on your floor. Some natural stones and terracotta tiles, while beautiful, are like sponges. They are just not suited for a family bathroom floor unless you are extremely diligent with sealing and maintenance.
Don’t just take the salesperson’s word for it. Ask to see the spec sheet for the tile you’re considering. It will list the water absorption rate. This little piece of data protects the health of your family and the structural integrity of your home.
Once you’ve got the practical foundation down, you can have fun. This is where we create a space that feels like a sanctuary, a place of peace in a bustling home. The goal is harmony—a room that everyone enjoys being in.
Grout seems like a minor detail, but it completely defines the look of your floor. The choice is simple: do you want to hide it or highlight it? Matching the grout color to your tile creates a smooth, continuous surface. The lines disappear, making the room feel larger and more serene. This is a wonderful choice for creating a calm, spa-like retreat, perhaps in a master or an in-law suite.
But sometimes, you want to make a feature of the tile itself. Using a contrasting grout—like a dark gray with a white subway tile—draws a grid that highlights the shape and pattern of each tile. It’s a bolder, more graphic look. And here’s a practical tip from every parent I’ve ever worked with: a slightly darker grout is a lifesaver. White or very light grout in a kids’ bathroom will be a dingy gray in six months, no matter how much you scrub. A mid-tone gray or taupe is far more forgiving.
Before you commit, ask your tile installer to mock up a small sample board with a few different grout colors. Seeing it next to your actual tile under your bathroom light is the only way to know for sure.
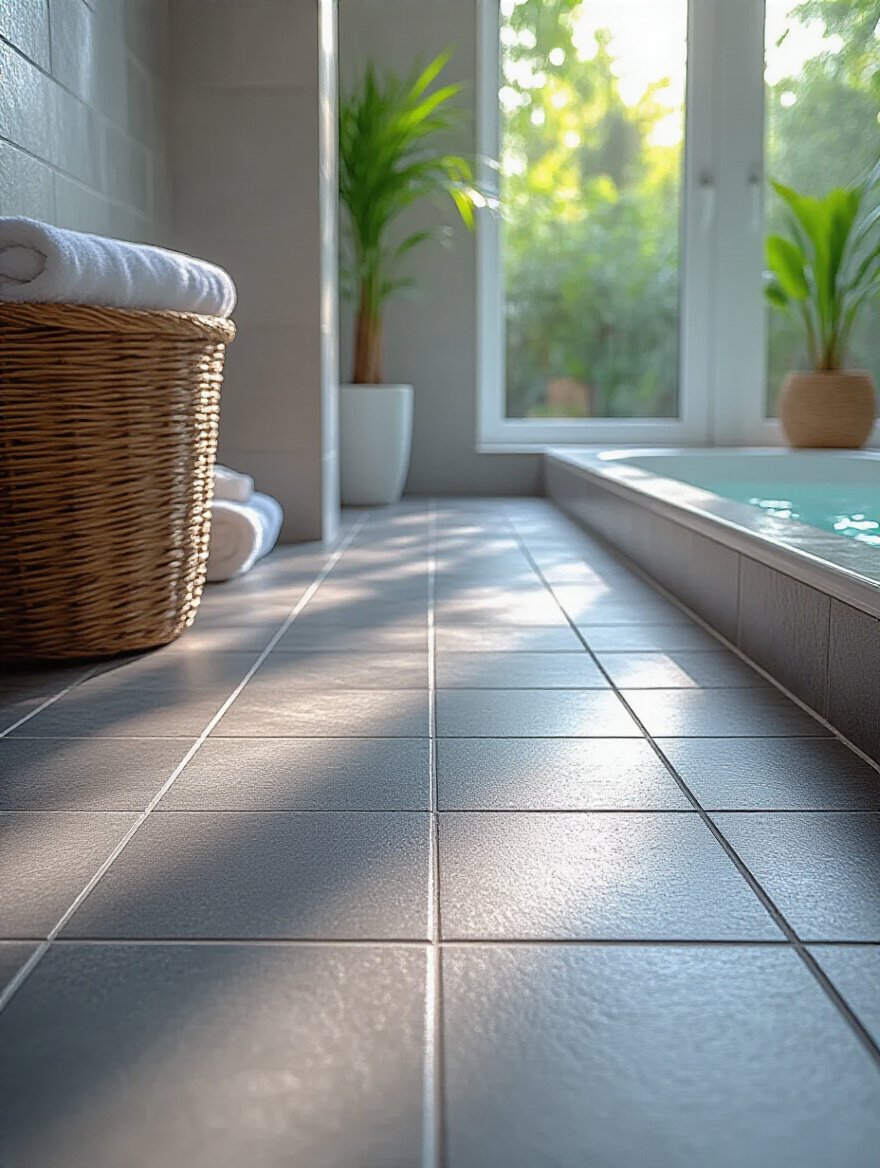
As I mentioned before, this is a classic designer trick for a reason. Our eyes read fewer lines as more space. If you’re working with a standard-sized or small bathroom, laying large-format tiles (like 12×24 or 24×24 inches) can have a dramatic effect. The floor feels more like a solid, unbroken surface, which visually pushes the walls out.
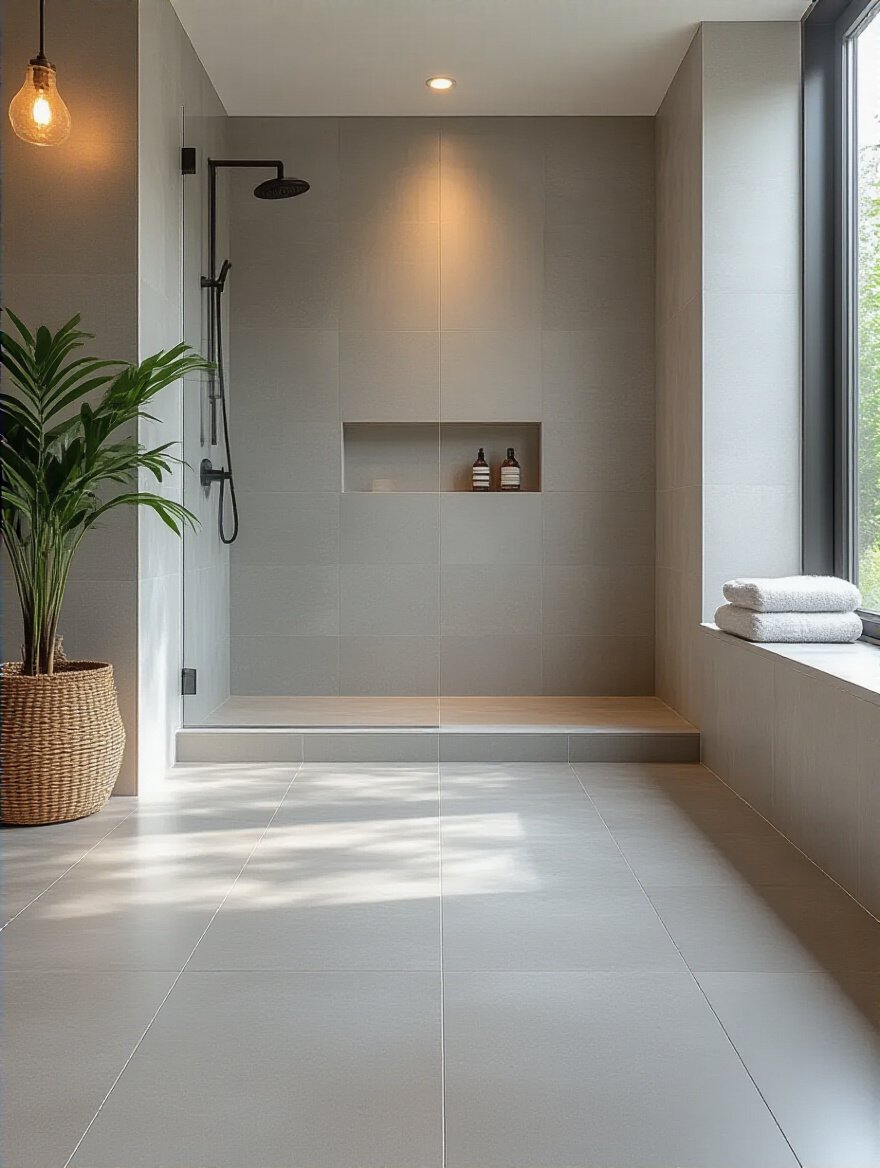
The other huge benefit, especially in a home where time is precious, is cleaning. I designed a bathroom for a family with three boys, and the mom’s number one request was “easy to clean.” We used large-format porcelain tiles on the floor and walls. She told me later it was the best decision they made. Wiping down a few large tiles is infinitely faster than scrubbing dozens of grout lines. It’s a design choice that gives you back time in your day.
Just make sure your subfloor is perfectly flat and stable before you go this route. Large tiles are unforgiving of any bumps or dips underneath.
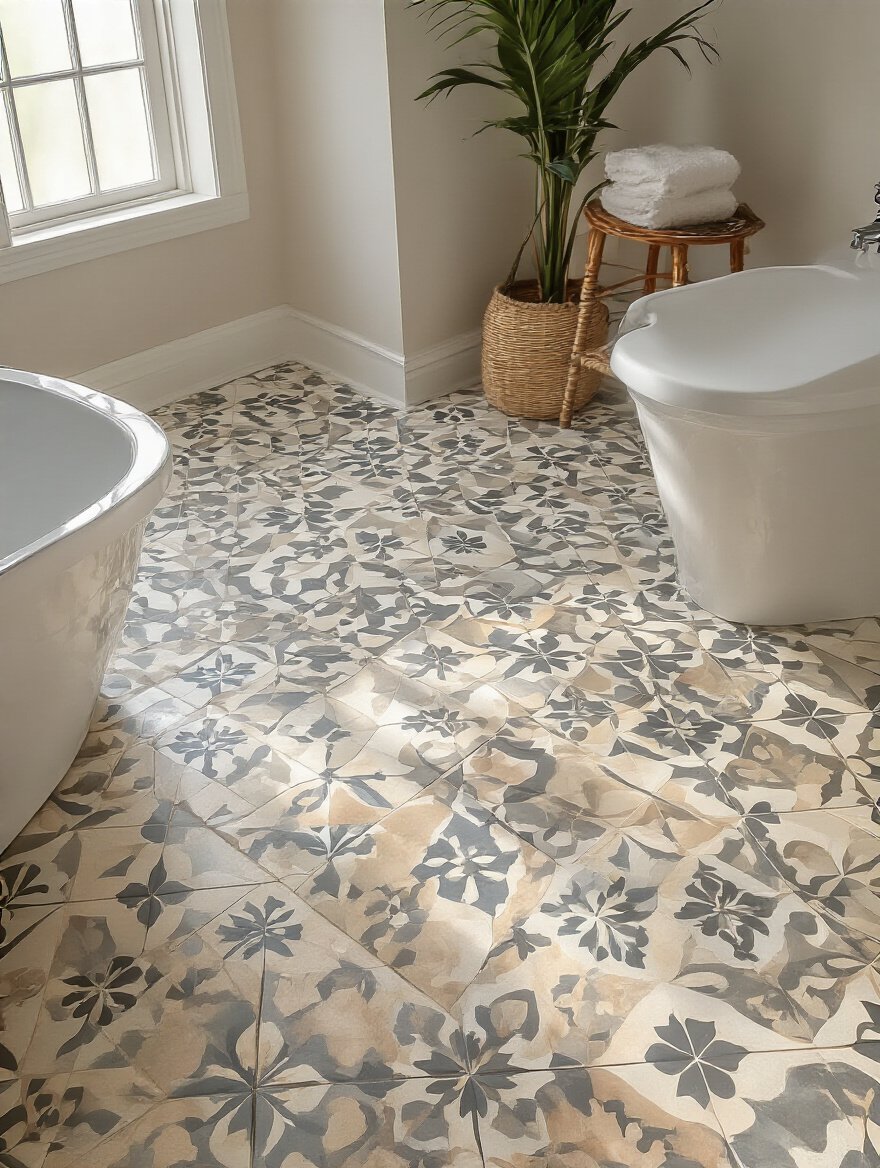
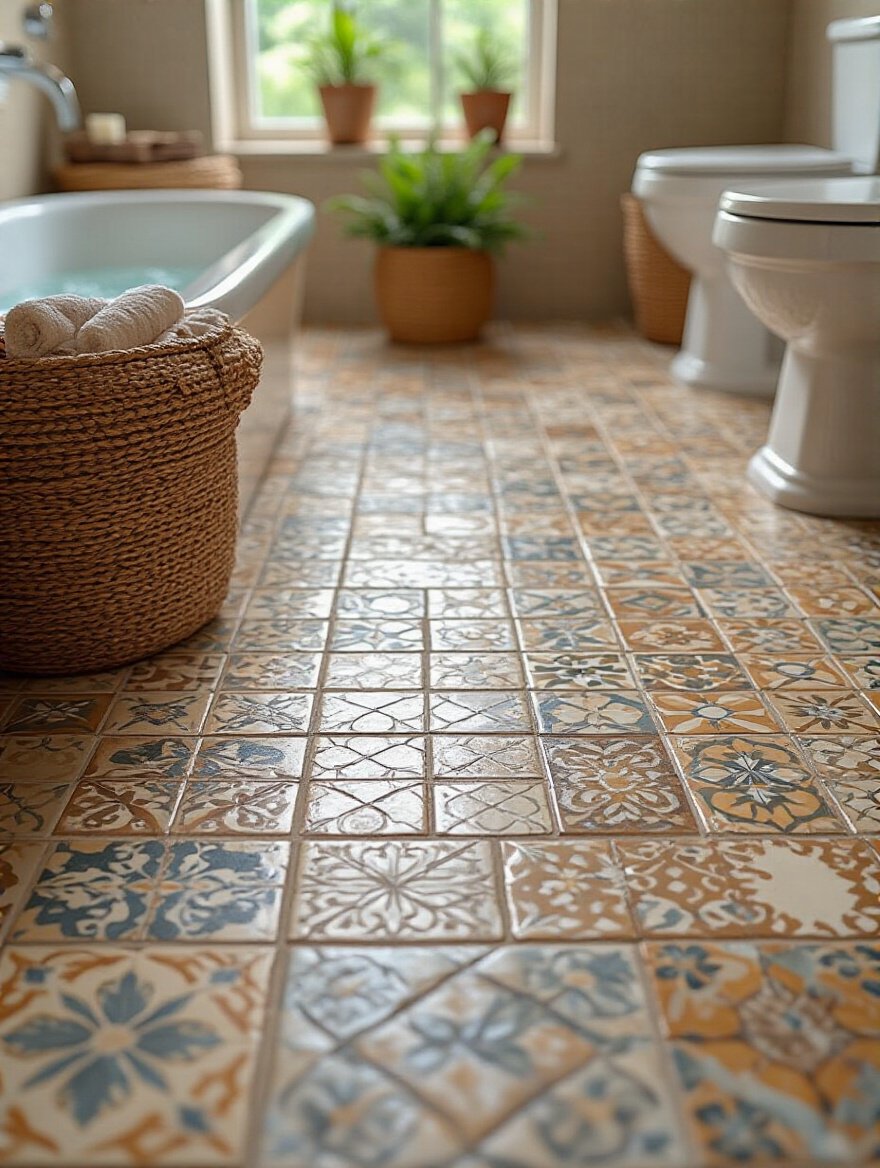
A home should tell the story of the people who live there. Patterned tiles are a wonderful way to inject personality and culture into a space. A beautiful, bold pattern on the floor can turn an otherwise simple bathroom into something truly special. It can be a nod to a family’s heritage—like a Moroccan-inspired motif or a classic Victorian design.
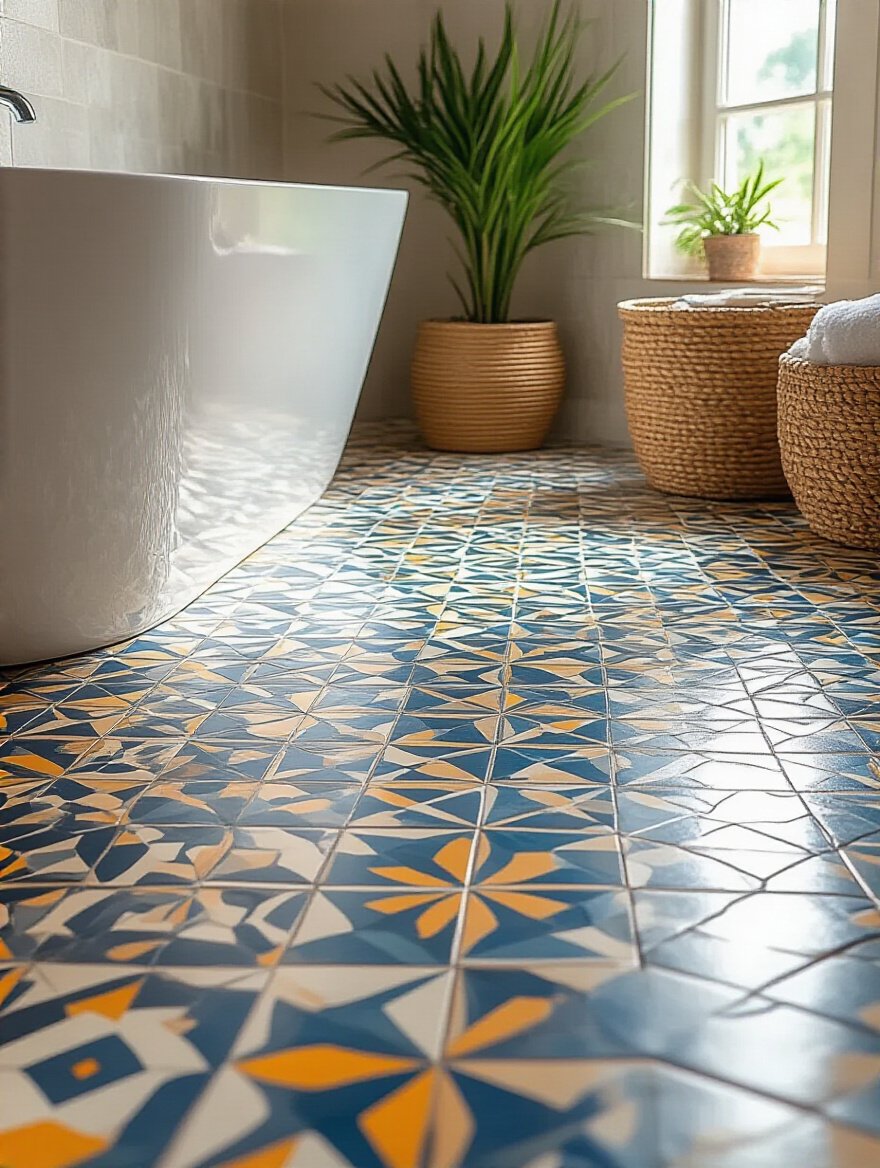
The key is balance. If you go for a bold floor, keep the walls and fixtures relatively simple to let the floor be the star. Overwhelming a small space with too many patterns can feel chaotic. A great way to use pattern without committing to the whole floor is to create a “rug” effect—a patch of patterned tile in the center of the room, surrounded by a simple, solid tile. It gives you that touch of artistry without taking over.
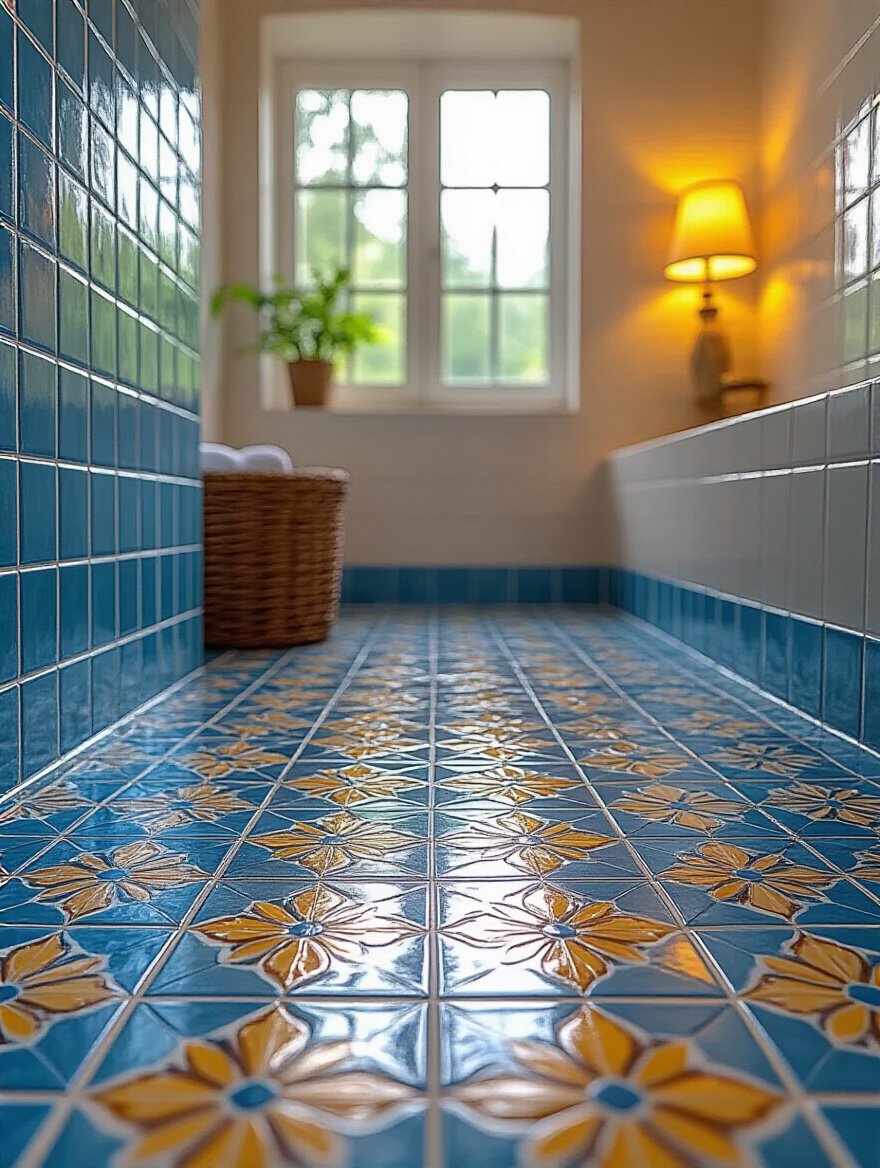
I worked with one family who wanted to honor their Portuguese heritage. We found a gorgeous blue and white patterned tile and used it just on the floor of their small powder room. It was like a jewel box—a little surprise that brought so much character and history to their home.
When a space feels calm and resolved, it’s usually because of details you don’t consciously notice, like consistent finishes. This means if you choose a matte finish for your floor tile, try to carry a similar matte or satin finish onto the wall tiles. If you go for polished on the floor, keep that reflective quality going elsewhere. Mixing a very glossy tile with a very rough, rustic one can feel jarring and disconnected.
This doesn’t mean everything has to be identical. It’s about creating a family of finishes that feel like they belong together. A smooth, matte floor tile pairs beautifully with a subtly textured wall tile in the same finish. The consistency creates a serene backdrop, which is so important in a bathroom. It’s the visual equivalent of a quiet hum instead of a loud noise.
When there are a lot of people sharing a house, creating pockets of calm is essential for everyone’s well-being. A harmonious bathroom can be one of those crucial spaces.
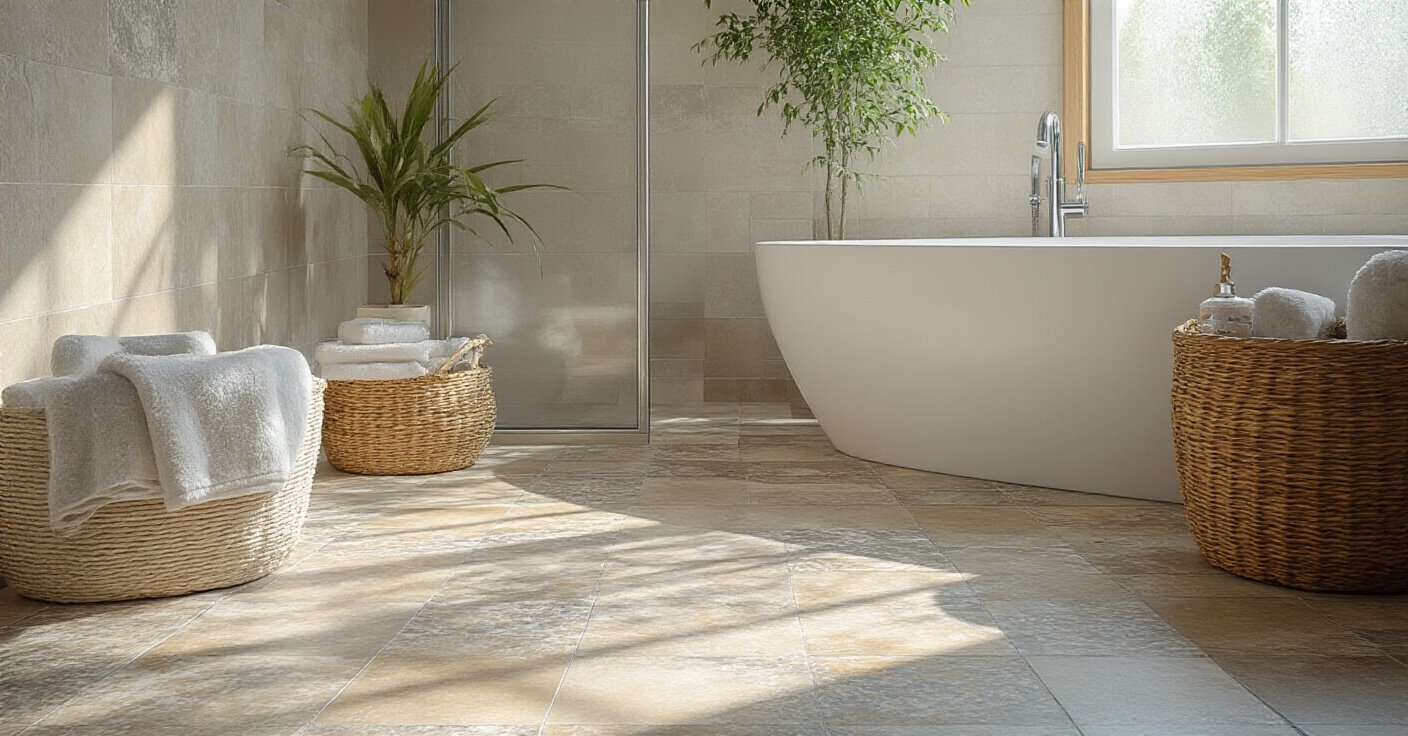
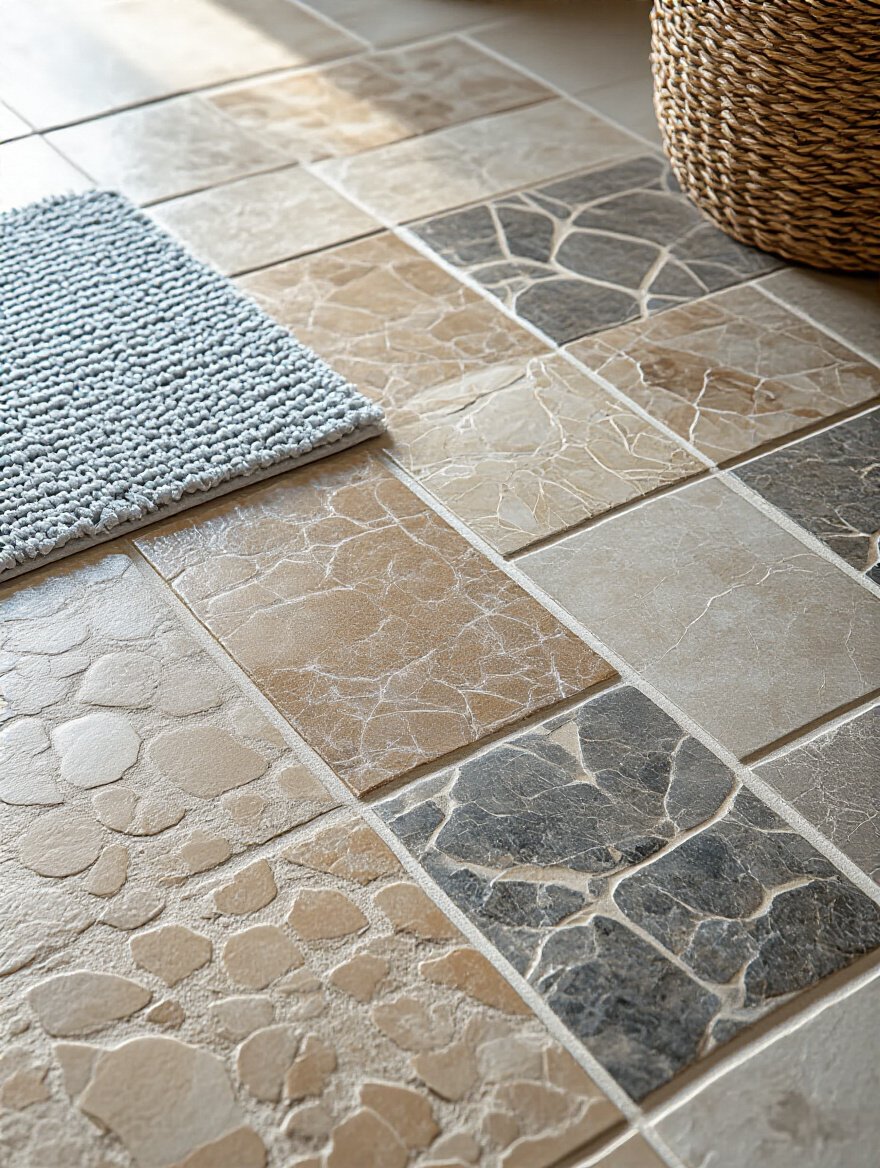
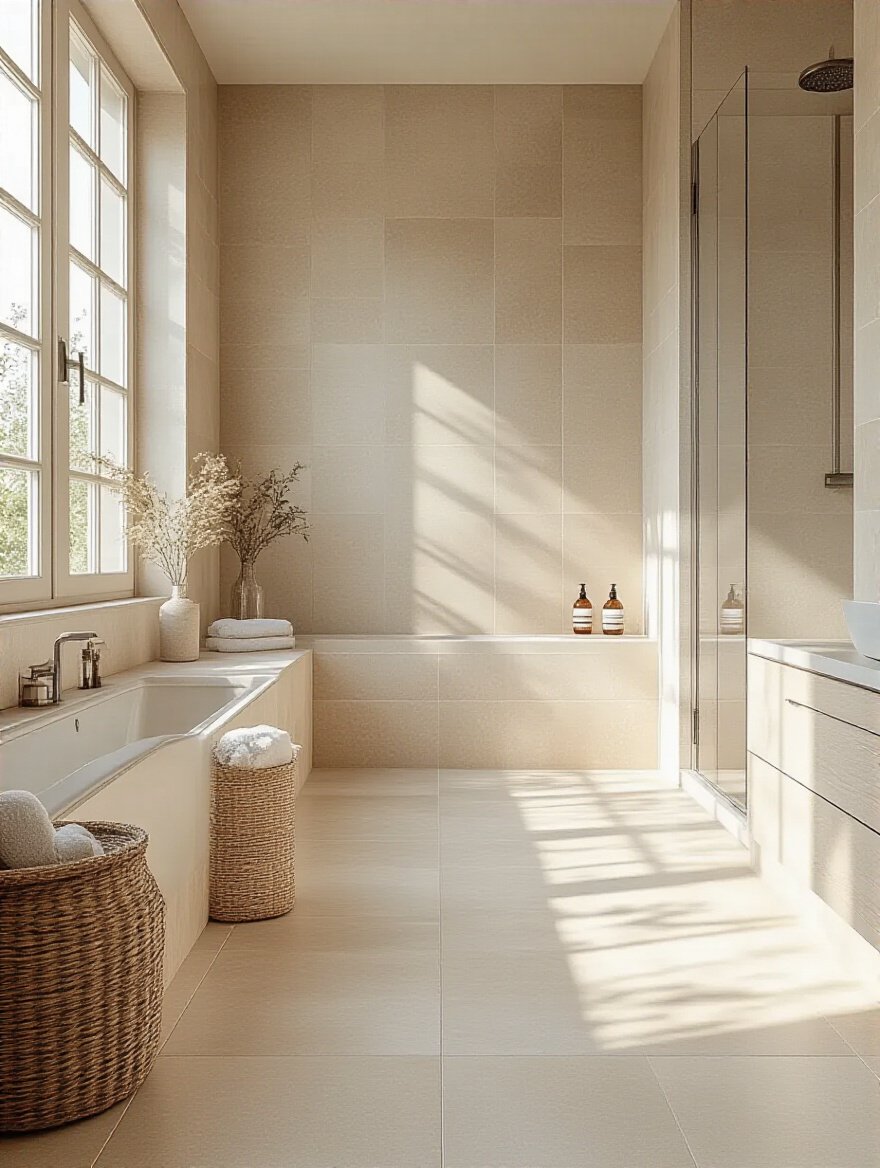
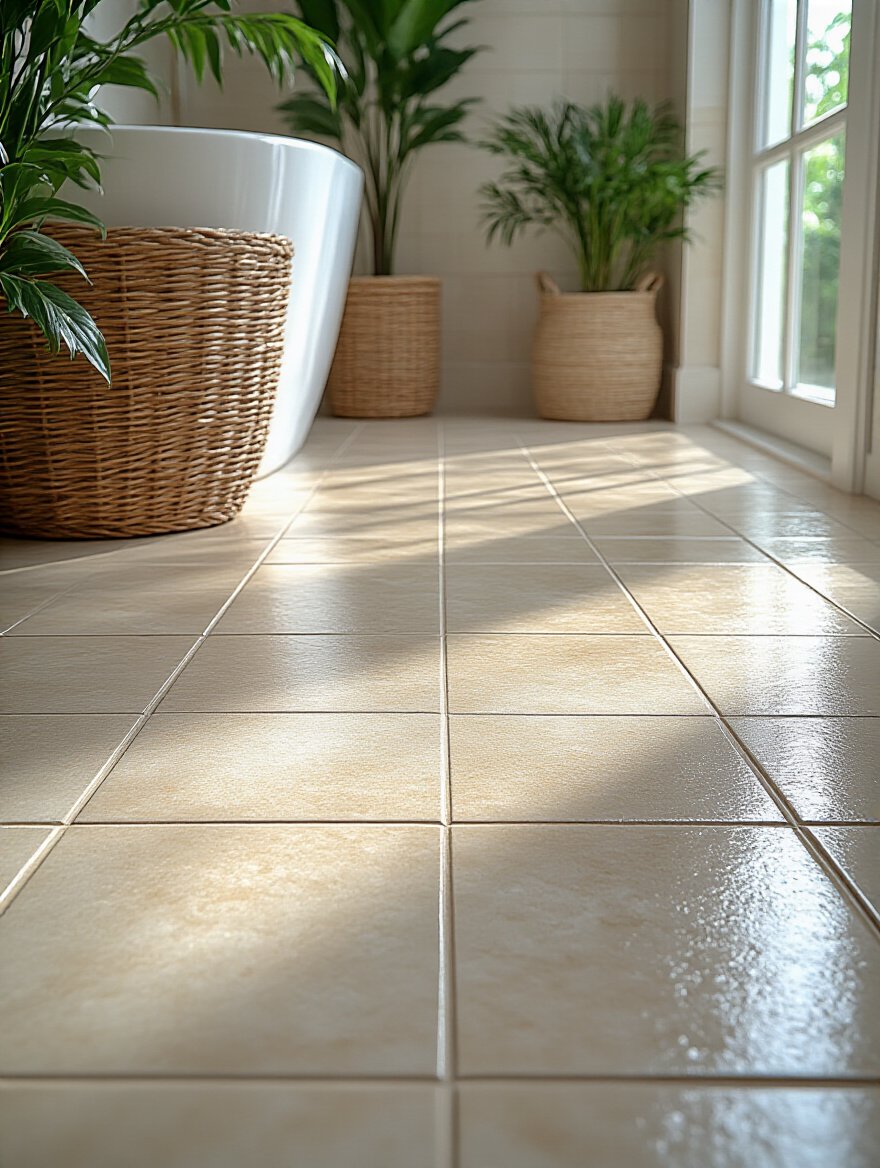
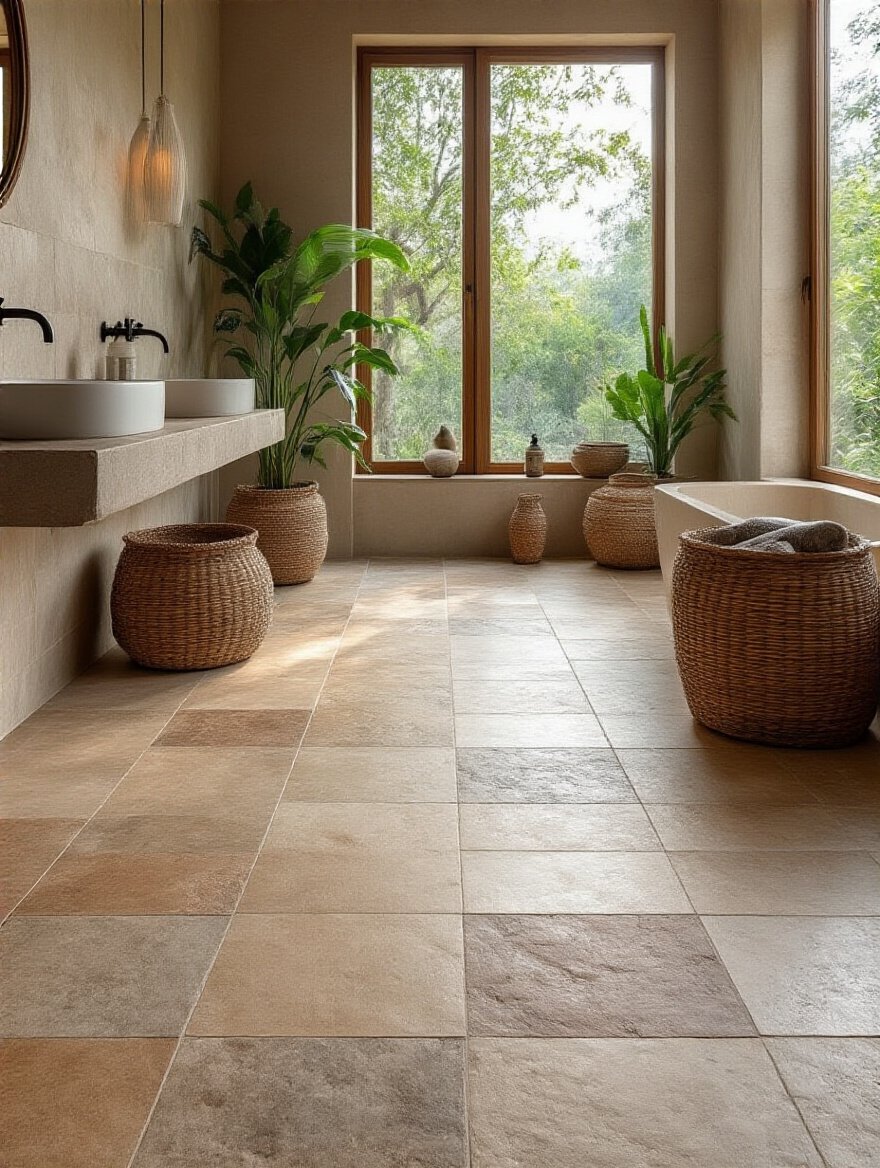
While you want consistent finishes, you also want to layer textures to keep a bathroom from feeling sterile and cold. A bathroom is full of hard surfaces—tile, porcelain, glass. We need to soften it and make it feel human. The floor tile is your starting point. Maybe you choose a porcelain tile that looks like natural slate, with a subtle, rough texture.
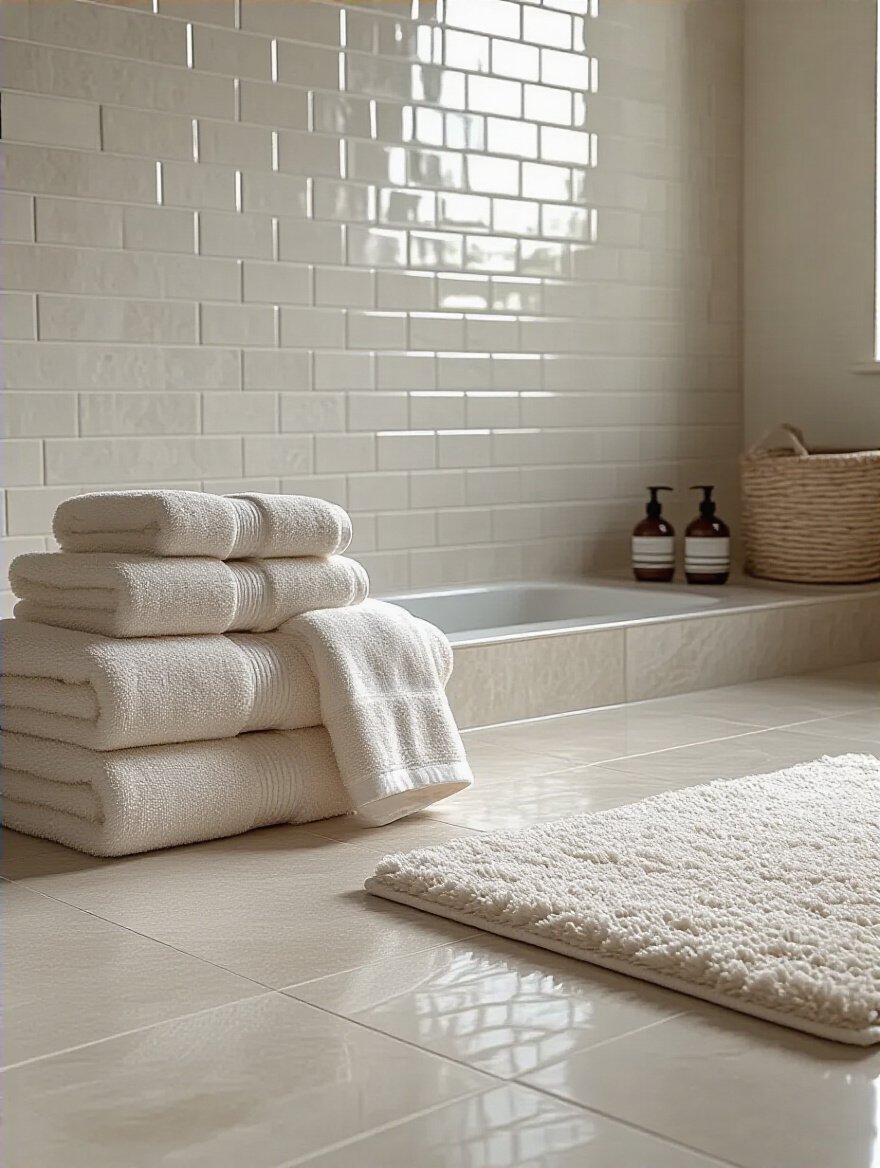
From there, you layer. Contrast that floor with a smooth wood vanity. Add a soft, plush bathmat that feels wonderful underfoot. Hang thick, absorbent cotton towels. Place a woven basket in the corner for laundry. Each of these elements adds a different tactile quality that makes the room richer and more inviting. This is especially important for creating a comfortable space for an older family member, as sensory comfort becomes more and more vital.
“In a bathroom, where hard surfaces dominate, texture is what makes the space feel like a hug. It turns a sterile room into a sanctuary.”
This layering is what makes a room feel complete and lived-in. It’s the final touch that bridges the gap between a showroom and a home.
This is the part that’s mostly invisible, but it’s what makes or breaks your entire project. The most beautiful, expensive tile in the world will fail if the work underneath is sloppy. Doing this right means your floor will last for decades.
You can’t build a beautiful house on a shaky foundation. The same goes for your floor. Before a single tile is laid, your subfloor must be solid, level, and free of any bounce. If the floor flexes when you walk on it, any tile you put on top will eventually crack, and the grout will crumble. It’s a guaranteed failure.
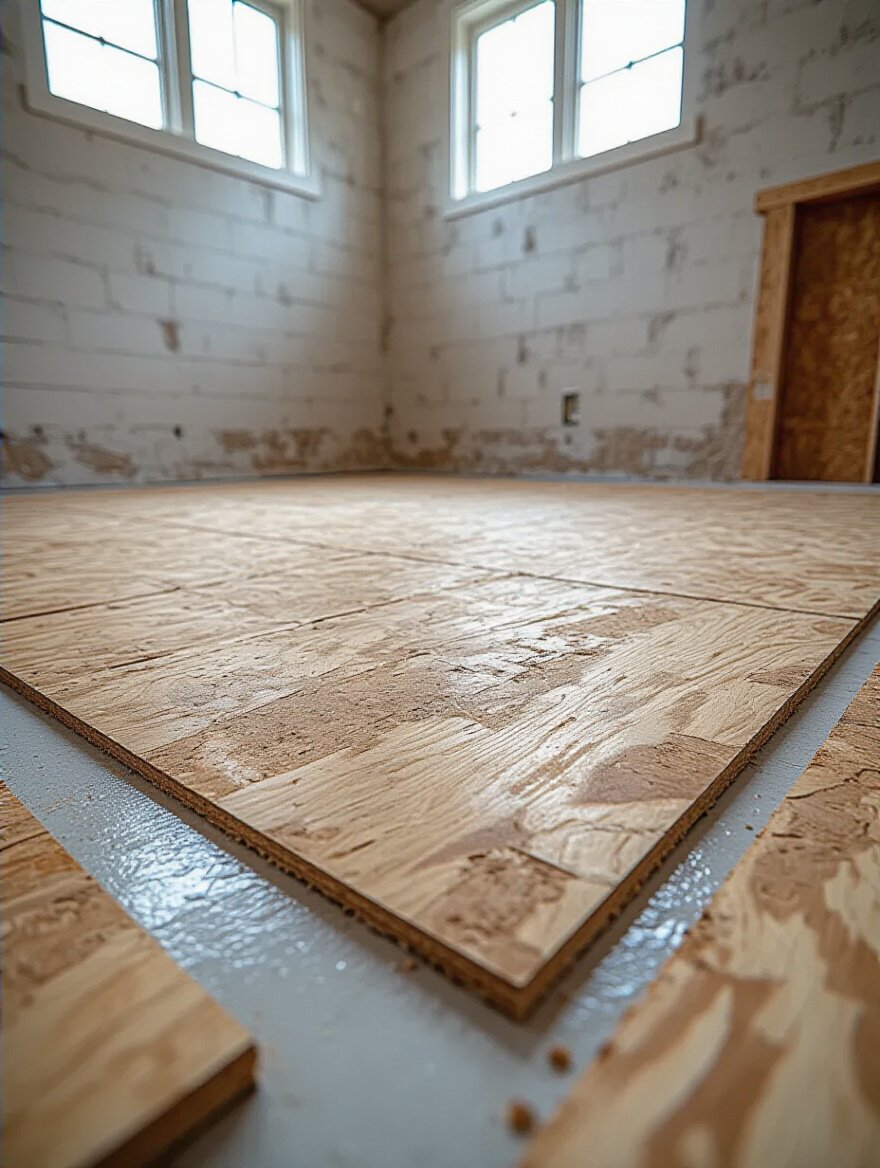
A good contractor will spend a lot of time on this. They’ll check the floor joists, add bracing if needed, and make sure the surface is perfectly flat. This is especially important for those large-format tiles we talked about, as they need a super flat surface. This prep work might seem tedious and costly, but I promise you, it is far cheaper than having to rip out your entire floor in two years to fix the problem you should have solved at the beginning.
This isn’t an area to cut corners. A strong, stable subfloor is the invisible hero of a long-lasting bathroom.
Here’s another invisible hero. A bathroom is a wet room. Water will get everywhere. And its sole mission in life is to find a way down into your subfloor and joists, where it can cause rot and mold. Waterproofing is the membrane or liquid-applied barrier that you put down before the tile to stop this from happening. It is absolutely non-negotiable.
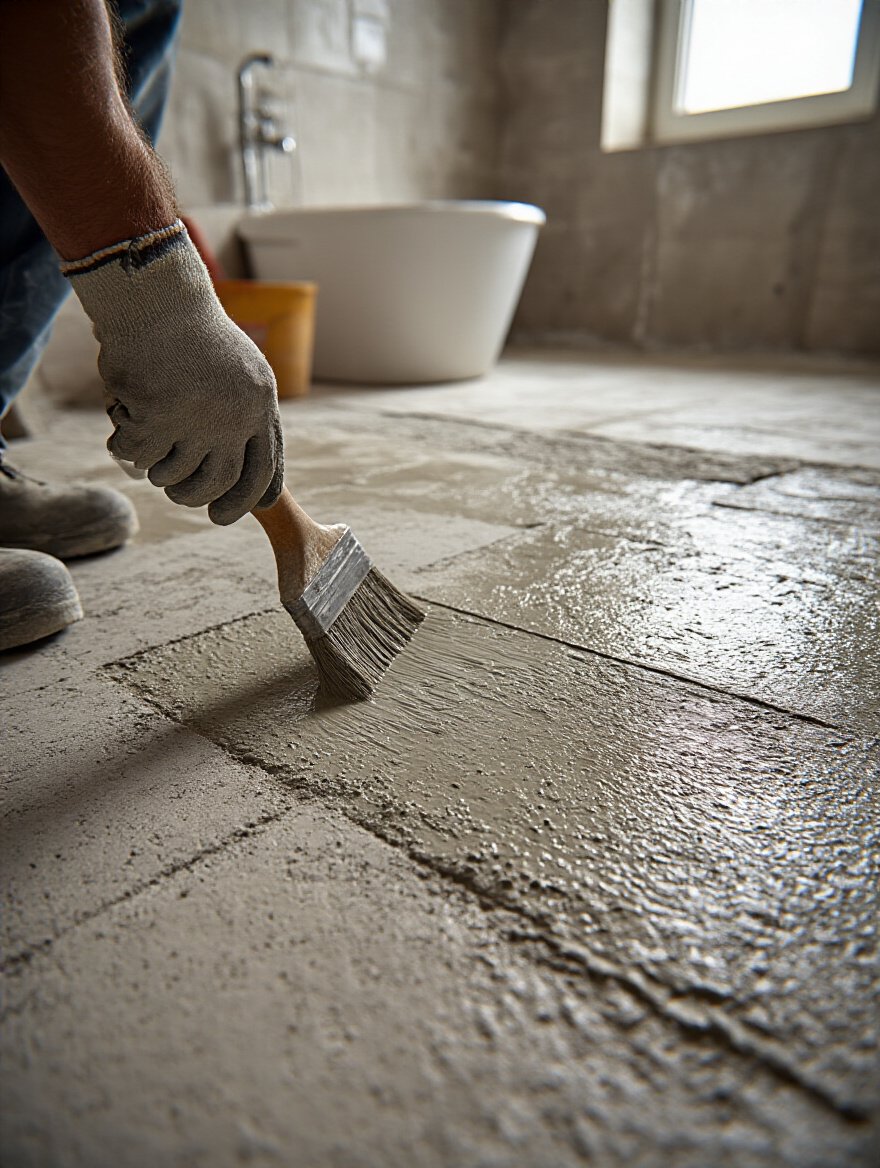
So many people think the tile and grout are waterproof. They are not. Grout is porous. Water can and will get through it. The waterproofing layer underneath is your real line of defense. A professional will paint a liquid membrane over the entire floor and a few inches up the walls, paying special attention to corners and around the drain. It creates a seamless “tub” that contains any moisture.
Skipping this step to save a few hundred dollars is one of the costliest mistakes you can make in a renovation. The hidden damage from a slow, persistent leak can cost thousands to repair.
Just like there are different types of tile, there are different types of “glue” to stick them down. This glue is called thin-set mortar, and using the right one is critical. Big, heavy tiles need a special mortar that can support their weight without sagging. Porcelain, because it’s so non-absorbent, needs a mortar with polymers (additives) that help it grab on and form a strong bond.
This is a perfect example of why you should read the bag. The manufacturer will tell you exactly what kind of tile their product is for. Using a cheap, basic mortar for an expensive porcelain tile is just asking for trouble. The tiles won’t bond properly and you’ll start to hear hollow sounds when you tap on them, which is the first sign of failure.
Again, this is where a good installer proves their worth. They know which products to use for which application. It’s not glamorous, but it’s what ensures your tiles stay put.
A thoughtfully laid out floor looks balanced and intentional. An unplanned one looks haphazard. The goal is to avoid ending up with tiny, awkward slivers of tile along a wall or at the doorway. A good installer will start by finding the center of the room and planning the layout so that the cuts on opposite walls are of equal and substantial size.
This planning phase also saves you money. By mapping everything out beforehand, you can figure out how to make the most of each tile and minimize waste. You’ll always need to order extra tile (about 10-15%) to account for cuts and mistakes, but good planning means less of that ends up in the dumpster.
Take the time to do a “dry lay”—place the tiles on the floor without any mortar—to see how it will all look. It’s much easier to adjust your starting point then than after the glue is down.
I know how tempting it is. The tile is down, the grout is in, and you just want your bathroom back. But you have to be patient. The mortar and grout need time to cure, which is a chemical process of hardening and gaining strength. Walking on the floor too soon can shift the tiles and weaken the bond. Turning on the shower too soon can wash out the grout before it’s fully hardened.
The product bag will tell you how long to wait. Follow those instructions to the letter. This typically means no foot traffic for at least 24 hours, and no water exposure for 72 hours or more. Put up a sign on the door. Tell the whole family the bathroom is off-limits.
This final act of patience is what locks in all the hard work that came before it. It ensures your beautiful new floor is as strong as it is stunning.
Your relationship with your floor doesn’t end when the contractor leaves. A little bit of thoughtful care will keep it looking beautiful and functioning perfectly for the whole family, for a very long time.
I know, “daily cleaning” sounds exhausting, especially in a busy house. But what I’m really talking about is a few simple habits that take less than a minute. Keep a small squeegee in the shower and give the floor a quick wipe after the last person is done. Keep a microfiber cloth under the sink to quickly wipe up water splashes or toothpaste drips. This prevents soap scum and hard water stains from ever building up in the first place.
This proactive approach means you won’t have to spend your Saturday scrubbing with harsh chemicals. For many families I work with, especially those from cultures where daily cleaning of wet areas is the norm, this is second nature. A design that’s easy to wipe down respects the person responsible for cleaning it by saving them time and effort. It’s a small way design can reduce household labor.
A simple, quick wipe-down prevents 90% of the problems that lead to deep-cleaning drudgery.
Think of grout sealer as a raincoat for your grout lines. Because cement-based grout is porous, it will soak up dirt, spills, and moisture if left unprotected. Sealing it creates an invisible barrier that repels all that grime, making it much easier to keep clean and preventing stains and mildew. For a busy family bathroom, this is essential maintenance.
This isn’t a difficult job. After giving the grout a good cleaning and letting it dry completely, you just apply the sealer with a small brush. It might take an hour or so once a year, but it will extend the life and looks of your floor dramatically. You’ll know it’s time to reseal when you drop a bit of water on the grout and it soaks in instead of beading up.
This one simple annual task keeps your grout looking fresh and new, and protects the integrity of your floor for years.
A small crack in your grout is not a cosmetic issue. It’s a broken dam. It’s an open invitation for water to get underneath your tiles, which leads to all the bad things we’ve been trying to avoid: loose tiles, mold, and a rotting subfloor. You have to fix it immediately.
The fix is usually pretty simple. You can carefully scrape out the damaged section of grout with a special tool and apply new grout to the area. For cracks in corners—where the floor meets the wall or at the base of the shower—you should always use a flexible silicone caulk, not rigid grout. The building will naturally shift and move a little, and flexible caulk can move with it, maintaining the seal.
Don’t ignore small cracks. They are warning signs. Addressing them promptly is the difference between a five-minute fix and a five-thousand-dollar repair.
This might sound like an over-the-top luxury, but in a multi-generational home, I see it as an act of care. For an aging parent who suffers from arthritis or poor circulation, stepping onto a warm floor on a cold morning can make a world of difference. It can ease stiffness and make their morning routine more comfortable and less painful. It turns the bathroom into a truly therapeutic space.
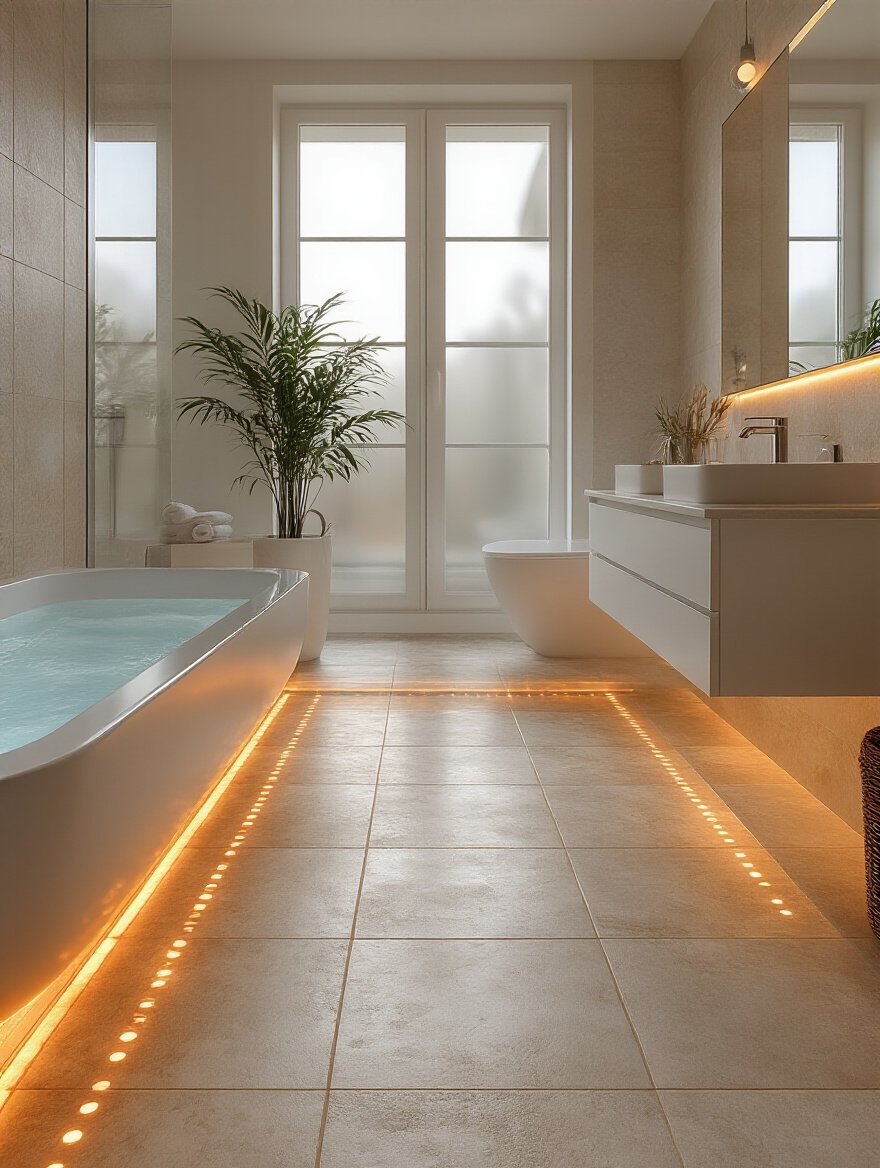
Radiant floor heat provides a gentle, even warmth from below that is incredibly pleasant. It also helps the floor dry out faster, which is great for inhibiting mold growth. While it adds to the upfront cost, it’s surprisingly energy-efficient to run, and the comfort it provides is immeasurable.
If you are planning a renovation, especially for an in-law suite, I strongly encourage you to consider this. It’s one of those details that shows a deep level of thought and consideration for the well-being of your family members.
Finally, let’s talk about building a healthy home. Choosing eco-friendly tiles isn’t just about protecting the planet; it’s about protecting your family. Many conventional building materials can release Volatile Organic Compounds (VOCs) into the air, which can be harmful, especially to children and those with respiratory issues. Look for tiles and, just as importantly, adhesives and grouts that are certified as low-VOC or no-VOC.
You can also find beautiful tiles made with recycled content, like recycled glass or post-industrial porcelain. Choosing these materials reduces waste and the need for new raw materials. Durability itself is a form of sustainability. By choosing a high-quality, long-lasting tile, you are reducing the waste that comes from having to tear out and replace a failed floor in a few years.
Building a home for your family is also about building a better future for them. Making thoughtful, sustainable choices is a powerful part of that legacy.
So there you have it. Choosing a bathroom floor is so much more than picking a color. It’s about building a space that is safe, durable, and harmonious—a room that can gracefully handle the messiness of family life while providing moments of peace and comfort.
By focusing on the unglamorous foundations—slip resistance, durability, waterproofing, and proper installation—you create a floor that will last a lifetime. And by layering in thoughtful design—color, texture, and pattern—you create a space that reflects your family’s story and makes everyone feel at home. It’s a process that requires patience and care, but the result is a home that truly nurtures everyone inside it, from the ground up.