Physical Address
304 North Cardinal St.
Dorchester Center, MA 02124
Physical Address
304 North Cardinal St.
Dorchester Center, MA 02124
19 smart bathroom floor ideas for multi-generational homes. Discover waterproof, safe, and beautiful options that respect every family member's needs.
Picture this: It’s a chilly morning, and you’re walking into the bathroom. Before you even turn on the water, the first thing your body feels is the floor. Is it cold, cracked, and something you just tolerate? Or is it warm, welcoming, and the foundation of a space that feels like a sanctuary? The way a bathroom floor feels, both physically and visually, sets the tone for the entire room—and for your day.
For centuries, across cultures from Roman baths to Japanese onsens, the floor has been the literal and figurative foundation of our cleansing rituals. It has served as a canvas for artistry, a bedrock for safety, and a surface for quiet contemplation. Today, our homes are more complex, often sheltering multiple generations under one roof, and the principles that separate a truly harmonious bathroom from a merely functional one haven’t changed. It’s about creating a space that cares for everyone—from a toddler splashing in the tub to a grandparent navigating with care.
Before you fall in love with a beautiful tile, we need to talk about what’s underneath and what’s in your wallet. So many people skip this part because it’s not the glamorous part, but this is where expensive mistakes are born. A thoughtful foundation is what allows the beautiful design to last, ensuring the room works for everyone in your family for years to come.
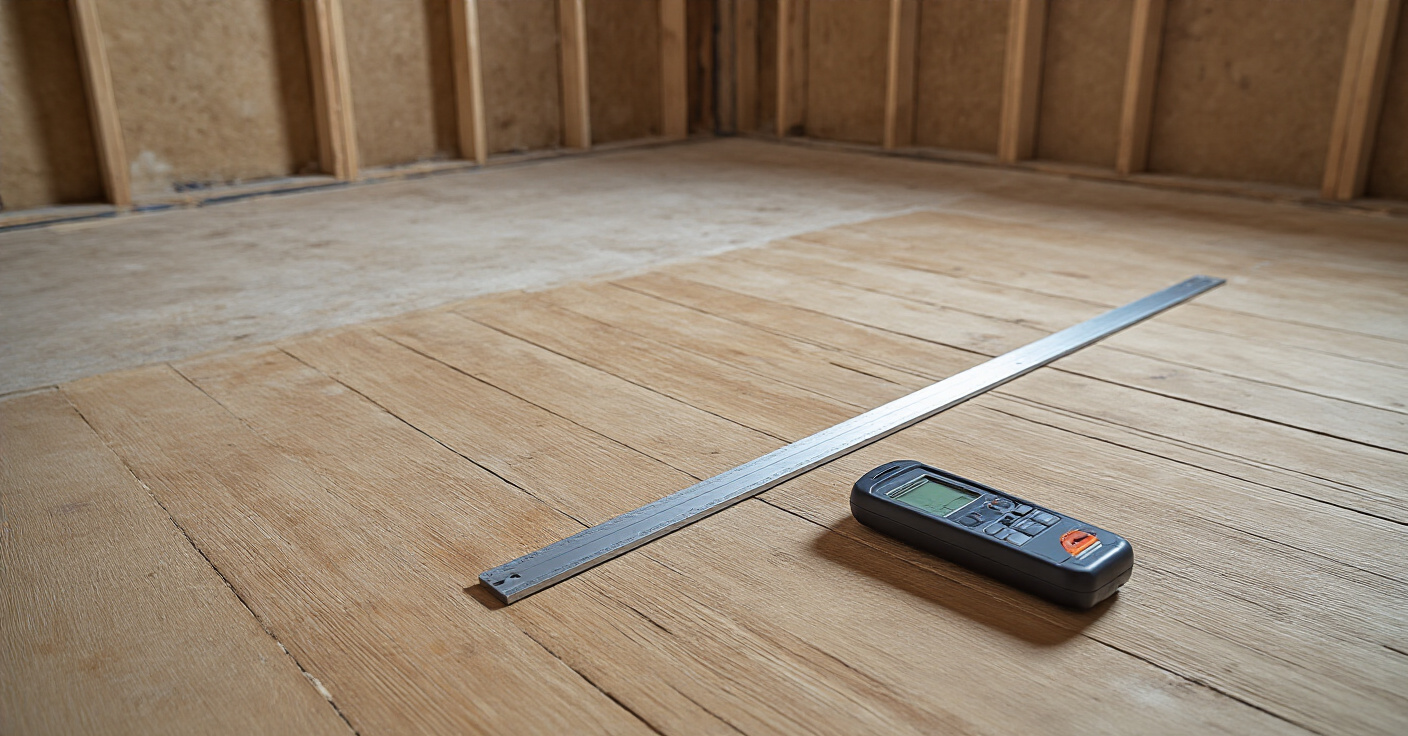
Everyone gets excited about the pretty new tiles, but here’s the reality: your bathroom floor is only as good as the subfloor it sits on. Ignoring what’s happening underneath is like building a house on a shaky foundation. I once had a client who bought stunning Italian marble, only to find out their subfloor was rotting from a slow, old leak. The fix cost thousands and delayed the project by weeks, all of which could have been avoided with a ten-minute inspection.
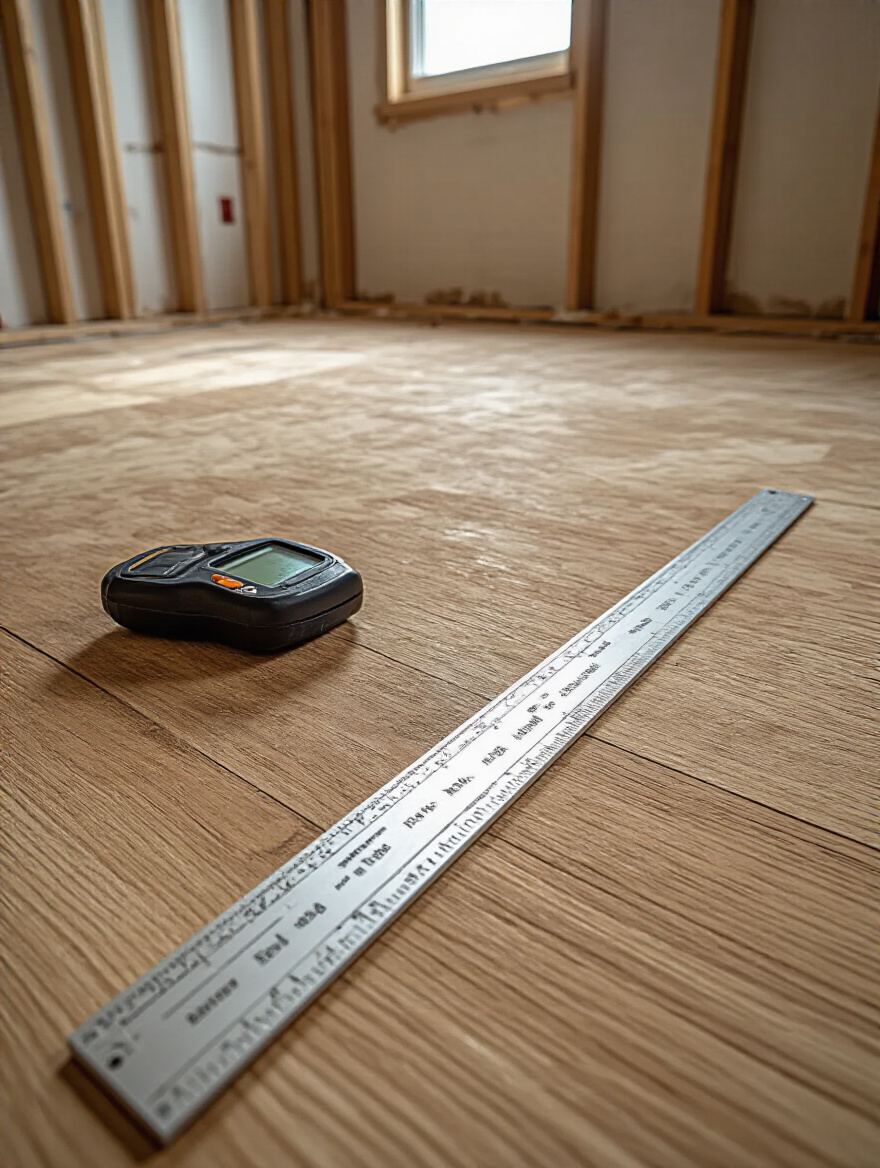
Don’t let that be you. Before you buy a single thing, check for any soft or spongy spots when you walk, look for water stains, and use a level to see if it’s flat. A subfloor that isn’t perfectly level and bone dry is a recipe for cracked tiles and peeling vinyl. Getting this right isn’t just a good idea; it’s the single most important step to ensure your investment lasts.
Thinking ahead to what’s underfoot will help you choose materials that not only look good but perform beautifully over the long haul.
Let’s talk money, because a budget isn’t a killjoy—it’s a tool for creativity. Without a clear number, it’s so easy to get overwhelmed by options or fall for a material you can’t truly afford. And the sticker price on the flooring is just the beginning. The real cost includes the underlayment, the adhesive, the grout, the sealer, the tear-out of the old floor, and the labor. People forget this and blow their budget before the first tile is even laid.
A client once told me their budget was “$5,000 for the whole bathroom.” But they’d only accounted for the big-ticket items. They hadn’t factored in the small stuff, which can easily add another 15-20% to the total. We had to rework the plan, choosing a gorgeous porcelain that mimicked marble instead of the real thing, which ultimately freed up money for better lighting. See? A budget doesn’t limit you; it forces you to be smart and prioritize what truly matters.
With a clear budget in mind, you can start matching your dreams to the beautiful reality of your space.
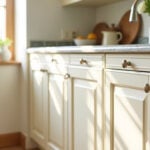
You wouldn’t wear hiking boots with a silk dress, right? The same logic applies to your bathroom. Your floor needs to be in conversation with everything else in the room—the vanity, the wall color, the fixtures, the light. When the floor feels disconnected, the whole space feels slightly off, no matter how beautiful each individual element is. A floor that doesn’t match can make a bathroom feel dated or chaotic.
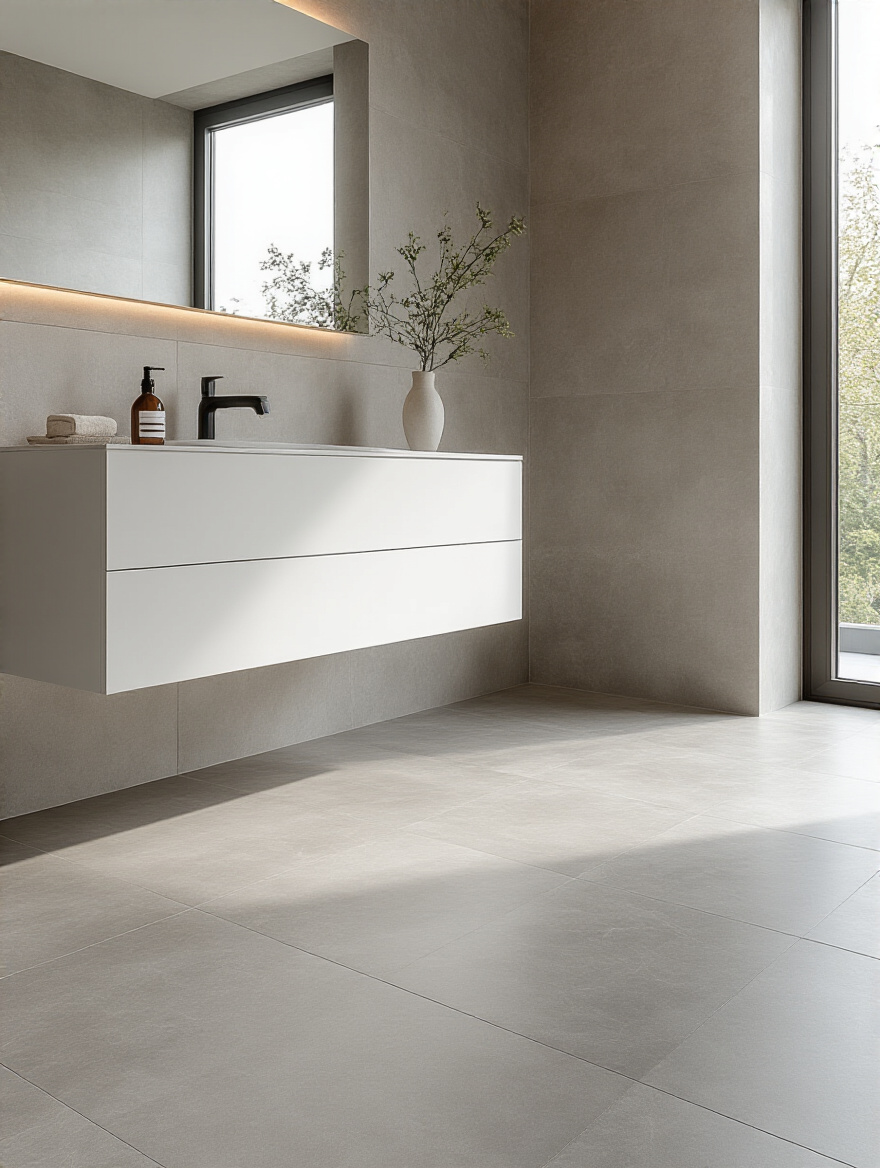
The trick is to think of the floor as the anchor of your design. If you have a very modern, minimalist vanity, a rustic, slate-style tile will probably clash. Instead, a large-format porcelain tile in a clean, solid color will create harmony. I always tell my clients to create a mood board. It sounds fussy, but it’s simple: get a sample of your chosen floor, a paint chip for the walls, a picture of your vanity, and a sample of your countertop. Put them all together. Do they feel like they belong in the same family? If so, you’re on the right track.
Once the style is set, the next non-negotiable is ensuring it can handle the realities of a bathroom.
This one is not up for debate. If the flooring material you’re considering isn’t waterproof or highly water-resistant, it has no business being in a bathroom. Period. I’ve seen people install beautiful click-lock laminate floors that say “water-resistant” on the box, only to have them swell and buckle within a year because steam from the shower seeped into the seams. “Water-resistant” isn’t the same as “waterproof.”
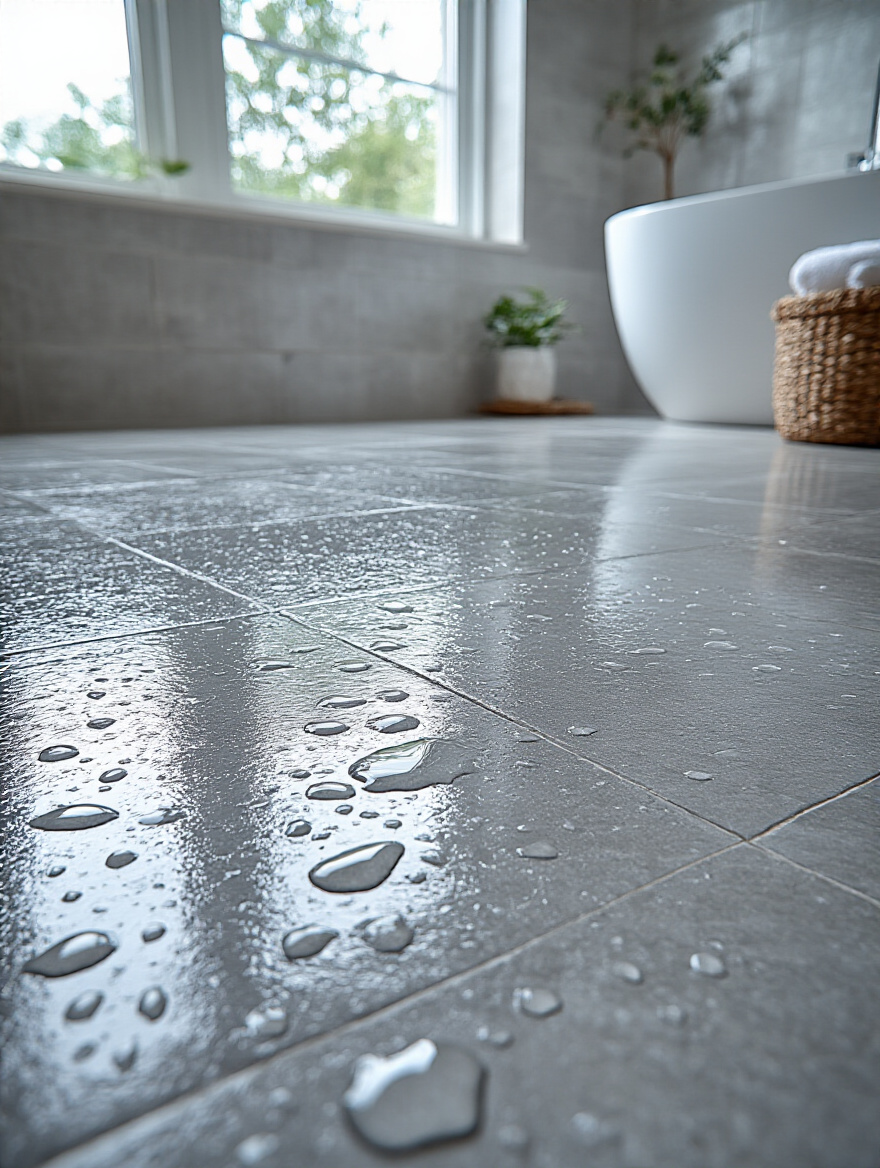
Think of your bathroom floor as the deck of a ship—it’s going to get wet. You need something that can handle it without a second thought. Porcelain tile, luxury vinyl plank (LVP), and sheet vinyl are the gold standards for a reason. They create an impermeable surface that protects the structure of your home from water damage, mold, and mildew. This isn’t just about aesthetics; it’s about the health of your home and your family.
Next, let’s talk about adding a layer of pure comfort that makes every morning better.
Now we move from the purely practical into things that elevate a bathroom from a utility room to a place of comfort and care. This is where we design not just for today, but for all the tomorrows to come, ensuring the space is safe and welcoming for everyone who uses it.
If there is one luxury that every single client tells me was worth every penny, it’s heated floors. Imagine stepping out of the shower on a cold winter morning onto a floor that is pleasantly, gently warm. It completely changes the experience of the room. It feels like a hug for your feet. And beyond that immediate comfort, it’s an incredibly efficient way to heat the space.
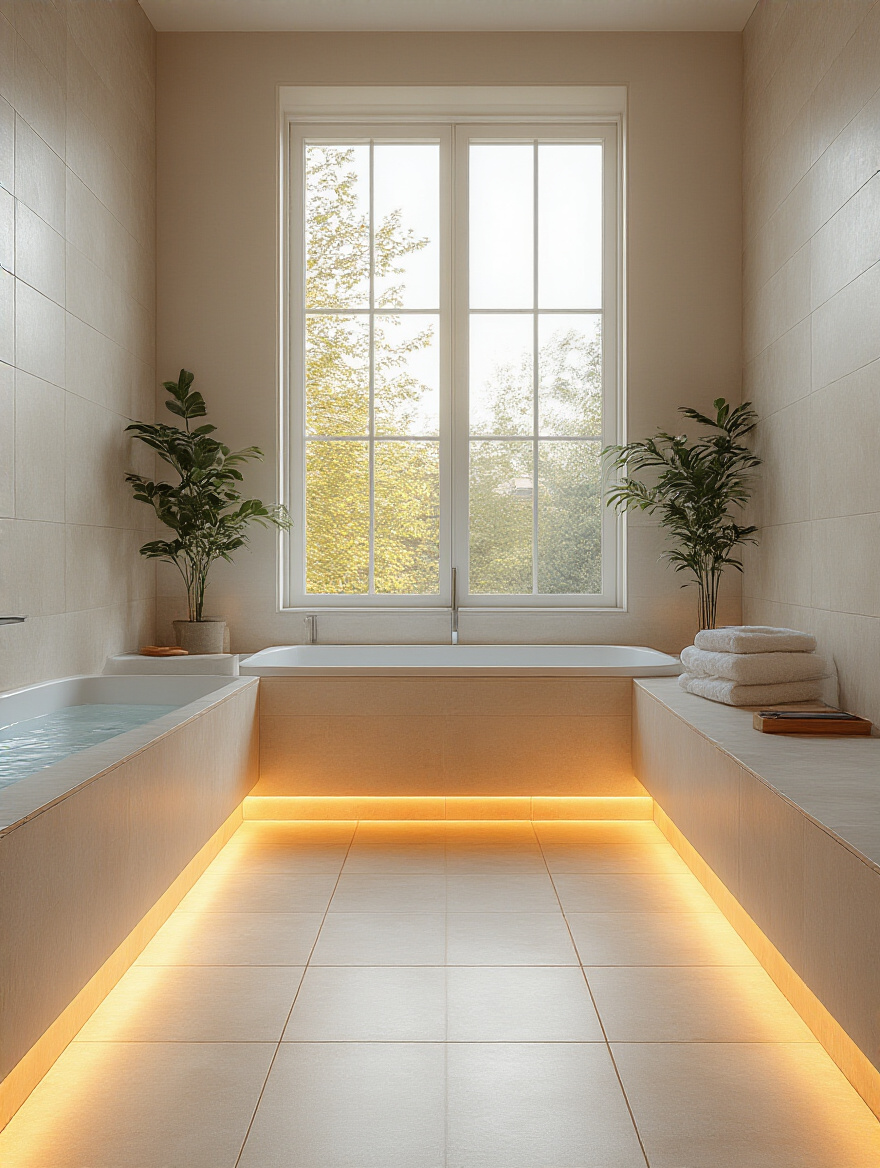
Radiant heat warms the objects in the room, not just the air, creating a more even and consistent temperature without the drafts and dust of forced-air vents. It’s especially wonderful for older family members who are more sensitive to the cold, or for young children playing on the floor during bathtime. It’s an invisible layer of care that’s built right into the home.
While we’re thinking about comfort and care, let’s also talk about long-term safety.
This is so important, especially in a multi-generational home. We don’t like to think about it, but our needs change. We get older, our parents move in, or we might face an unexpected mobility issue. Planning for this now is an act of foresight and love. A beautiful, glossy, polished tile may look stunning in a magazine, but in a wet bathroom, it’s a slip-and-fall accident waiting to happen. The CDC reports that most falls at home happen in the bathroom, and the floor is the main culprit.
Look for tiles with a matte or textured finish. Many manufacturers now provide a “DCOF” rating, which measures the slip resistance—you want a value of 0.42 or higher for wet areas. Smaller tiles also mean more grout lines, which provide extra grip. Choosing a safe, slip-resistant floor doesn’t mean you have to sacrifice style. There are countless gorgeous options that will keep your loved ones safe and allow them to maintain their independence with dignity.
Now that we have the deep planning done, let’s get to the fun part: choosing the perfect material.
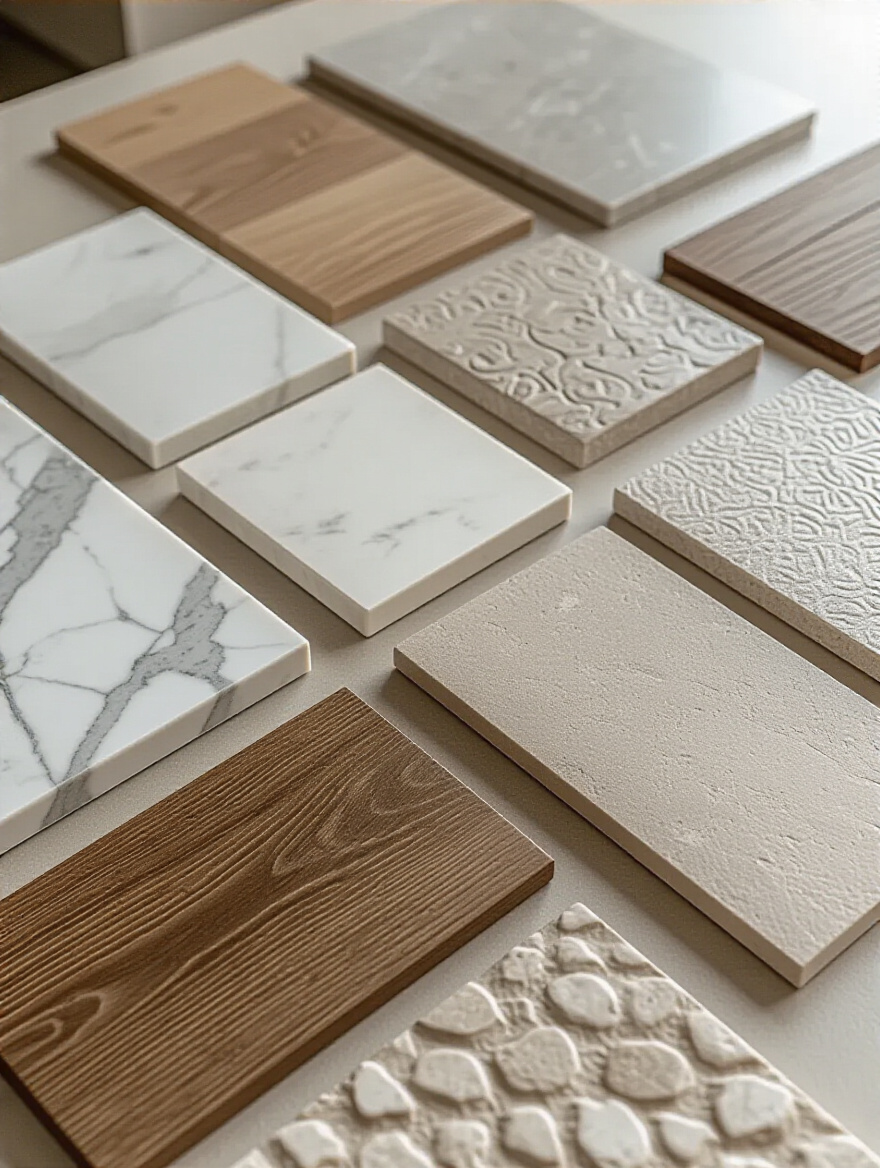
This is where your vision starts to take shape. Each material has its own personality—its own strengths and weaknesses. The key is to find the one that best suits your family’s lifestyle, your budget, and the aesthetic harmony we talked about earlier.
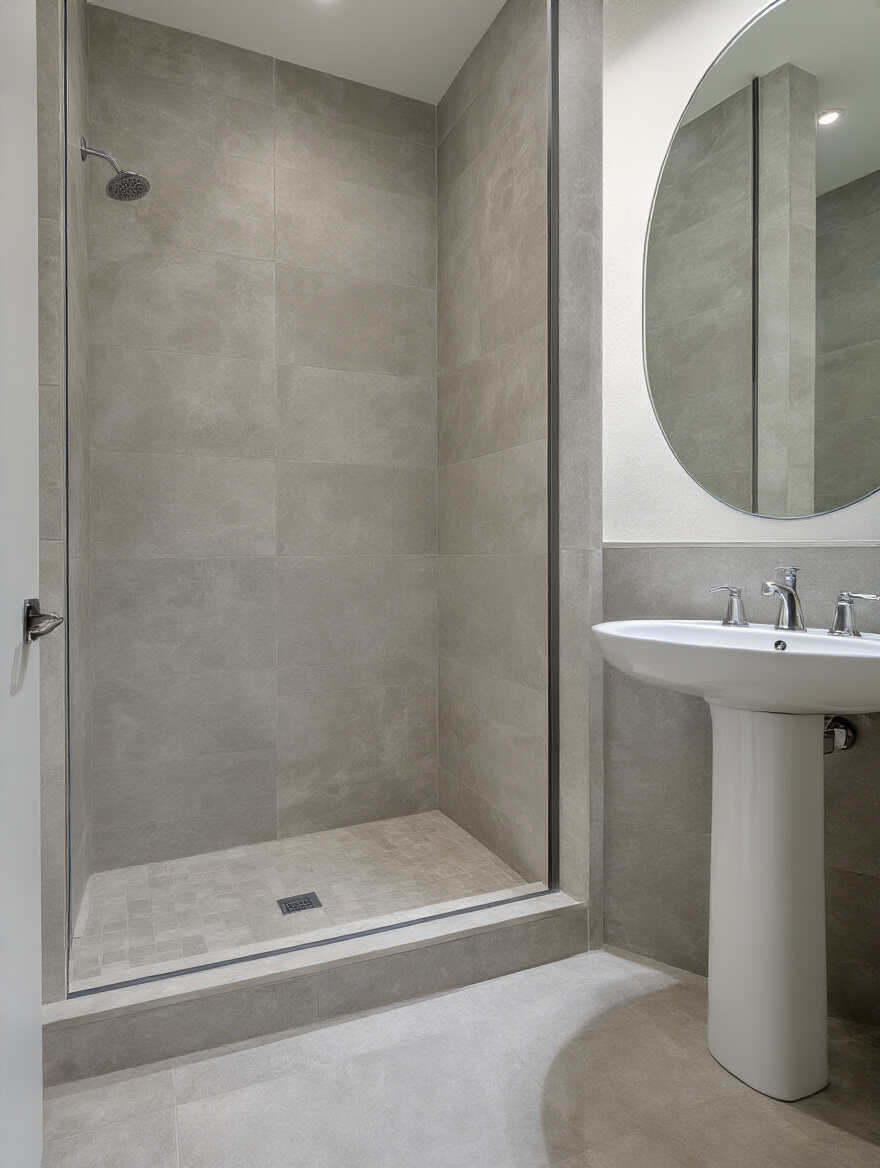
If I had to choose one superhero of bathroom flooring, it would be porcelain tile. It’s incredibly dense, so it’s nearly waterproof, and it’s tough as nails—it resists scratches, stains, and wear. People sometimes confuse it with ceramic, which is a close cousin, but porcelain is fired at a higher temperature, making it stronger and less porous. For a busy family bathroom that gets a ton of traffic and splashes, porcelain is a worry-free choice that will look great for decades.
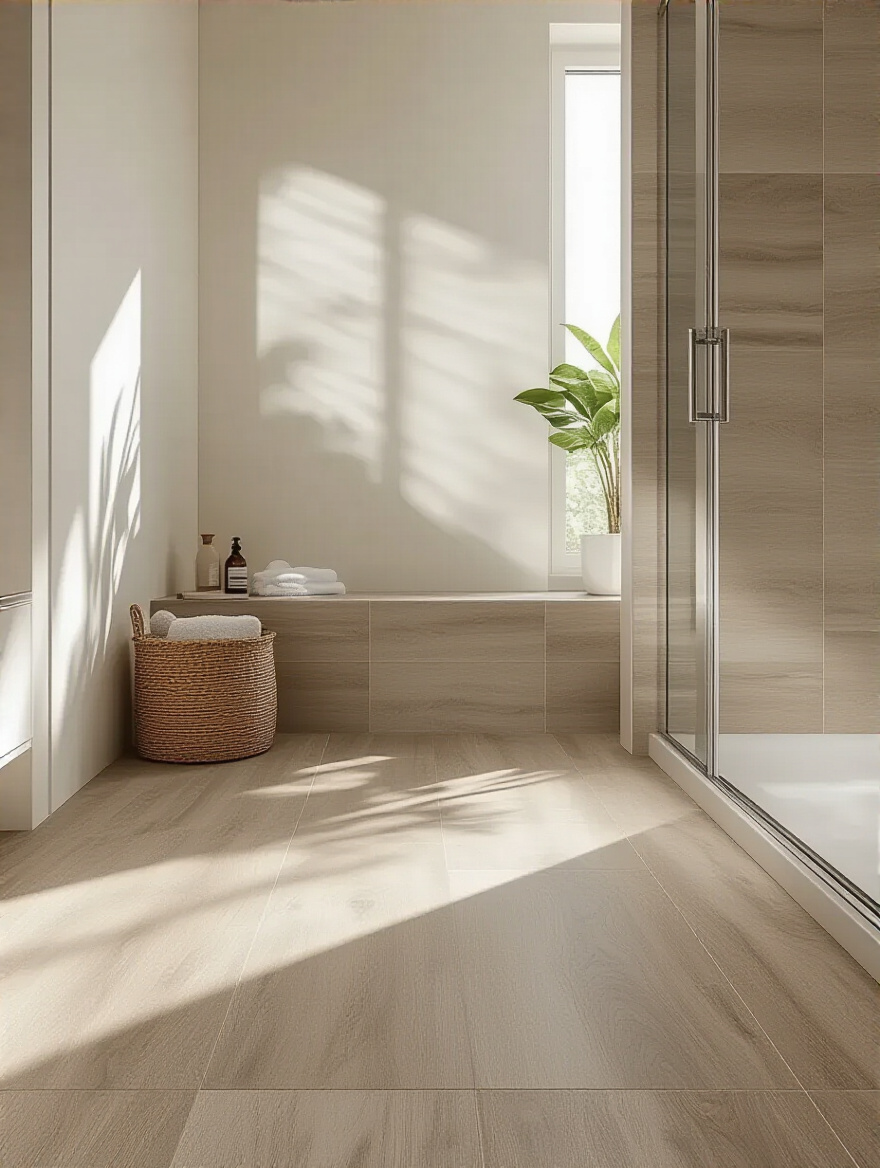
And the design possibilities are endless. Modern printing technology means you can find porcelain that looks exactly like Calacatta marble, warm hardwood, or industrial concrete, but without the high maintenance. It gives you the best of both worlds: high-end style and everyday practicality. A friend of mine with three kids and a dog put down a wood-look porcelain plank in their bathroom, and it’s been a game-changer. It looks warm and inviting but handles water like a champ.
Porcelain’s cousin, LVP, offers another path to that waterproof, worry-free lifestyle.
Can we just have a moment of appreciation for Luxury Vinyl Plank? LVP is the budget-savvy hero of the flooring world. It is 100% waterproof—not water-resistant, waterproof. You could leave a puddle on it for a day and it wouldn’t care. This makes it an absolutely fantastic choice for kids’ bathrooms, basements, or any area prone to major splashes. It’s also softer and warmer underfoot than tile, which is a nice bonus on chilly mornings.
The technology has gotten so good that many high-end LVPs look remarkably like real wood or stone, complete with texturing. Plus, the click-lock installation system makes it a popular choice for confident DIYers, which can save you a significant amount on labor costs. It’s the perfect solution for families who want a floor that looks beautiful, stands up to anything, and doesn’t break the bank.
But if your heart is set on something truly one-of-a-kind, there’s nothing quite like natural stone.
There is a reason natural stone like marble, travertine, or slate has been used in buildings for millennia. It has a depth, a character, and a uniqueness that manufactured materials can only try to imitate. Every single tile is a small piece of geologic history, with its own veining and color variations. A natural stone floor feels grounded, timeless, and undeniably luxurious. It turns a simple bathroom into a spa.

However, this beauty comes with responsibility. Most natural stones are porous, which means they need to be sealed regularly (usually once a year) to protect them from stains and water. They also require special, pH-neutral cleaners to avoid damaging the surface. I tell clients if you’re someone who loves the ritual of caring for your home and appreciates the patina that comes with age, stone can be a magnificent choice. But if you’re looking for a “set it and forget it” floor, you might be happier with a porcelain look-alike.
Speaking of materials that require a bit more thought, let’s discuss engineered hardwood.
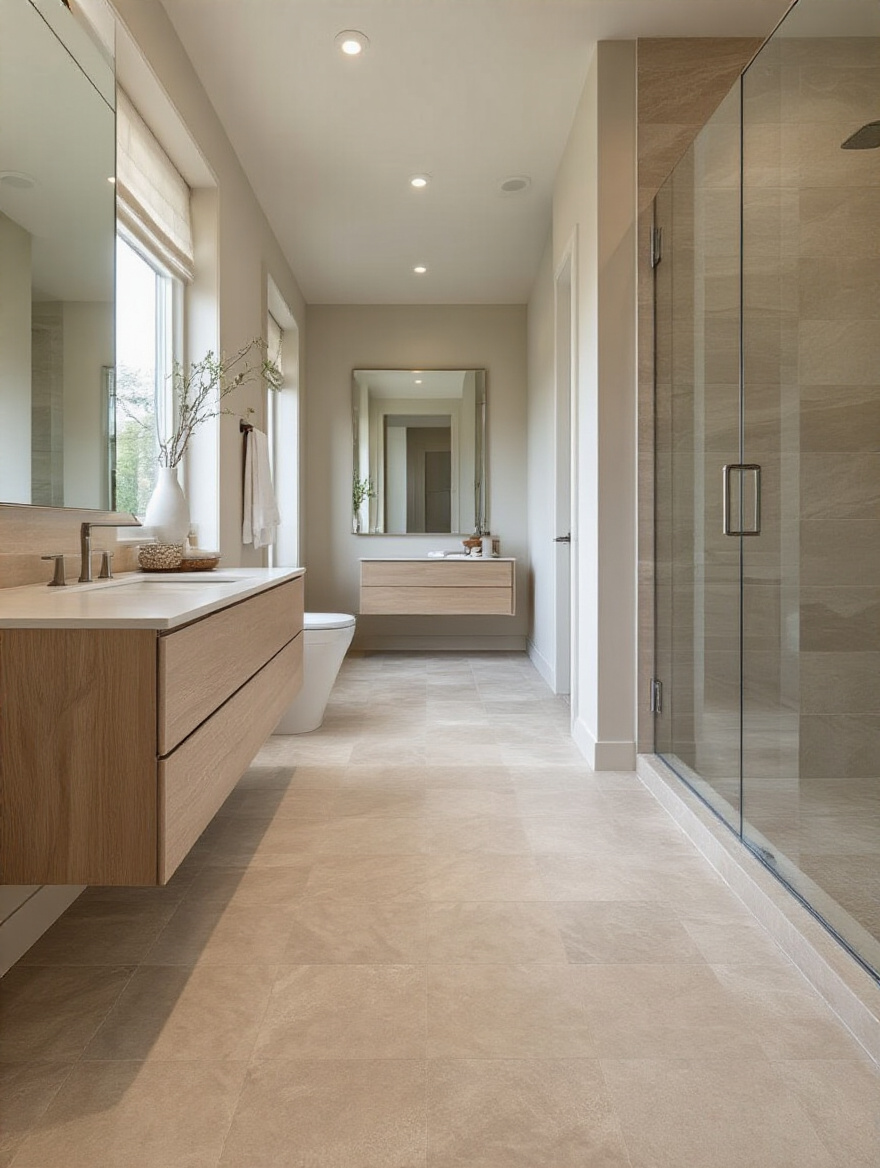
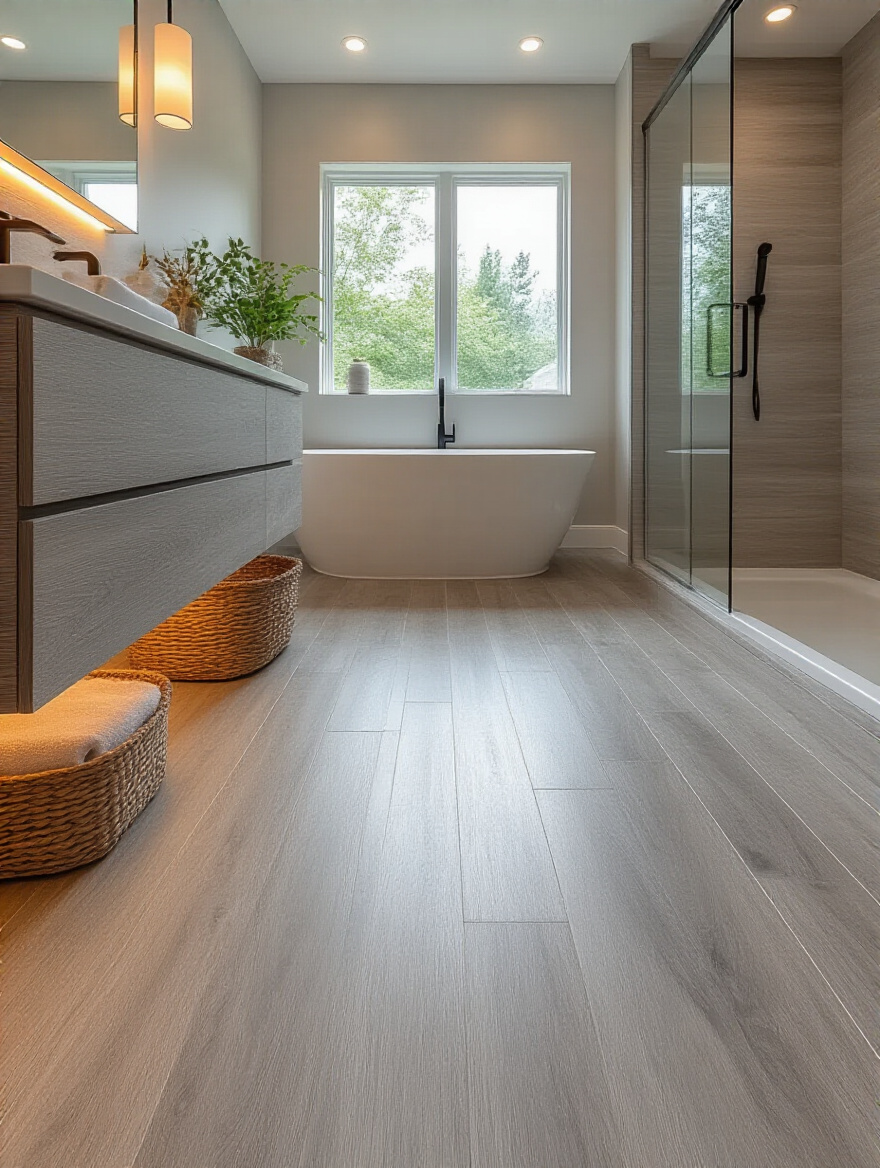
I know what you’re thinking: wood in a bathroom? It sounds like a terrible idea, and if we were talking about solid hardwood, you’d be right. But engineered hardwood is different. Its layered construction makes it much more stable and resistant to humidity than solid wood. It can bring an incredible sense of warmth and continuity to a bathroom, especially in a master suite where you want a seamless flow from the bedroom.

The key here is strategic placement. Engineered hardwood is perfect for the “dry zones”—the vanity area, a dressing space, or the closet. You would never put it right next to a shower or a tub where it will get directly soaked. I recently designed a master bath with a beautiful engineered white oak in the vanity and dressing area, which then transitioned to a matching porcelain tile in the wet room. The result was stunning: all the warmth of wood without the worry.
Another warm and forgiving option gaining popularity is an old friend: cork.
We’re diving deeper now into some less common but incredibly smart choices, as well as the unsung heroes of any great flooring job. These are the details that separate a good-enough floor from a truly great one that lasts.
Cork is such a wonderfully unique material. It’s sustainably harvested from the bark of cork oak trees, it’s naturally antimicrobial, and it feels incredible underfoot—soft, warm, and slightly cushioned. Because of its cellular structure, it’s also a fantastic sound insulator. If you have a second-floor bathroom above a quiet space like a bedroom or office, a cork floor can make a huge difference in reducing noise.
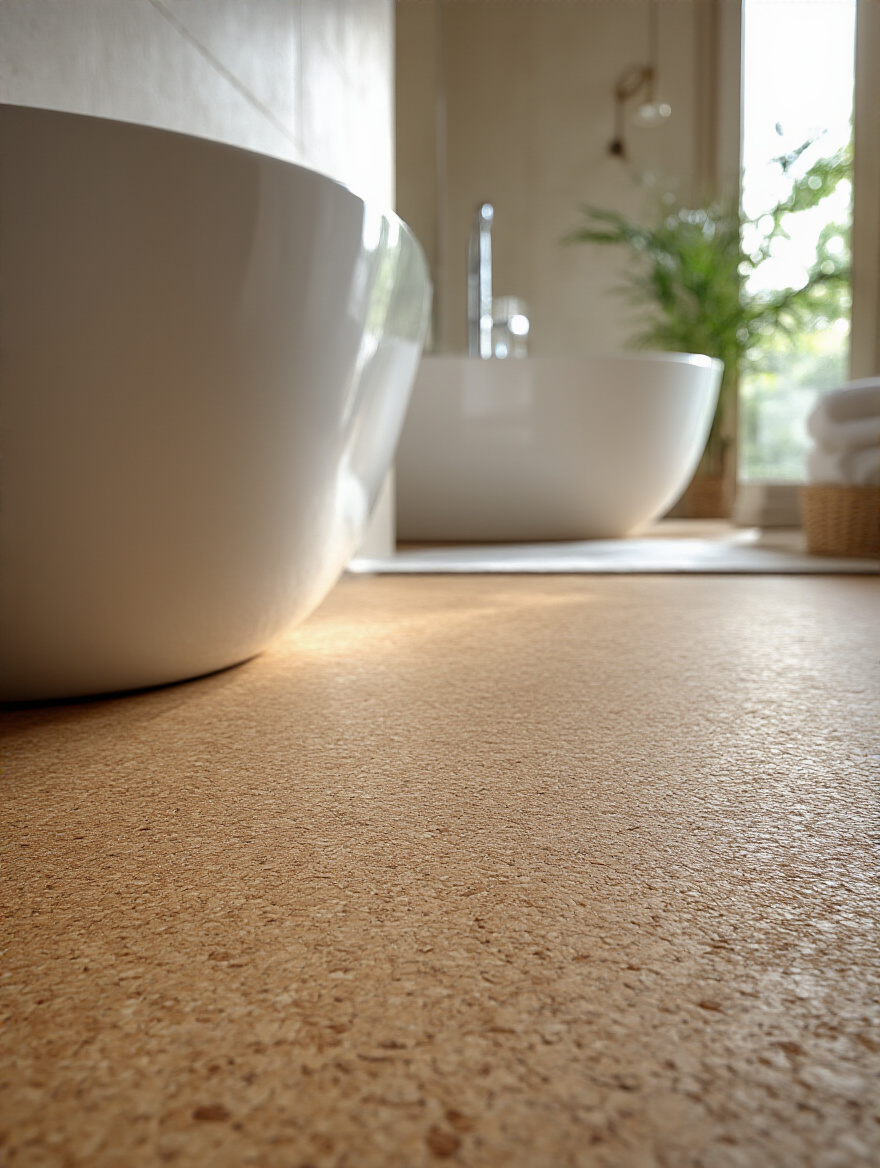
The big question is always, “But can it handle water?” The answer is yes, with a caveat. You need to make sure you’re using high-quality cork and that it’s sealed meticulously with multiple coats of a polyurethane sealant to make it water-resistant. Think of it like a wooden boat—the wood itself isn’t waterproof, but the finish makes it so. For a powder room or a primary bathroom that isn’t subjected to epic splash-fights, cork can be a warm, comfortable, and eco-friendly choice.
No matter what tile you choose—porcelain, stone, or even cork—its success depends on its silent partner: the grout.
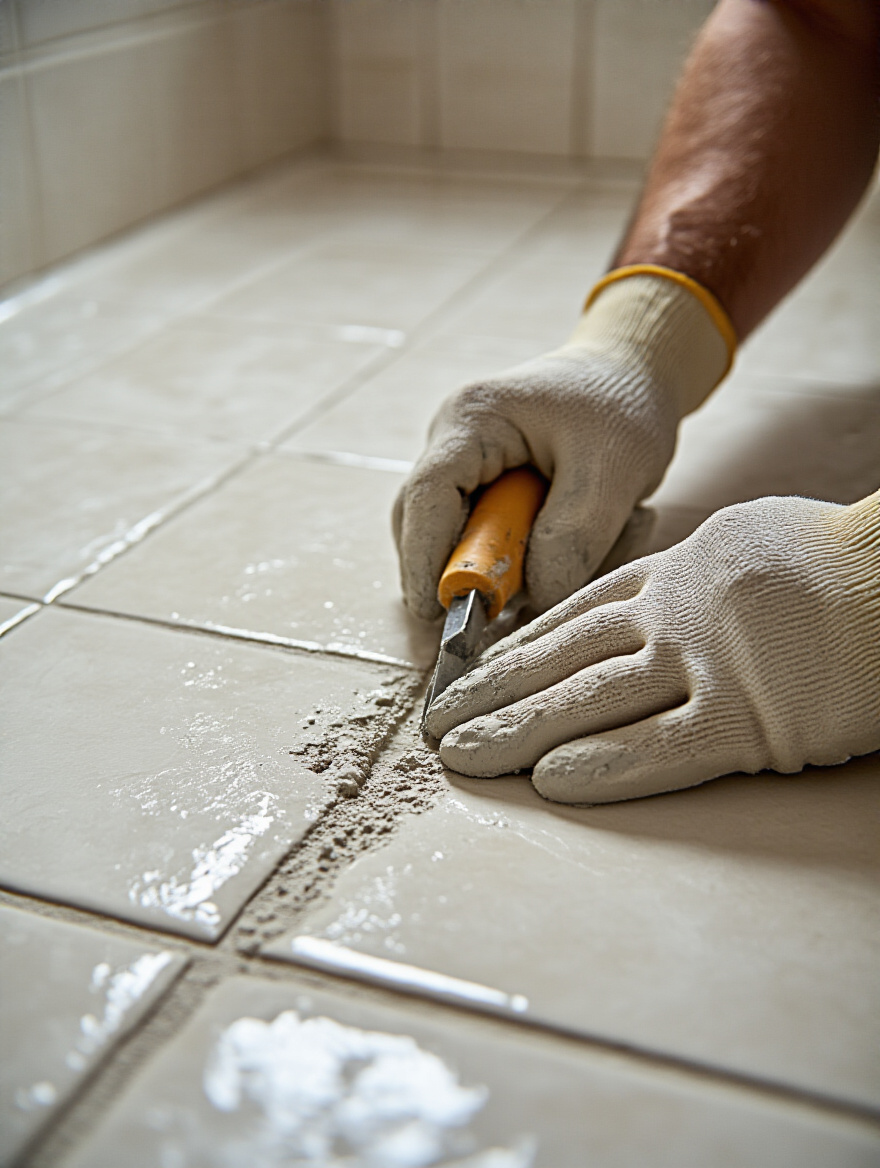
This is my pet peeve. People spend a fortune on gorgeous tile and then treat the grout as an afterthought. Grout is not just the stuff that fills the gaps; it’s a critical part of the system that locks out water and provides structural integrity. Using cheap, unsealed cement grout in a bathroom is like buying a waterproof jacket with a broken zipper. It’s going to fail.

Your best defense is to use a high-performance grout, like an epoxy or a high-quality polymer-modified grout, especially in a shower. Epoxy grout is a bit trickier to install, but it’s a total game-changer: it’s stain-proof, crack-resistant, and completely waterproof, no sealing required. If you use a cement-based grout, you absolutely must seal it and then re-seal it every couple of years. It’s a simple task that protects your entire floor from moisture and mildew.
Finally, we need to have an honest conversation about who is actually going to do the work.
I’m a huge fan of empowering homeowners, but a bathroom floor installation is not the place to overestimate your skills. The stakes are just too high. A small mistake in leveling, waterproofing, or sealing can lead to massive water damage that you won’t discover until it’s a catastrophic problem. Ask yourself honestly: Do I have the time, the patience, and the right tools to do this perfectly?
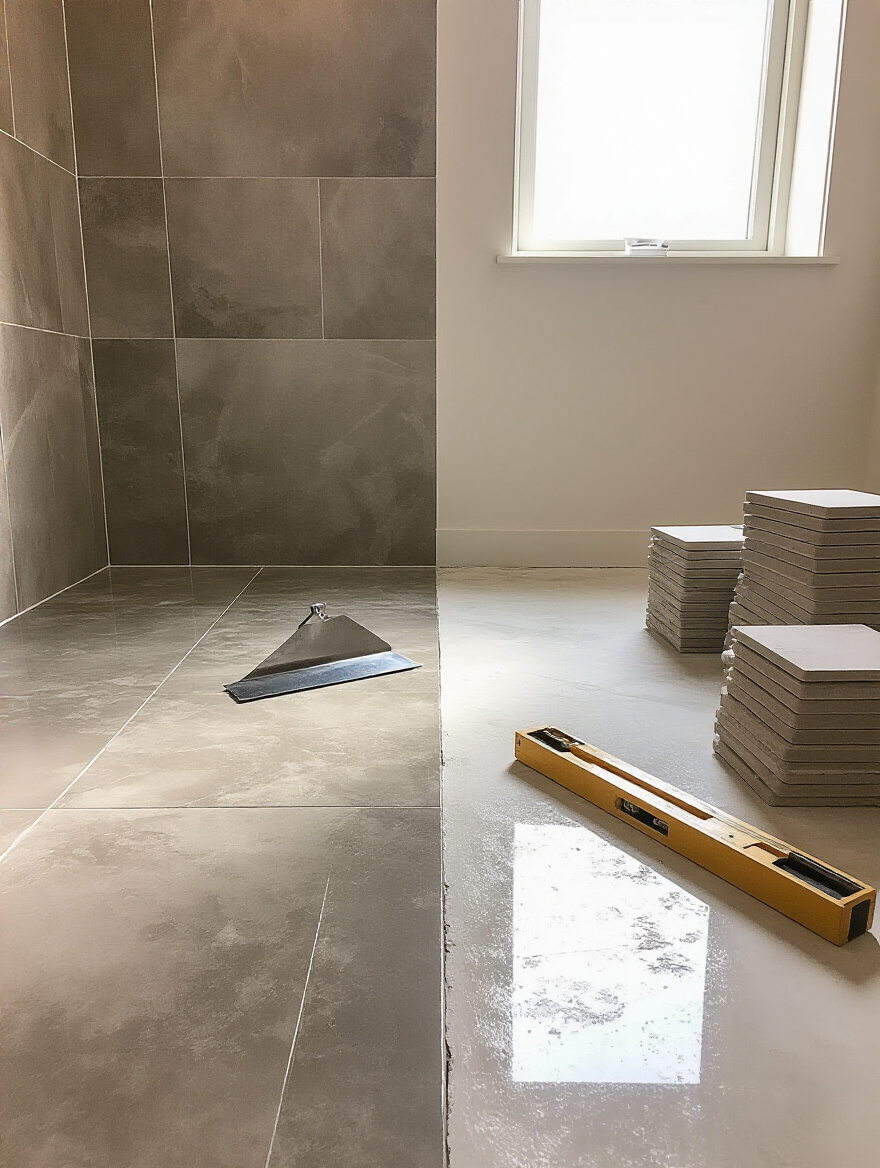
For simple projects, like a click-lock LVP in a small powder room, a skilled DIYer can often get great results. But for anything involving tile—especially large-format tile, natural stone, or complex patterns—I strongly recommend hiring a pro. A professional tile setter knows all the little tricks to ensure a perfectly flat, waterproof, and long-lasting installation. The money you spend on labor is insurance against future headaches and repairs.
With the floor chosen and the installer decided, we can now add the finishing touches that bring the design to life.
This is where artistry meets function. A great floor isn’t just a surface; it’s a canvas. How you lay the tile, the colors you choose, and the scale of the material can completely transform the feeling of the space, making it feel bigger, more serene, and uniquely yours.
Laying tile in a standard grid is fine, but it’s a missed opportunity! The pattern you choose can have a massive impact on the style of the room. A simple subway tile can feel classic in a brick-lay pattern, modern in a stacked grid, or sophisticated and dynamic in a herringbone layout. Playing with the pattern is one of the best ways to add custom personality without a huge increase in cost.
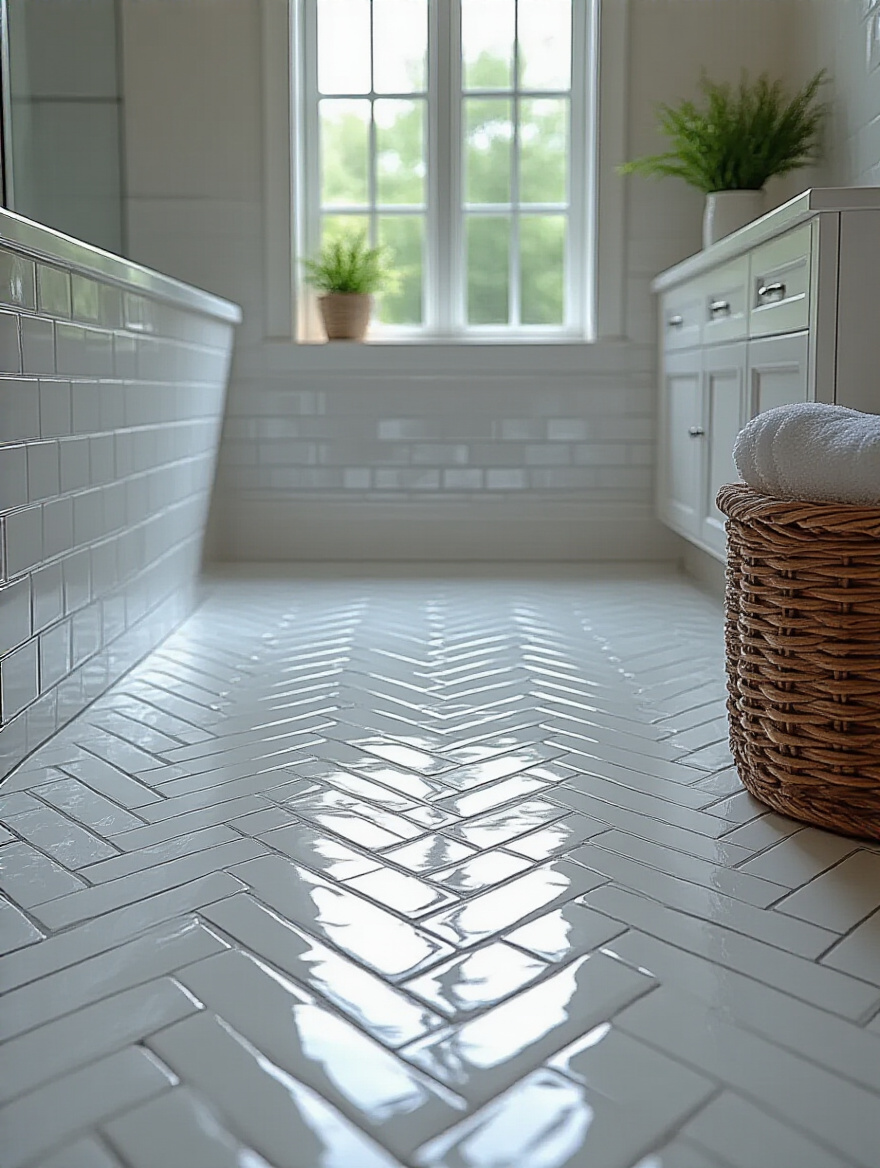
For a small bathroom, laying rectangular tiles in a diagonal pattern can trick the eye and make the room feel wider. For a larger bathroom, a basketweave or pinwheel pattern can add texture and break up a large expanse of floor. Don’t be afraid to experiment. A good tiler can work wonders, turning a simple, affordable tile into a stunning design feature just through a creative layout.
A great pattern becomes even more powerful when its color speaks to the rest of the room.
The most peaceful and sophisticated rooms are the ones where all the elements feel like they are in harmony. The color of your floor should either complement or thoughtfully contrast with your wall color, vanity, and hardware. Think of it in terms of undertones. Does your gray floor have cool, blue undertones or warm, brownish ones? Make sure it pairs nicely with the undertones in your wall paint and countertop.
My go-to trick is to pull a color from a multi-toned floor tile and use that for the wall color. For example, if you have a floor tile with shades of cream, beige, and gray, choosing one of those shades—say, a soft, creamy off-white—for the walls will create an instantly cohesive and serene palette. This creates a quiet backdrop that feels calm and intentional, allowing other elements, like beautiful lighting or plush towels, to stand out.
That feeling of calm can be amplified by making the space feel larger than it is.
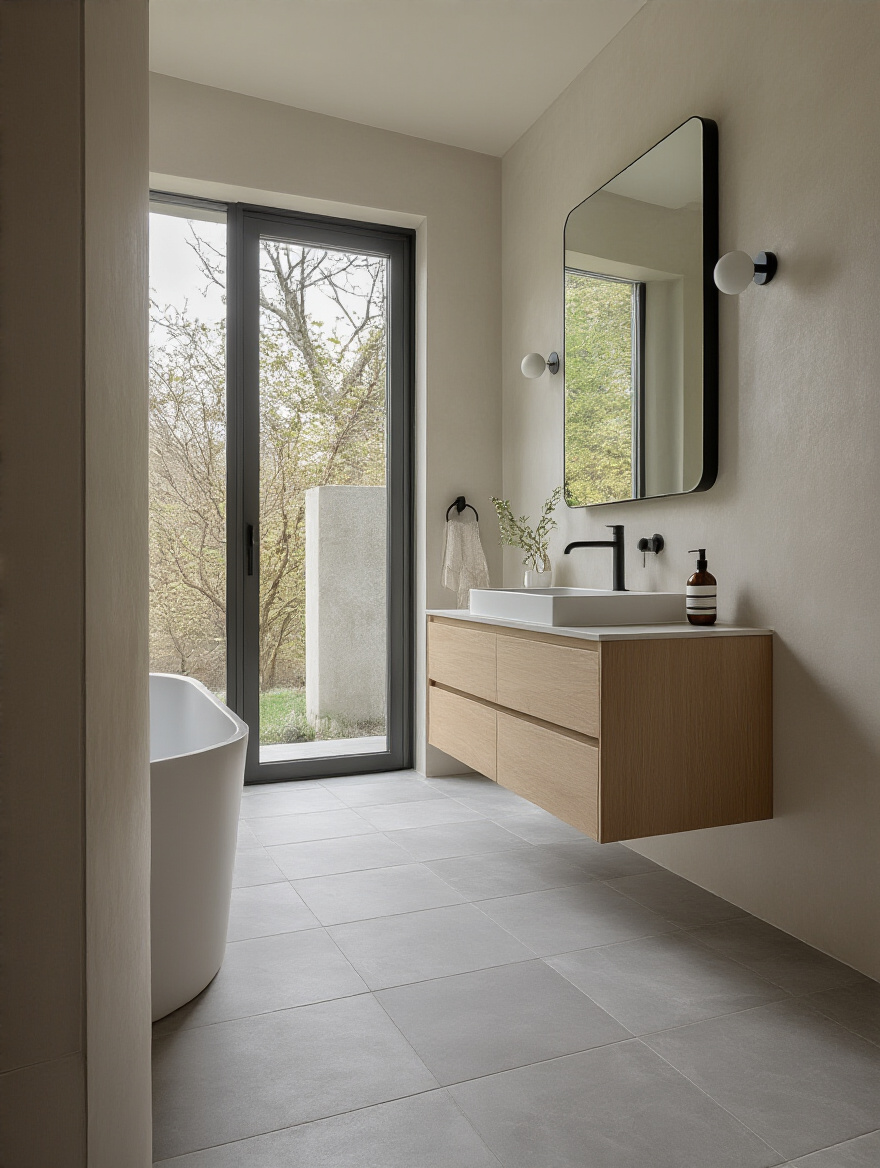
This always sounds counterintuitive to people, but it’s one of my favorite design secrets: to make a small bathroom feel bigger, use large tiles. It works because it reduces the number of grout lines. Grout lines create a visual grid that chops up the floor and makes your brain register the space as small and busy. Fewer lines create an illusion of an unbroken, expansive surface.
A 12×24 inch or even a 24×24 inch tile in a small powder room or guest bath can be transformative. It creates a clean, minimalist look that feels sophisticated and uncluttered. The key is to use a grout color that closely matches the tile to further enhance that seamless effect. I did this in a tiny city apartment bathroom, extending the large-format floor tiles up the main wall. The effect was dramatic—it made the room feel open, airy, and much more luxurious.
If minimalism isn’t your goal, however, you can add a layer of beautiful, custom detail.
If you want to add a truly bespoke touch to your bathroom, a decorative inlay or border is a beautiful way to do it. This is like adding a piece of jewelry to the room. It could be a simple “rug” made of mosaic tiles in front of the vanity, a classic Greek key border around the perimeter of the room, or even a stunning marble medallion in the center of a large primary bath.
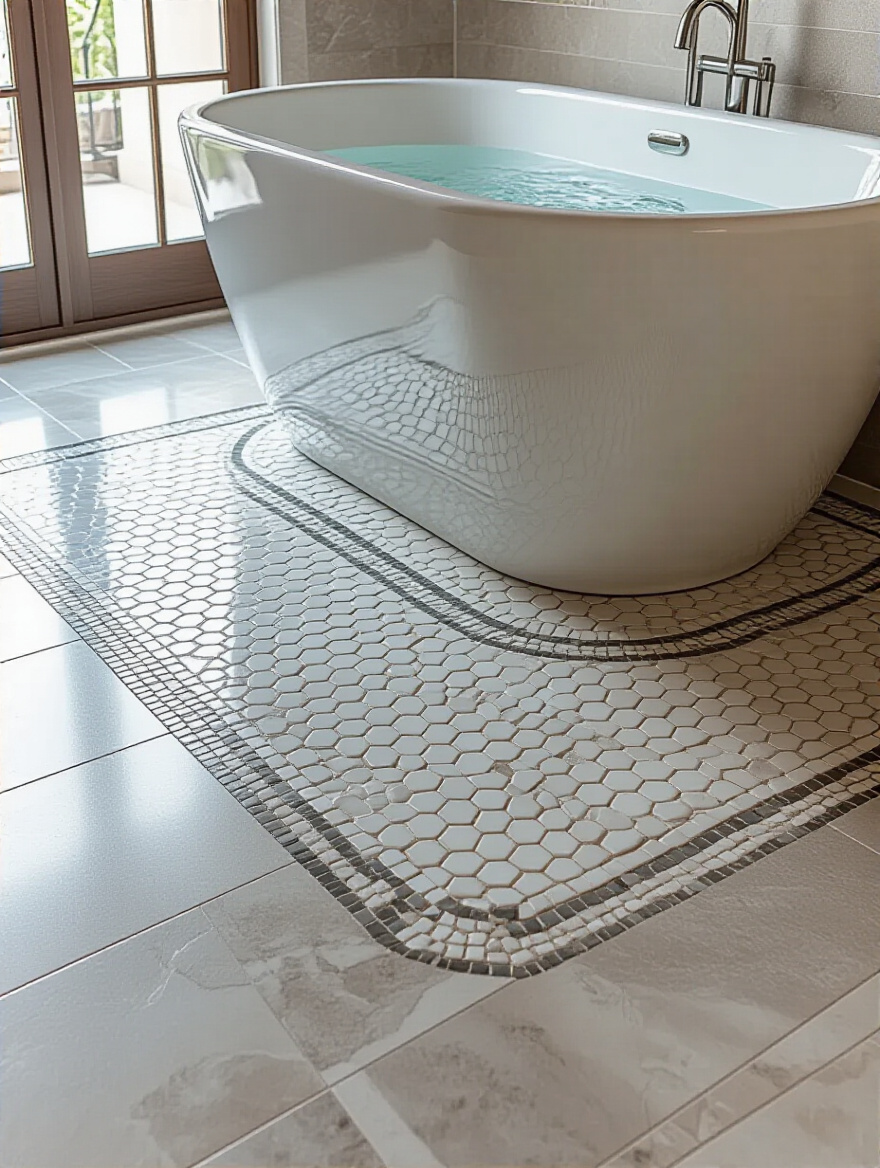
This detail is what separates a standard renovation from a custom-designed space. It shows a level of thought and craftsmanship that elevates the entire home. You can use it to define a specific area, like the space around a freestanding tub, or simply to add a touch of artistic flair. While it requires a highly skilled installer, the result is a one-of-a-kind feature that makes the bathroom feel uniquely yours.
Of course, once your beautiful new floor is installed, you need to know how to care for it.
Your new floor is an investment in your home and your family’s comfort. Protecting that investment with simple, consistent care routines will keep it looking beautiful and functioning perfectly for years, preventing small issues from becoming big, expensive problems.
The biggest mistake people make is using the wrong cleaner for their floor. Harsh, abrasive, or acidic cleaners can do serious damage. Vinegar might be great for windows, but it will etch and dull natural stone. Bleach can discolor grout. The best practice is the simplest: use a pH-neutral cleaner designed for your specific flooring material and a microfiber mop.
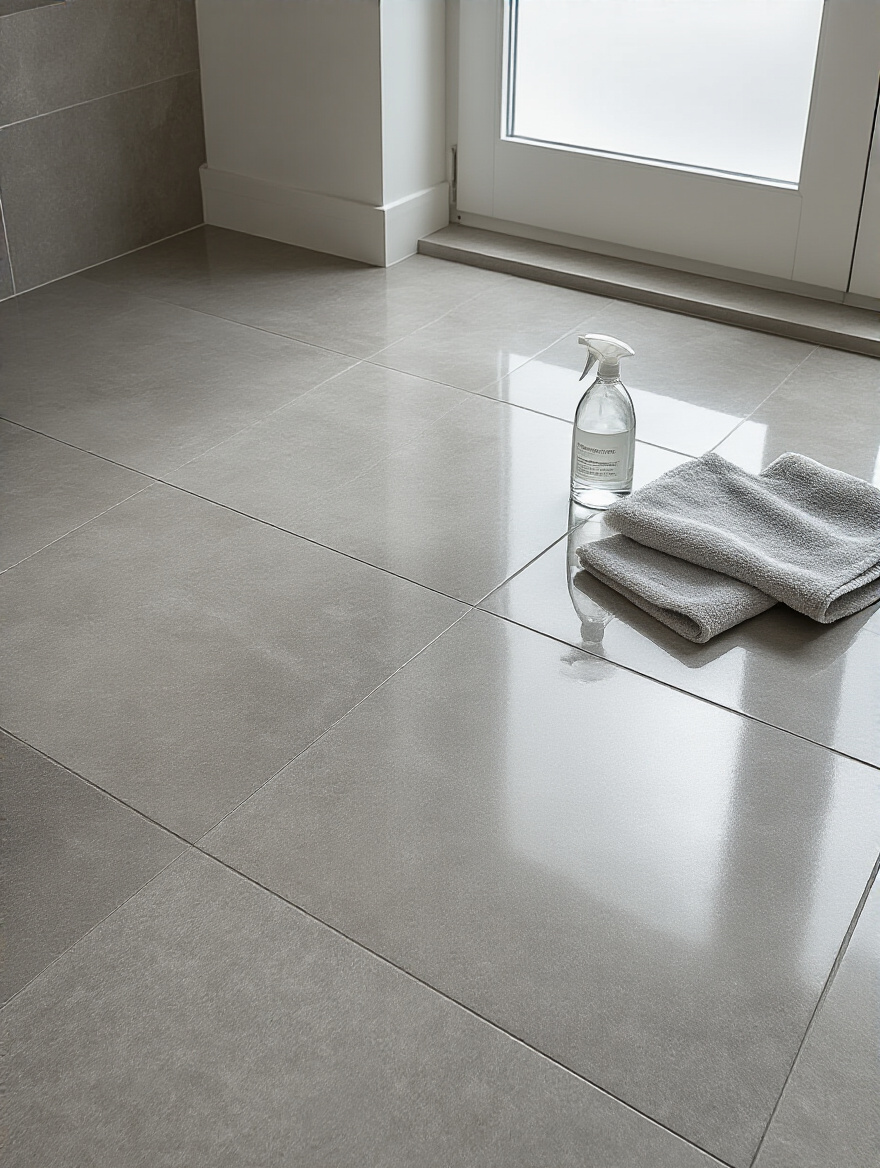
The other key is consistency. A quick sweep or vacuum every couple of days to get rid of grit and hair makes a huge difference, as abrasive particles are what cause tiny scratches that dull a floor over time. For grout, a steam cleaner can be a fantastic tool to lift deep-down dirt and kill mildew without harsh chemicals. Proper cleaning isn’t just about hygiene; it’s about preserving the beauty and integrity of the material you so carefully chose.
And for those inevitable moments of wear and tear, knowing a few simple fixes can be a lifesaver.
Knowing how to handle minor repairs is incredibly empowering. Things like cracked grout or peeling caulk around the tub aren’t just cosmetic issues; they are tiny gateways for water to get where it shouldn’t. Learning how to scrape out old caulk and apply a fresh, clean bead of 100% silicone is one of the most valuable skills a homeowner can have. It takes about an hour and costs less than $20, but it can prevent thousands of dollars in water damage.
Similarly, if a tile gets chipped or a grout line cracks, addressing it early is key. I always tell my clients to keep a few extra tiles from their installation for this exact reason. Replacing a single damaged tile is a manageable job for a handy homeowner or a quick task for a handyman. Being proactive about these small fixes will dramatically extend the life of your floor and keep the entire space looking fresh and well-maintained.
So there you have it. Choosing a bathroom floor is about so much more than picking a pretty color. It’s about creating a foundation of safety, comfort, and harmony for your family. It’s a thoughtful process of balancing durability with design, budget with beauty, and present needs with future possibilities. The right floor can transform your daily rituals, turning a purely functional space into a personal retreat where everyone feels comfortable and cared for.
Don’t let the options overwhelm you. Start with the foundational questions: How does my family live? What are our priorities for this space? What feeling do we want to create? Use these ideas as a guide to find the material and style that speak to you. A well-designed bathroom floor is an investment that pays you back every single day in beauty, function, and peace of mind. You have the power to create an extraordinary space—one beautiful step at a time.