Physical Address
304 North Cardinal St.
Dorchester Center, MA 02124
Physical Address
304 North Cardinal St.
Dorchester Center, MA 02124
Unlock 18 brilliant firepit ideas to elevate your home. Go beyond heat and curate an unforgettable outdoor experience with expert tips on design, style, and safety.
Picture this: You’re standing at your kitchen window as the sun dips below the horizon, casting that perfect, dusky glow over your backyard. Friends are gathered, wine glasses in hand, their laughter carrying on the cool air. The centerpiece of it all is a firepit, its flames dancing rhythmically, drawing everyone in like a magnet. The entire scene looks effortless, impossibly chic, and deeply personal.
That feeling, that perfect visual moment, doesn’t happen by accident. It’s merchandised. In my years designing luxury retail spaces, I learned that the secret to making something feel special is obsessive intentionality—every object has a purpose, every sightline is considered. That moment of realization—when you see your outdoor area not as a patch of grass but as a stage for your life—is exactly what separates intentional design from a firepit you just happened to buy. It’s about curating an experience, not just adding a feature.
Before we even think about materials or aesthetics, we need to do the unglamorous but critical work of planning. In retail, this is called zoning and planning—the floor plan that dictates flow, focus, and function. For your backyard, it’s about understanding the space as a whole. Getting this right is the difference between a firepit that feels like an integrated part of your home and one that looks like an afterthought.
You wouldn’t place a show-stopping sculpture in a dimly lit corner of a gallery, and your firepit is no different. Placement is everything. This isn’t just about avoiding setting the house on fire—though that’s obviously key—it’s about creating a destination. The real goal here is to establish a focal point that anchors your entire outdoor living area, orchestrating how people move through and experience the space. It’s about creating a magnetic pull.
The industry noise is all about the 10-foot safety rule from any structure, which is the bare minimum. What they don’t tell you is to think like a merchandiser. Stand in your home and look out. Where does your eye naturally go? That’s your prime real estate. Consider the flow from the door to the seating area to the firepit. It should feel like a natural, inviting journey, not an obstacle course.
This assessment is your strategic blueprint, so don’t rush it. Once you’ve chosen your spot, your firepit is no longer just an object; it’s the heart of a curated vignette, dictating everything from seating arrangements to landscape lighting.
I know, I know. Nothing kills a creative buzz faster than talking about permits and municipal codes. But can I be honest? Ignoring this is the fastest way to turn a design dream into a costly nightmare. Everyone assumes “portable” means “no rules apply,” but I once watched a client almost get hit with a hefty fine from their HOA because their chic, portable fire bowl was two inches too wide for their community guidelines. It was a completely avoidable headache.
The real story here isn’t about bureaucracy; it’s about doing the quiet, behind-the-scenes work that makes the final result look flawless and effortless. Think of it as the impeccable tailoring inside a bespoke suit—no one sees it, but it’s what makes the whole thing work. Call your local fire department and check your HOA bylaws. It takes about thirty minutes, and it gives you the creative freedom to design without constantly looking over your shoulder.
Getting this right from the start protects your investment and ensures your beautiful new space is a source of joy, not legal notices. Next, we get to the fun part: deciding what kind of story you want your firepit to tell.
You know what people always ask me? “Wood or gas?” My answer is always another question: “What kind of experience are you creating?” This isn’t a technical decision; it’s a lifestyle one. The fuel source dictates the entire ritual and ambiance of your space. It’s the difference between an impromptu glass of champagne on a Tuesday and a cozy, nostalgic weekend gathering.
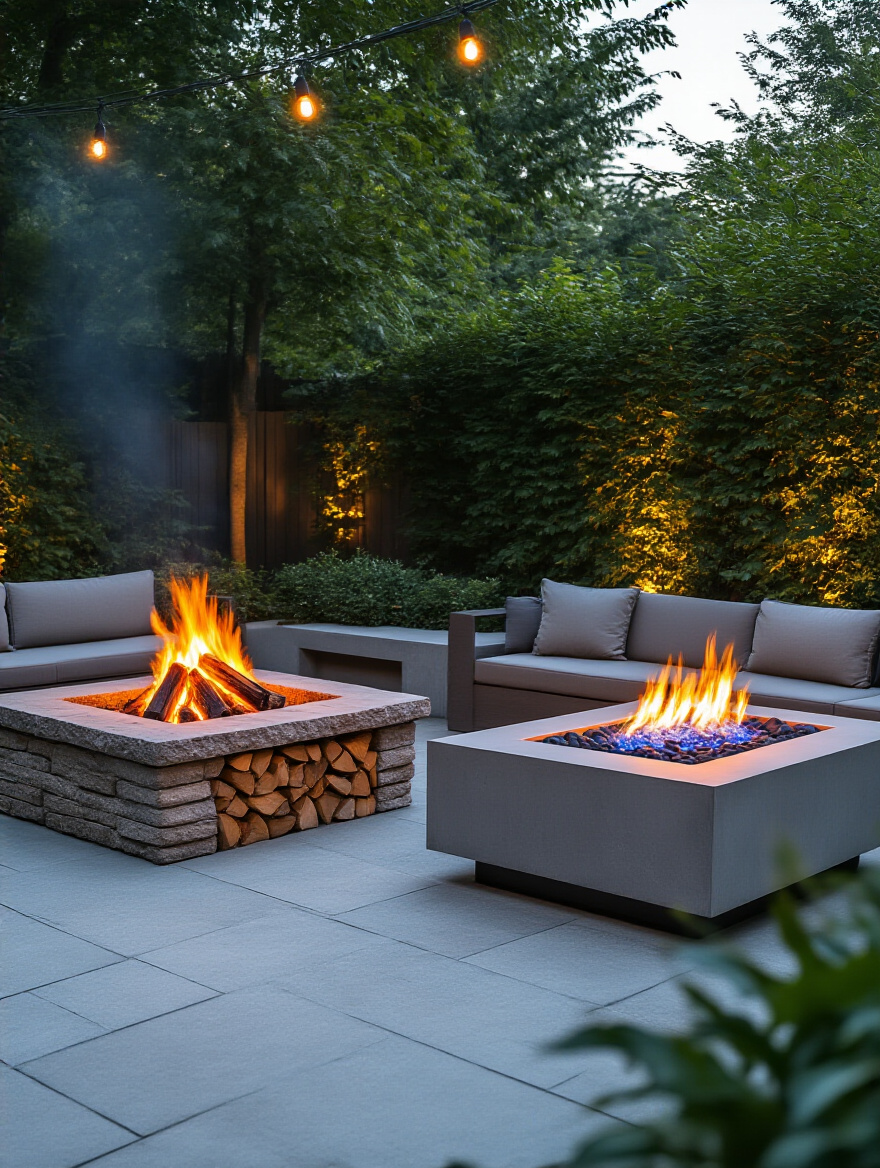
A wood-burning fire is a commitment. It’s about the ritual: the stacking of the logs, the scent of the smoke, the crackle and pop. It delivers an authentic, primal experience that is deeply sensory and engaging. A gas firepit, on the other hand, is about instant gratification. It’s a clean, controlled flame at the flick of a switch—effortless elegance. There’s no right answer, only the one that aligns with the story you want your backyard to tell. Do you want rustic authenticity or modern convenience?
Once you’ve decided on the feeling, the choice becomes simple. This decision will inform the design, materials, and even the type of gatherings you host, making it one of the most crucial creative choices you’ll make.
Let’s talk money, because a beautiful design that you can’t afford is just a frustrating fantasy. The BS everyone tells you is to just get a few quotes. The real secret, which I learned the hard way in retail build-outs, is to budget for the entire vignette, not just the hero product. Everyone budgets for the firepit itself, but they forget the “hidden” costs that actually make it work: the base preparation, the seating, the outdoor rug, the lighting, the stylish log holder.

A firepit on its own is just an object. A firepit surrounded by thoughtful, comfortable, and beautiful elements is an experience. So, establish your total budget, then work backward. And please, add a 15% contingency fund. Always. Something unexpected will come up—a need for better drainage, a more complex gas line installation—and you don’t want to compromise on your vision because of poor financial planning. A well-planned budget isn’t a limitation; it’s the framework that ensures your creative vision can be fully realized without stress.
With a clear budget, you can now start to imagine how all the pieces will fit together, beginning with one of the most overlooked but critical elements: the air itself.
We’ve established the core foundation, but there’s one more layer of planning that separates a professional result from an amateur one. It’s about anticipating the subtleties—the things that can make or break the comfort of your guests. It’s the invisible element that has a very visible impact.
Can we talk about why so many people get this wrong? They design a stunning firepit area, spend a fortune on gorgeous seating, and then spend every evening playing musical chairs to dodge a face full of smoke. It completely ruins the luxurious, relaxing vibe you’re trying to create. Managing wind and smoke isn’t a minor detail; it’s a fundamental part of a successful design. It’s the ultimate act of hospitality.
The shortcut everyone should know is this: Before you build anything, spend a few evenings in your proposed spot. Sit there. Notice where the breeze comes from. That prevailing wind pattern is your design guide. The goal is to position the seating upwind of the firepit, letting the smoke drift away naturally. If the wind is unpredictable, this is where a “smokeless” firepit or a gas model with a glass wind guard becomes an incredibly savvy investment. It solves the problem before it even starts.
Proper smoke management ensures your beautifully curated space is consistently comfortable, allowing for long, uninterrupted conversations—which is, after all, the entire point. Now, let’s move from planning the invisible to selecting the visible centerpiece.
This is where the vision starts to take physical form. Choosing the right type and materials for your firepit is like selecting the perfect handbag or timepiece—it should be a reflection of your personal style, built to last, and elevate everything around it. This stage is about making choices that are both aesthetically pleasing and structurally sound.
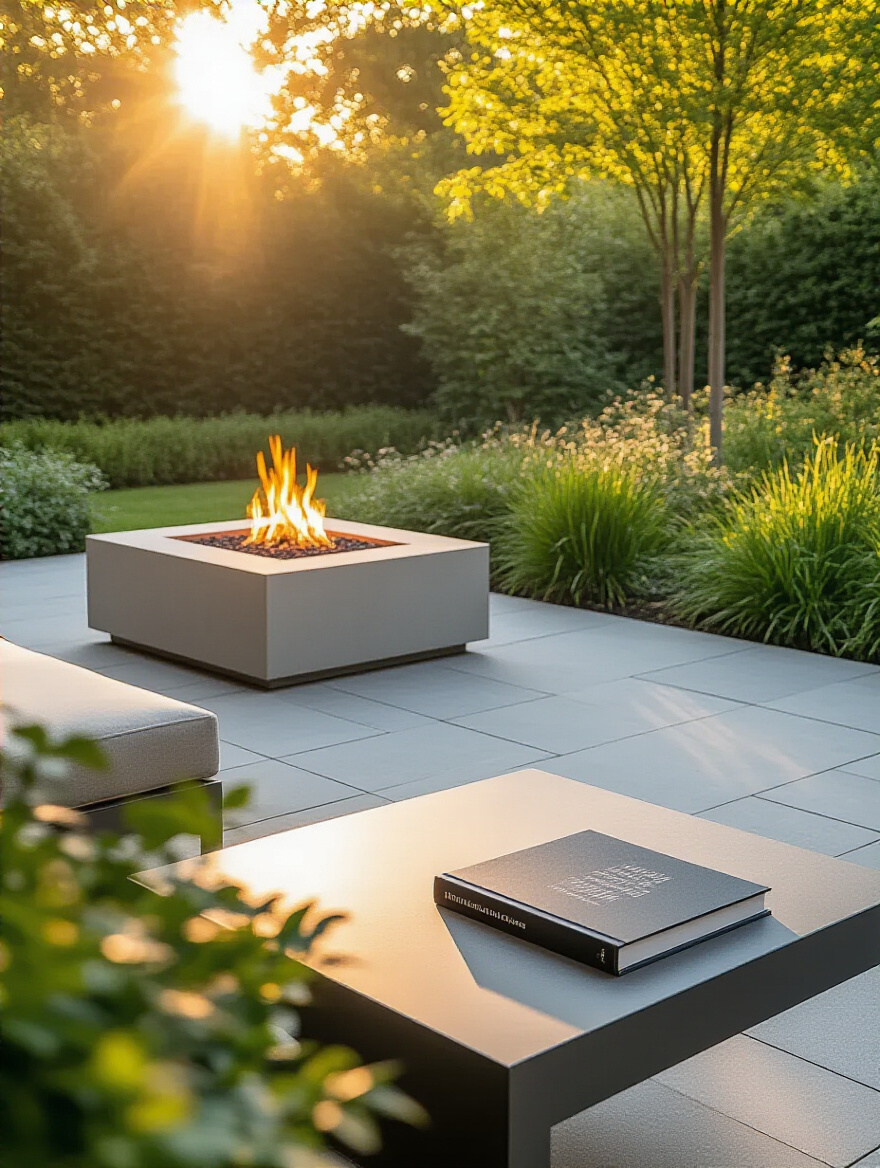
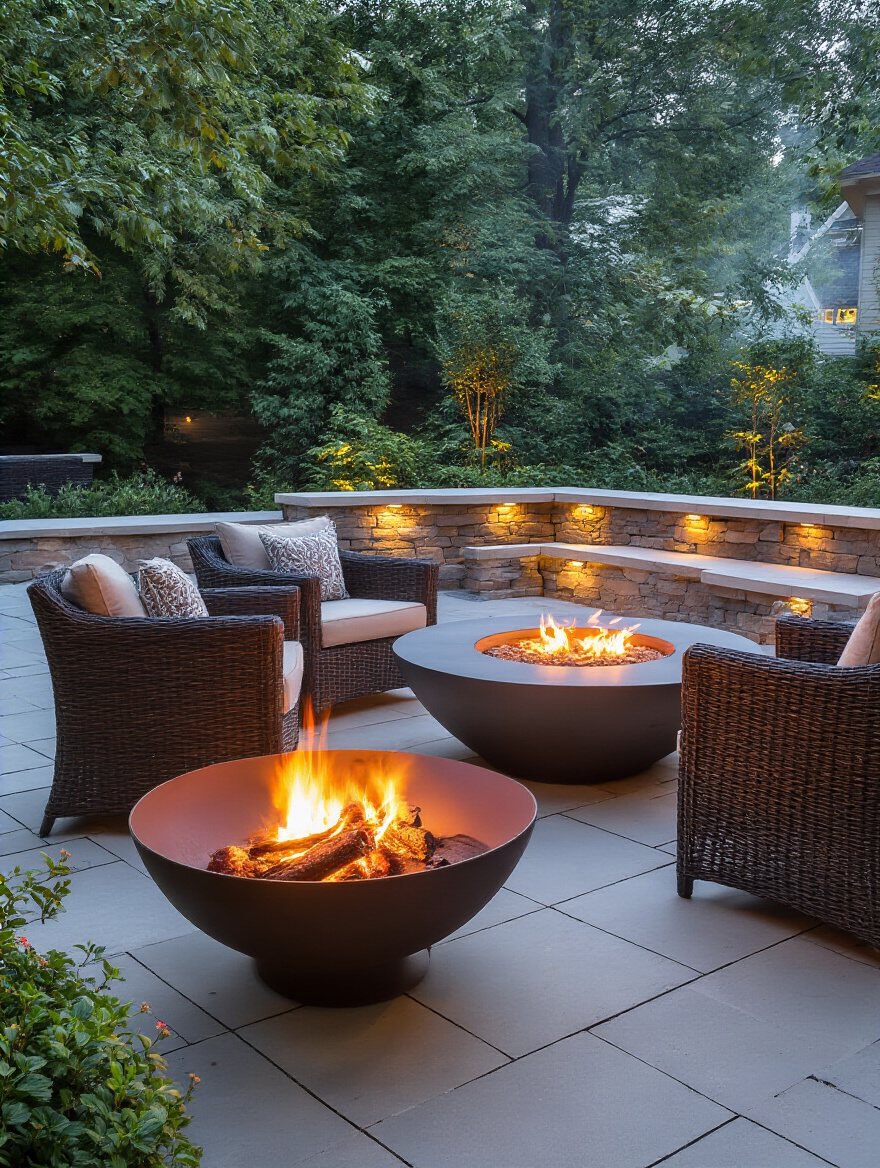
The type of firepit you choose sets the entire tone. It’s the lead actor in your outdoor story. A sculptural fire bowl is a standalone piece of art. It’s often portable, making it versatile for different layouts, and it draws the eye with its form. A fire table is the ultimate social hub. It’s functional, perfect for resting drinks, and its linear shape encourages conversation across the table. It says “modern entertaining.”
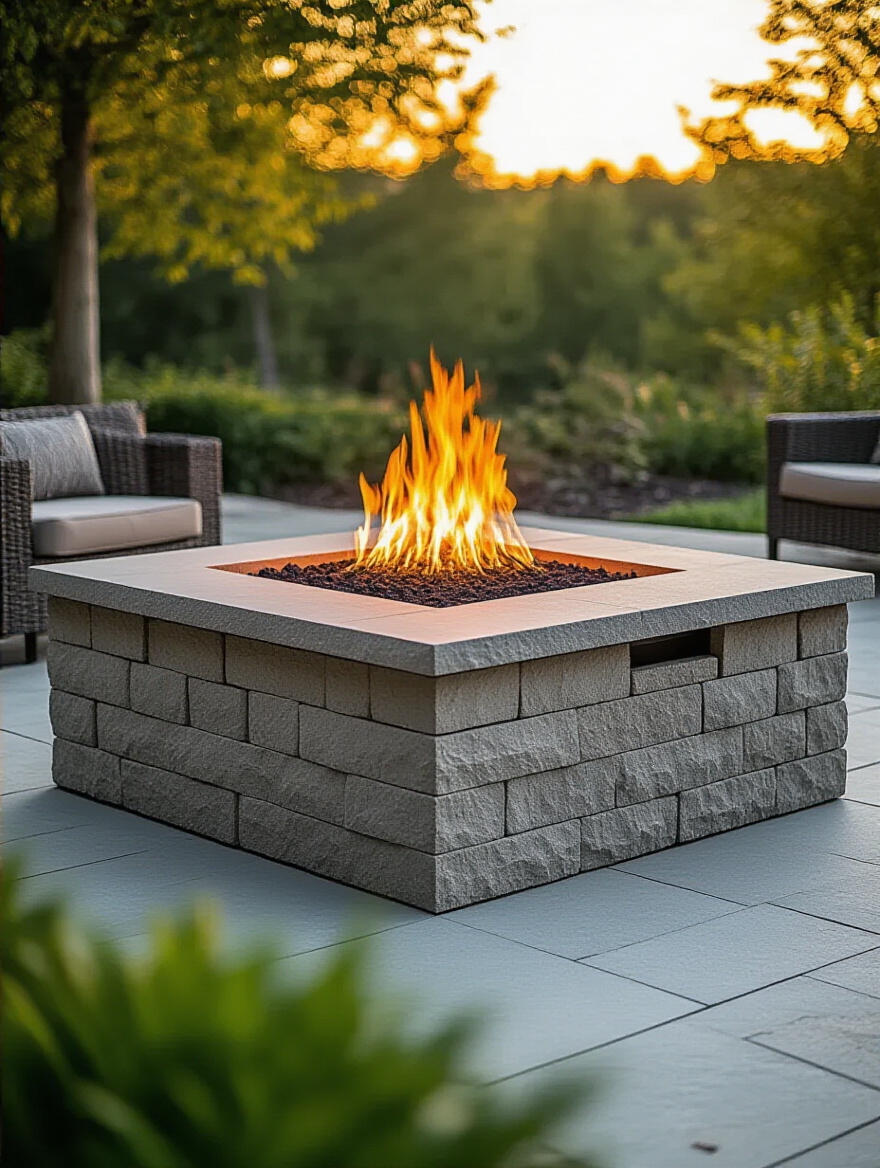
A built-in firepit is pure architecture. It feels permanent, integrated, and substantial, blending seamlessly with your landscape design. It declares that this is an intentional, thoughtfully designed outdoor room. There is no “better” option, only the one that aligns with your home’s aesthetic and how you intend to use the space. A sleek, minimalist home might call for a concrete fire table, while a rambling, romantic garden would be perfect for a rustic stone built-in.
Think of these not just as firepits, but as foundational pieces of furniture that will define the character of your outdoor living area for years to come. Once you’ve chosen the form, it’s time to consider the finish.
The materials you choose for your firepit are doing double duty: they need to be incredibly durable to withstand intense heat and weather, but they also have to be beautiful. This is where you tell your textural story. Will it be the raw, evolving patina of Corten steel that rusts to a perfect, stable finish? The timeless, solid feel of natural stone? Or the clean, sharp lines of poured concrete?
What the big-box stores won’t tell you is that not all materials are created equal. A cheap metal fire bowl will look great for one season before it’s a rusty eyesore. Investing in quality here is non-negotiable. I once saw a client use standard landscaping pavers for a DIY firepit, only to have them crack and crumble after a few uses due to thermal shock. The shortcut is to always use a fire-rated brick or a refractory cement liner on the inside—this protects your beautiful exterior material and ensures the structure lasts.
Your material choice is a long-term aesthetic commitment. Choose something that not only looks good now but will age gracefully and add character to your space over time.
Think of the base of your firepit as the stage on which your masterpiece sits. Functionally, its job is to be non-combustible and stable. Aesthetically, it’s a design opportunity to ground your firepit and define its space. Placing a fire feature directly on a lawn or wooden deck without a proper base is a rookie mistake that is both dangerous and visually jarring.
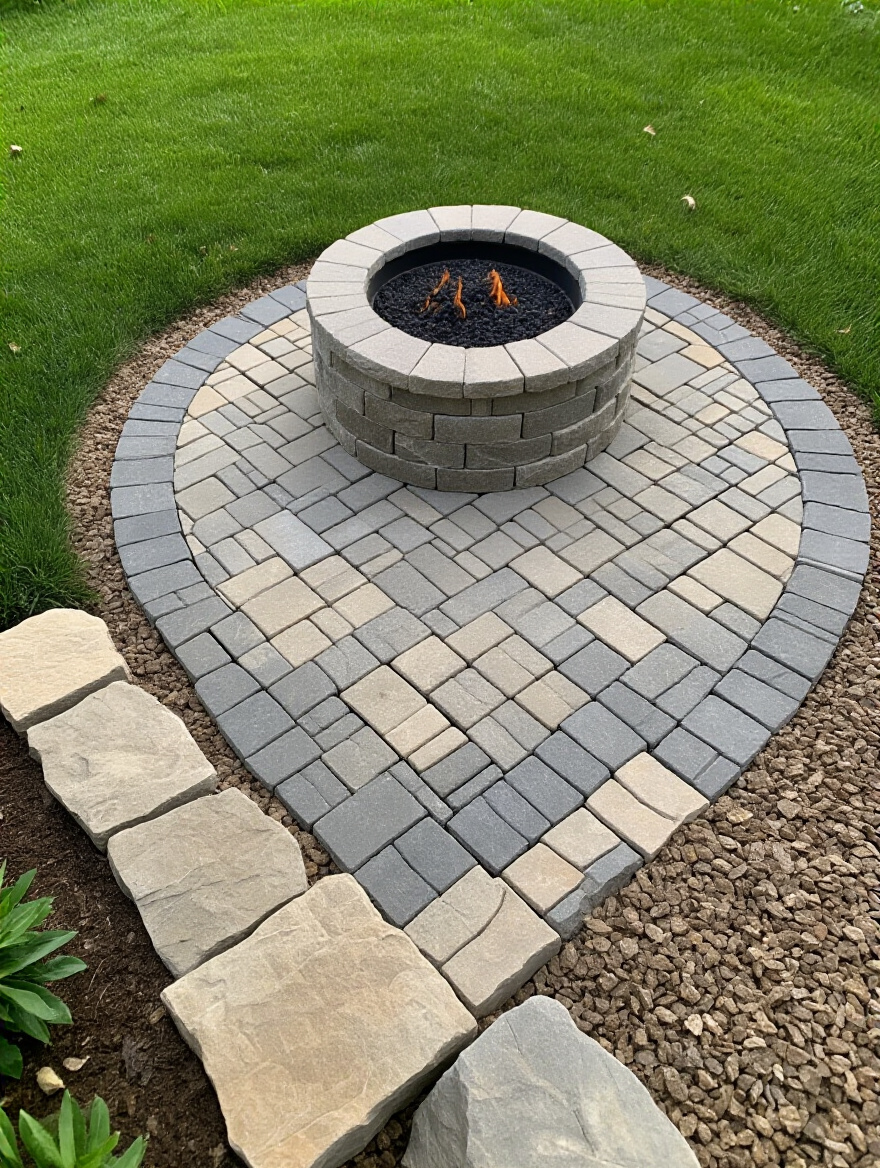
The base creates a deliberate, intentional “zone.” A clean circle of gravel, a crisp square of stone pavers, or a raised brick plinth all serve to frame the firepit, making it feel purposeful. It’s like placing a beautiful object on a pedestal—it signals importance and draws the eye. My advice is to extend this base at least 24 inches beyond the firepit’s edge. This provides a generous safety margin for stray sparks and creates a more balanced, substantial look.
A well-designed base is the silent partner in your firepit vignette. It provides safety and stability while subtly enhancing the overall design. Now, let’s bring in the supporting cast.
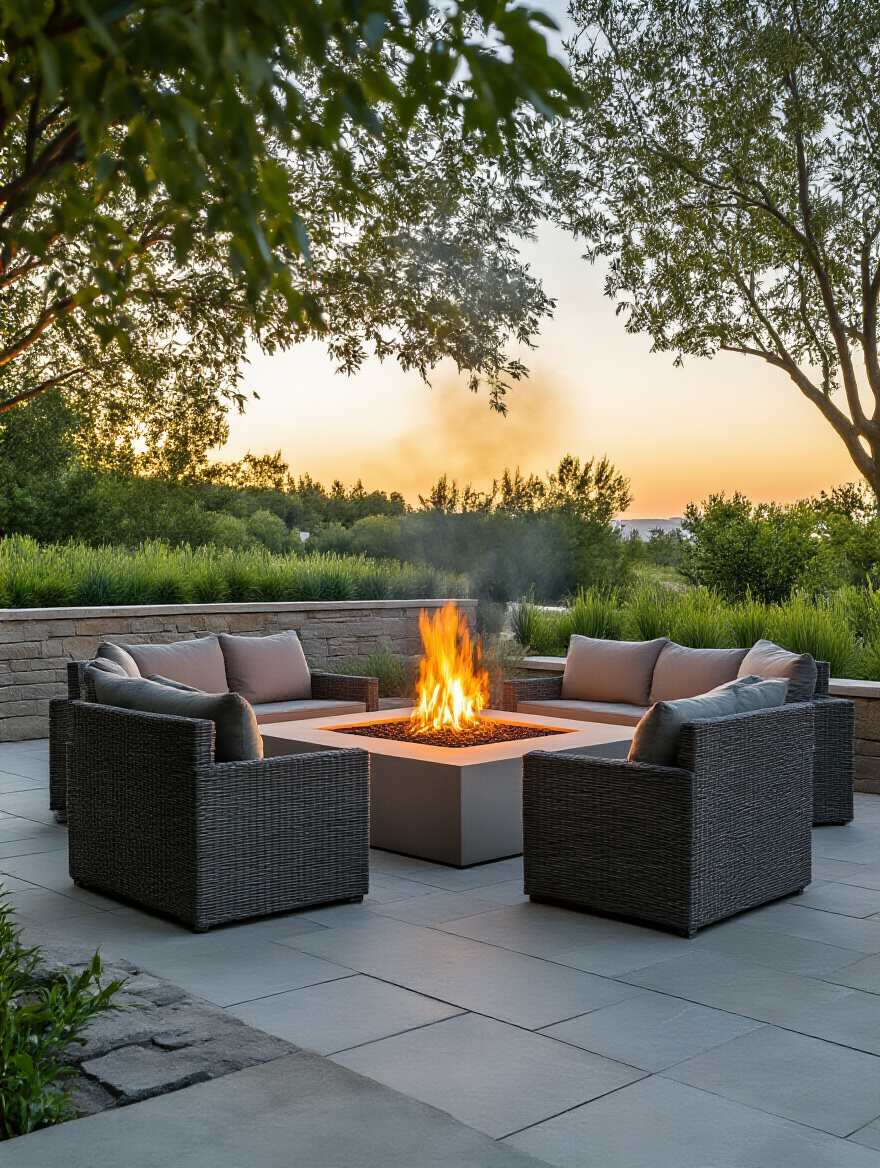
The most gorgeous firepit in the world is useless if the seating around it is an uncomfortable, awkward afterthought. Your seating arrangement is what turns a fire feature into a destination for connection. It’s not just about placing chairs; it’s about choreographing a social experience. The number one rule is to create a circle—or a semi-circle—that encourages face-to-face conversation.
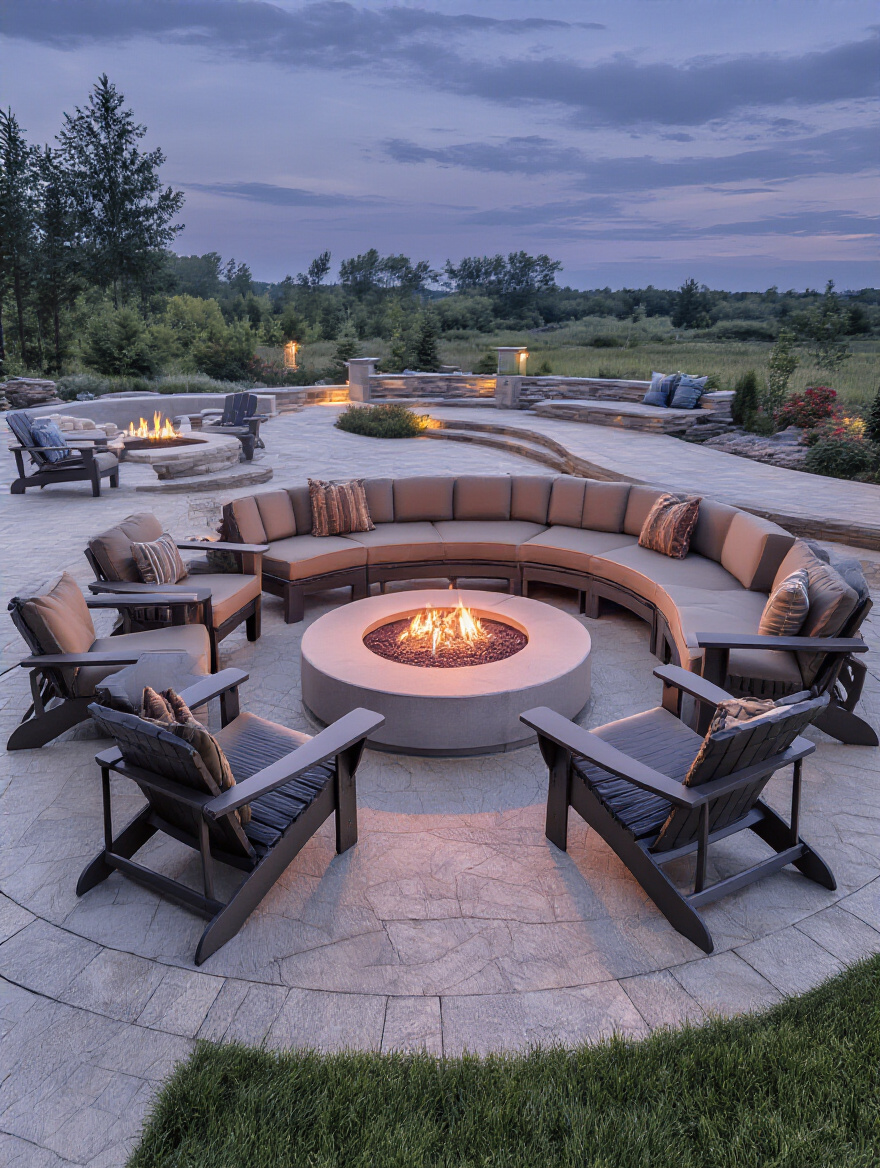
People get this wrong by either placing seats too far away, forcing everyone to shout, or too close, making it uncomfortably hot. The sweet spot is typically 2 to 3 feet from the edge of the firepit. The real insider tip, though, is to mix your seating. Combine a permanent built-in bench with a few movable, comfortable armchairs. This gives you flexibility for different-sized gatherings and adds layers of visual interest. It’s the difference between a static waiting room and a dynamic living room.
Your seating dictates the intimacy and energy of the space. Get it right, and your firepit will become the most popular gathering spot in your home.
We’ve covered the big pieces—the structure, the materials, the layout. Now it’s time for the finishing touches. These are the elements that elevate a functional setup into a truly thoughtful and polished space. In retail, we call this “visual merchandising”—the final layer that brings the story to life.
Safety accessories are non-negotiable, but that doesn’t mean they have to be ugly. In fact, a beautifully crafted spark screen and a handsome set of tools can be part of the aesthetic. Think of them as the functional jewelry of your firepit. A simple mesh spark screen does the job, but one with a subtle, elegant design adds another layer of visual texture, especially when the fire isn’t lit.
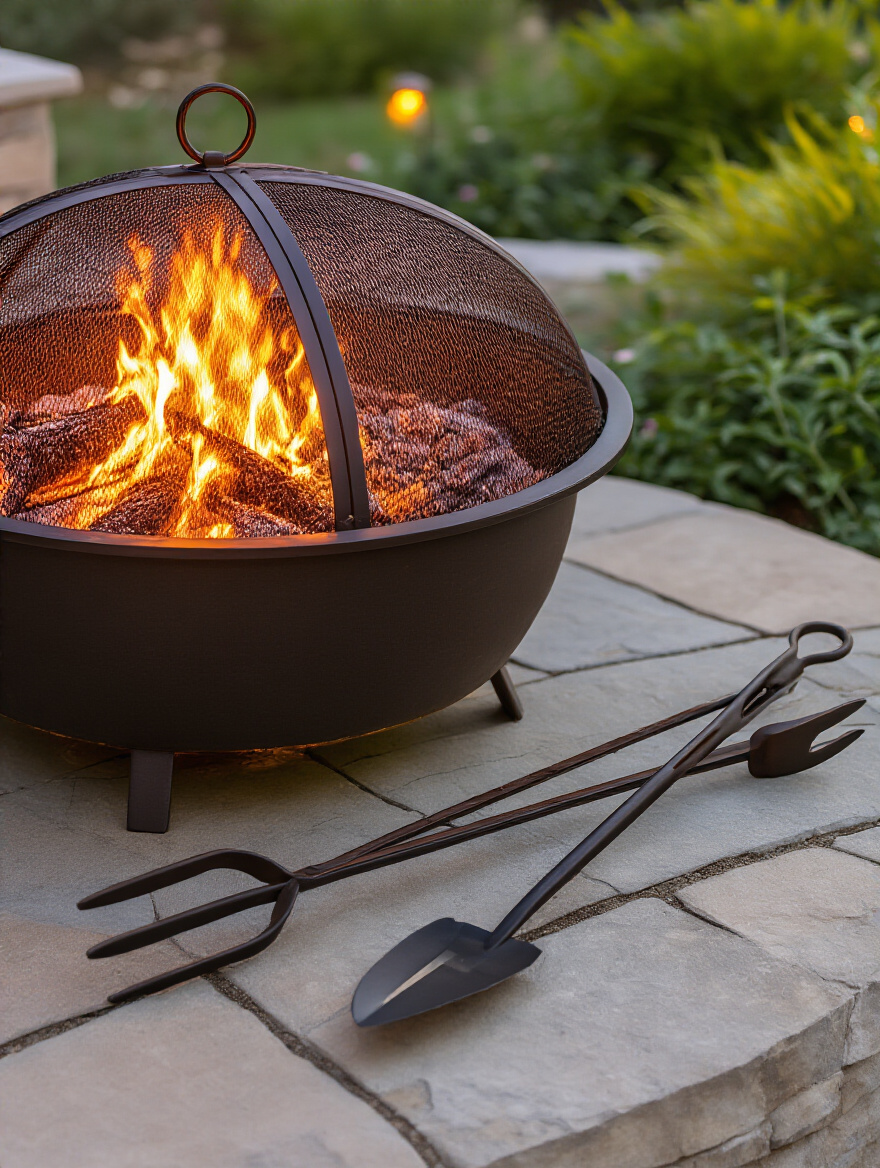
The mistake most people make is buying the cheapest, flimsiest tool set they can find. It inevitably rusts and bends, and you end up hiding it. Instead, invest in a solid, heavy-gauge steel poker and tongs. Hang them on a simple, stylish hook near the firepit. This communicates a sense of preparedness and quality. It says that every detail has been considered. It’s a small touch that has a big impact on the overall perception of the space.
Choosing well-designed accessories is a simple way to demonstrate that safety and style can, and should, coexist beautifully.
This is my favorite part. Your firepit is built, the seating is arranged—now it’s time to style the scene. This is where you inject personality, mood, and luxury into the space. A firepit provides the warmth and the focal point, but it’s the styling around it that creates the unforgettable ambiance.
A firepit provides its own beautiful light, but relying on it alone is a classic design mistake. It creates a single, bright spot in a sea of darkness, which can feel stark and uninviting. The professional secret is to layer your lighting. The fire is your “hero” light, but you need to support it with subtle, strategic ambient light.
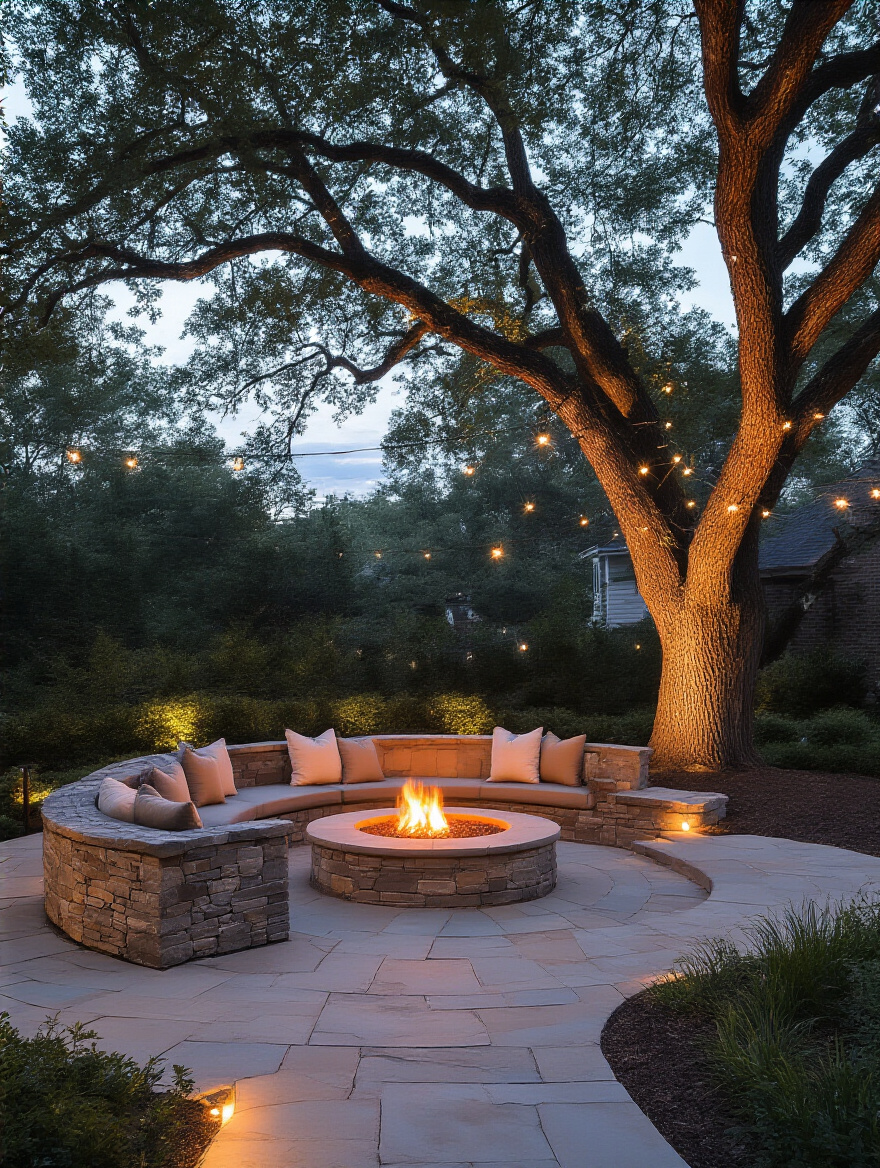
Think of it like lighting a retail display. You have a spotlight on the main product, but you also have softer, warmer light throughout the store to make the entire space feel welcoming. Around your firepit, this could be the gentle glow of string lights overhead, a few solar-powered uplights on nearby trees to create depth, and discreet path lighting for safe navigation. Use warm-temperature LEDs (around 2700K) to complement the fire’s natural orange glow, not compete with it.
The goal is to create a soft, immersive bubble of light that makes the entire area feel like a magical, intimate outdoor room, long after the flames have died down.
Your firepit zone shouldn’t feel like it was dropped into your yard from space. It needs to be visually connected to its surroundings. This is where thoughtful landscaping and decorative elements come in. The key is to create a seamless transition from the hardscaping of the firepit base to the softscaping of your garden. Use planters filled with lush, heat-tolerant plants like succulents or ornamental grasses to soften the edges.
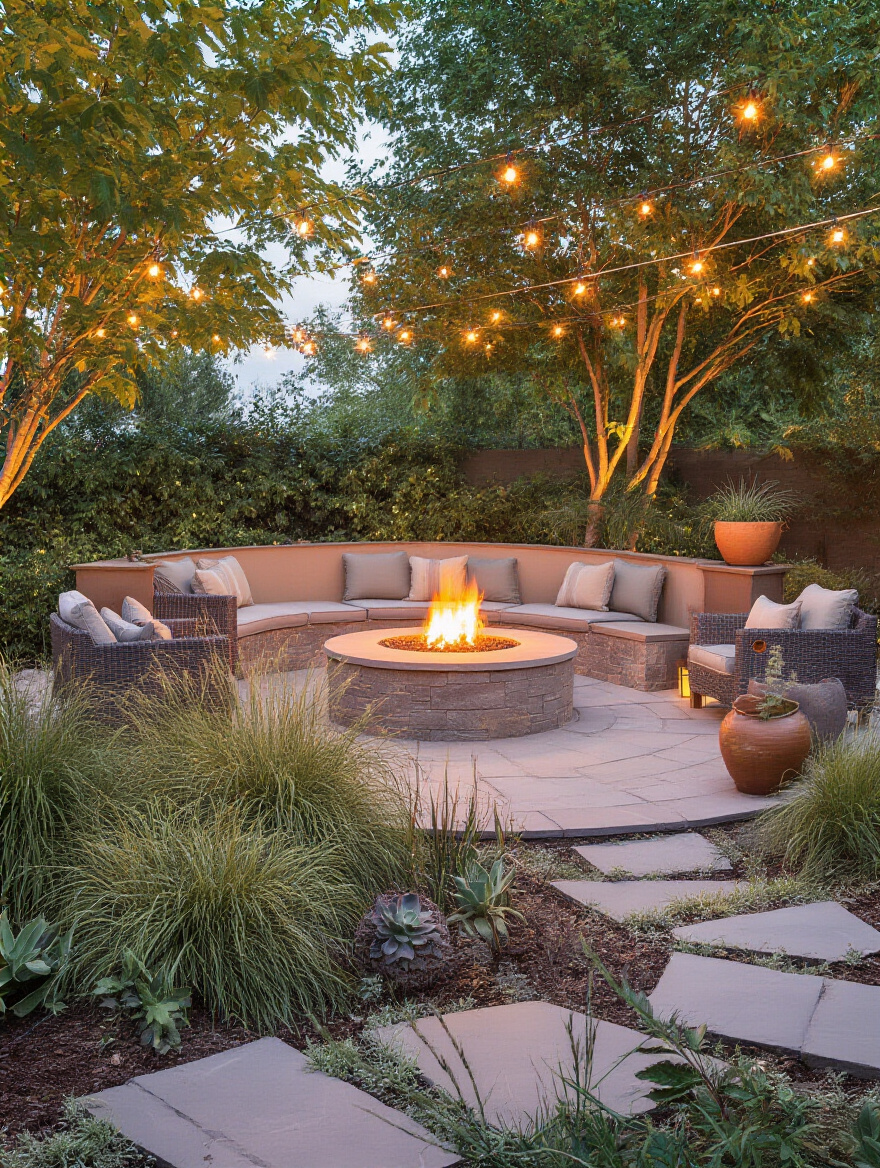
This is your chance to merchandise the area. Add a beautiful ceramic side table for drinks, a large decorative vessel that can hold blankets, or even an outdoor sculpture. These elements add personality and make the space feel curated and lived-in. Just be sure to use non-combustible materials like gravel or stone as mulch in the beds immediately surrounding the firepit zone.
These details are what elevate the space from a simple patio feature to a cohesive and enchanting garden room. Next up, we’ll talk about the “jewelry” for the firepit itself.
If you have a gas firepit, the media you fill it with is a huge style statement. This is the equivalent of choosing the hardware on a custom cabinet—it’s a small detail that has an outsized impact on the final look. Lava rock is the classic choice; it’s organic, textured, and creates a rustic, earthy feel. It’s understated and timeless.
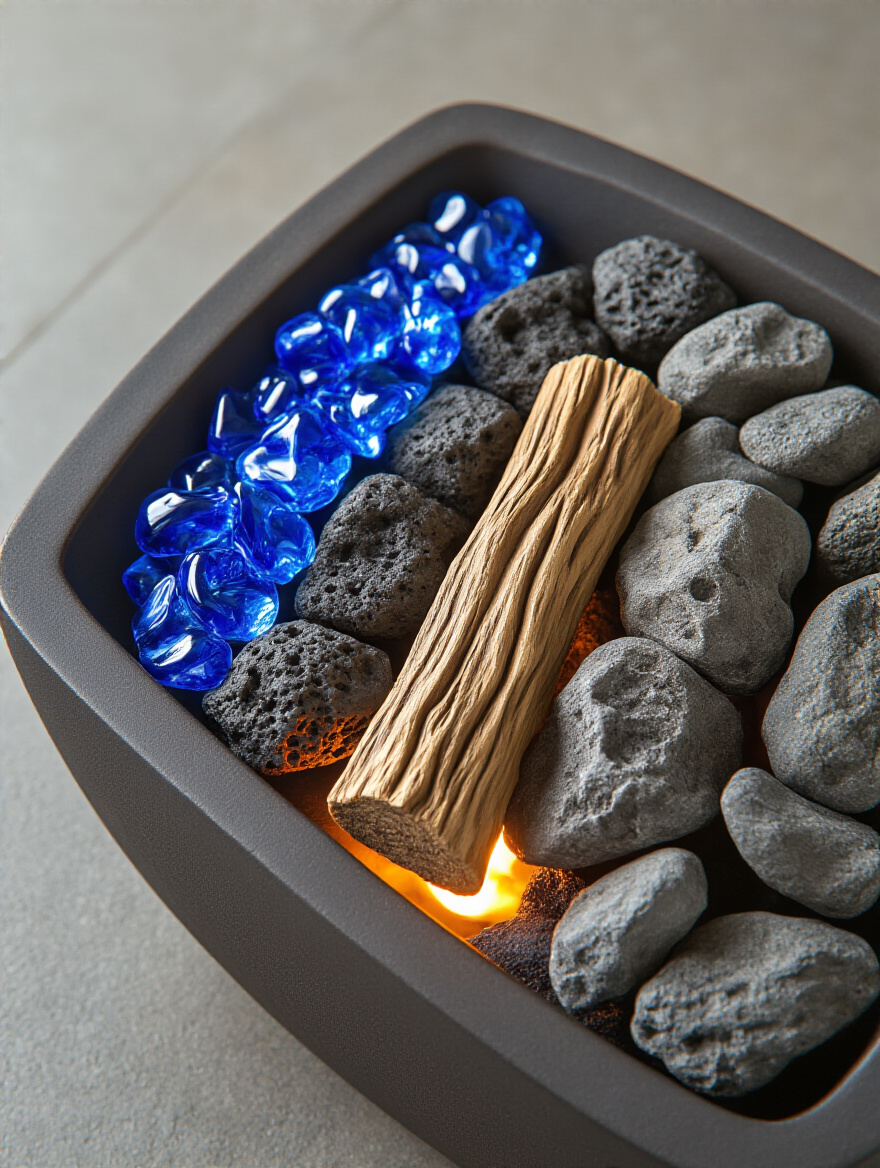
Fire glass is the complete opposite. It’s pure glamour. The way it reflects the flame creates a dazzling, glittering effect that feels modern and luxurious. I love using a deep cobalt blue or a smoky black for a sophisticated, dramatic look. And then there are ceramic logs, which are designed to mimic a traditional wood fire. These are perfect when you want the convenience of gas but the classic aesthetic of wood. The latest versions are incredibly realistic, adding a cozy, traditional charm.
Don’t be afraid to mix them. I often use lava rock as a practical, heat-retaining base and top it with a layer of fire glass for that touch of sparkle. It’s a great way to get a high-end look more affordably.
This is perhaps the simplest and most impactful way to elevate your firepit experience. A bare bench is just a place to sit; a bench piled with plush, weather-resistant cushions and a few cozy throws is an invitation to settle in and stay a while. Texture is what makes a space feel luxurious and comfortable.
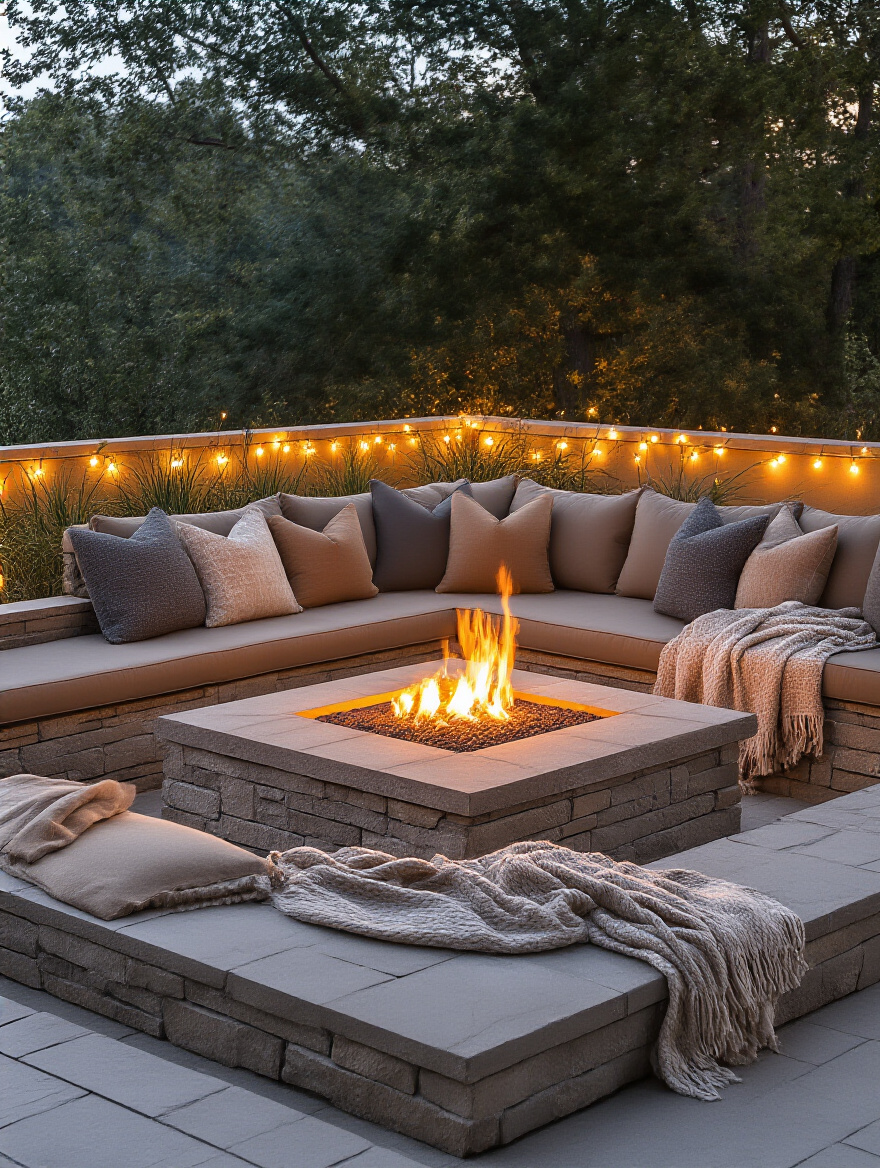
The key is to invest in high-quality outdoor fabrics like Sunbrella or Olefin. They resist fading, water, and mildew, so they look beautiful all season long. People often make the mistake of using indoor pillows, which are ruined after one surprise rainstorm. The shortcut? Get a stylish, waterproof deck box and place it nearby. It makes storing your textiles effortless, which means you’ll actually use them.
Layering these soft textures is the final touch that transforms your firepit area from a hardscaped patio into a true outdoor living room. It’s what makes the space irresistibly inviting.
A beautiful space is only successful if it can be easily maintained. A firepit that’s a hassle to clean or protect will quickly become a feature you resent rather than enjoy. The final part of a professional design is creating simple, elegant systems for upkeep.
Think of cleaning your firepit as resetting the stage after a performance. You wouldn’t leave debris on a boutique floor, and you shouldn’t leave a pile of cold, soggy ash in your beautiful firepit. Ash holds moisture, and moisture accelerates rust and corrosion, especially on metal models. It’s the number one killer of firepits.
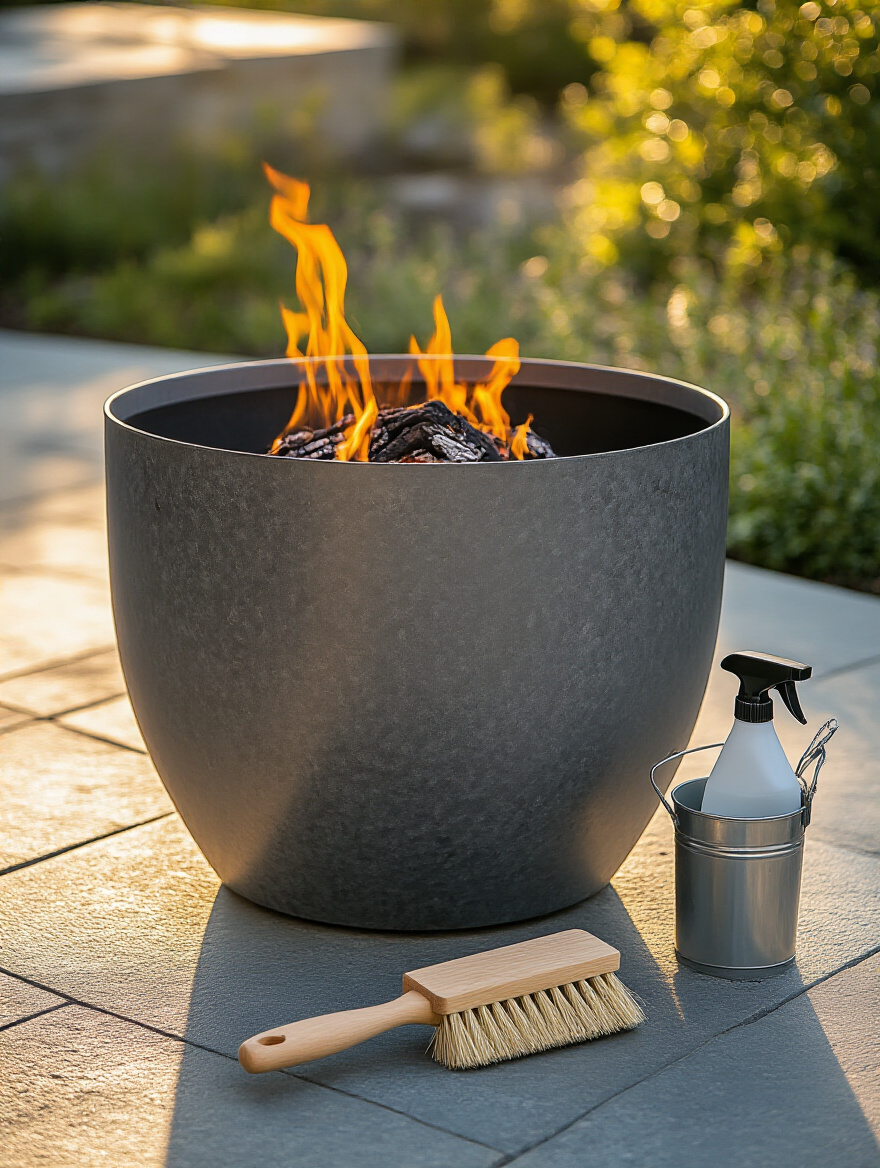
The ritual is simple: Once the fire is completely cold, scoop the ash into a designated metal bucket with a lid. It takes two minutes and will literally double the life of your firepit. For gas models, periodically check the burner ports to make sure they’re clear of debris. A clean firepit not only looks better, but it also performs more efficiently, giving you a better flame with less fuel.
This isn’t a chore; it’s a small act of respect for your investment that ensures it’s always ready for an impromptu evening under the stars.
Leaving your firepit exposed to the elements is like leaving a designer handbag out in the rain. It’s a completely avoidable tragedy. A high-quality, durable cover is your firepit’s best defense against rain, sun, snow, and debris. It keeps it clean, prevents rust and fading, and dramatically extends its life.
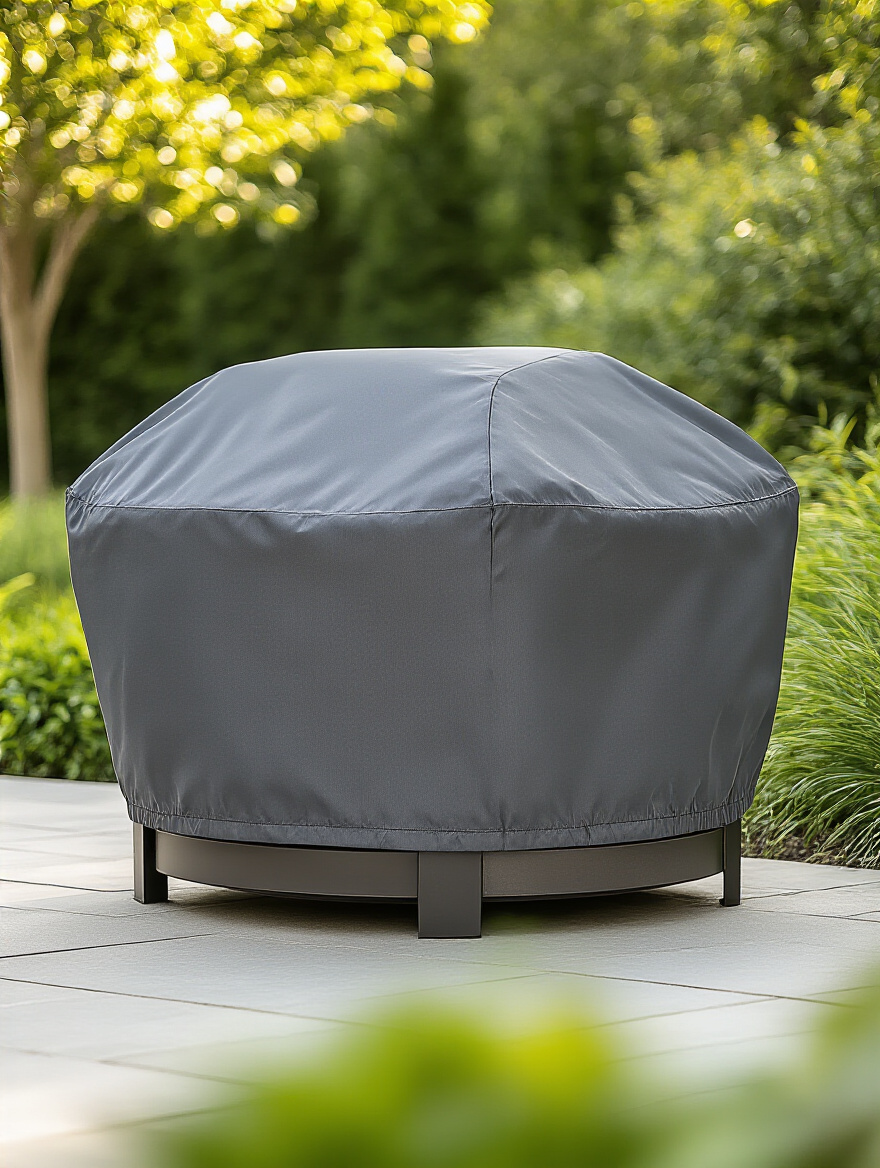
The BS everyone falls for is buying a cheap, flimsy cover that rips or blows away in the first storm. You need a heavy-duty, waterproof fabric with straps or a drawstring that secures it tightly. A well-fitting cover is a crucial piece of gear, not an optional accessory. A pro tip: If water tends to pool on top, place an overturned bucket or a large ball in the center of the firepit before covering it to create a dome shape that encourages water to run off.
A cover is the single best and easiest thing you can do to protect your investment and keep your firepit looking brand new.
If you have a wood-burning firepit, nothing looks less sophisticated than struggling for twenty minutes to get a smoky, sputtering fire going. Mastering the art of fire-starting is a skill that elevates the entire experience. It should look effortless, confident, and a little bit magical. The secret is the “top-down” burn method.
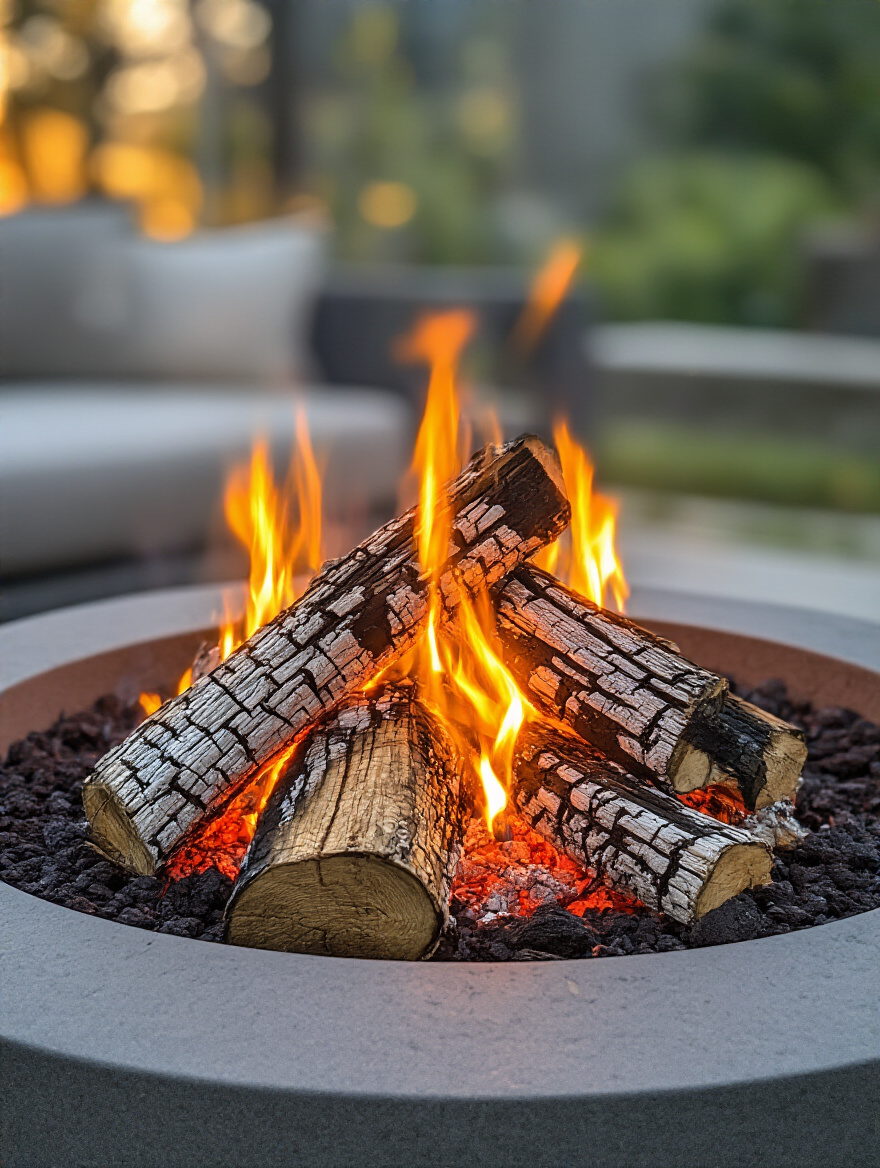
Instead of starting with a tiny pile of tinder at the bottom, you build your fire in reverse: large logs on the bottom, medium ones on top of those, then kindling, and finally tinder at the very top. You light the tinder, and the fire burns down slowly and cleanly, with almost no smoke. It ignites the logs below it perfectly and creates a long-lasting, self-sustaining fire. It’s a game-changer that will make you look like a seasoned pro every time.
Also, only burn properly seasoned hardwood. It produces more heat, less smoke, and fewer sparks. It’s the difference between a high-quality fuel and cheap filler.
At the end of the season, don’t just abandon your firepit to the mercy of winter. Putting it away properly is the final step in a year of thoughtful ownership. This means giving it one last, thorough cleaning to remove any corrosive ash or debris. For metal firepits, this is a great time to inspect for any scratches and touch them up with high-heat paint to prevent rust from taking hold.
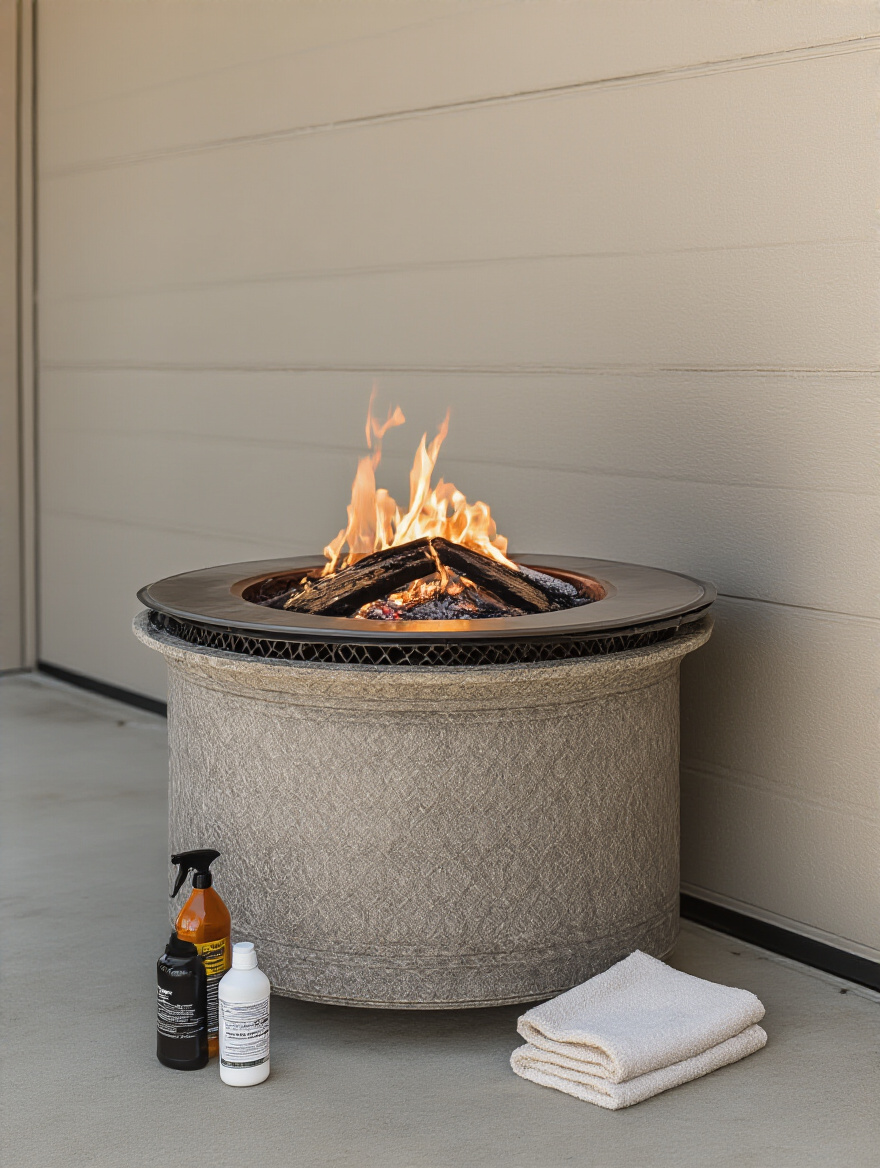
If you can, store your firepit in a shed or garage. If not, a high-quality, waterproof cover is essential. For gas models, disconnect the propane tank and store it upright in a safe, well-ventilated location away from your home. This process is like putting your fine woolens away for the summer—it’s a simple, strategic ritual that ensures your investment is in perfect condition when you’re ready to bring it out again next year.
A few minutes of prep in the fall will save you from the disappointment of a rusted, damaged firepit in the spring, ensuring many more seasons of beautiful moments.
There you have it. A firepit is so much more than a source of heat; it’s the anchor for an entire outdoor experience. By approaching it with the strategic eye of a designer—considering everything from placement and materials to lighting and texture—you move beyond simply buying an object and into the realm of true curation. You’re crafting a space that tells your story, a place that creates an emotional connection and fosters unforgettable memories.
The flickering flame of a beautifully designed firepit becomes a beacon, drawing people together and transforming your backyard into the most desirable room of your house. It’s an investment not just in your property, but in your quality of life. Now you have the insider’s perspective to make it happen flawlessly. Stop dreaming of those perfect evenings and start creating them. The stage is set, and your curated outdoor sanctuary is waiting.