Physical Address
304 North Cardinal St.
Dorchester Center, MA 02124
Physical Address
304 North Cardinal St.
Dorchester Center, MA 02124
Create a durable and beautiful bathroom half wall. Sarah shares 24 practical tips on design, installation, and creating a harmonious space for your family.
You know what people always ask me about designing for families? It’s not about the big stuff, like adding a new wing for the in-laws. It’s the small, intimate spaces. Picture this: a single bathroom shared by three generations. You have your daughter’s glittery bath bombs, your husband’s shaving cream, and your father’s essentials all vying for space. I used to think the biggest challenge in a room like that was just picking a tile everyone could agree on. I was so wrong.
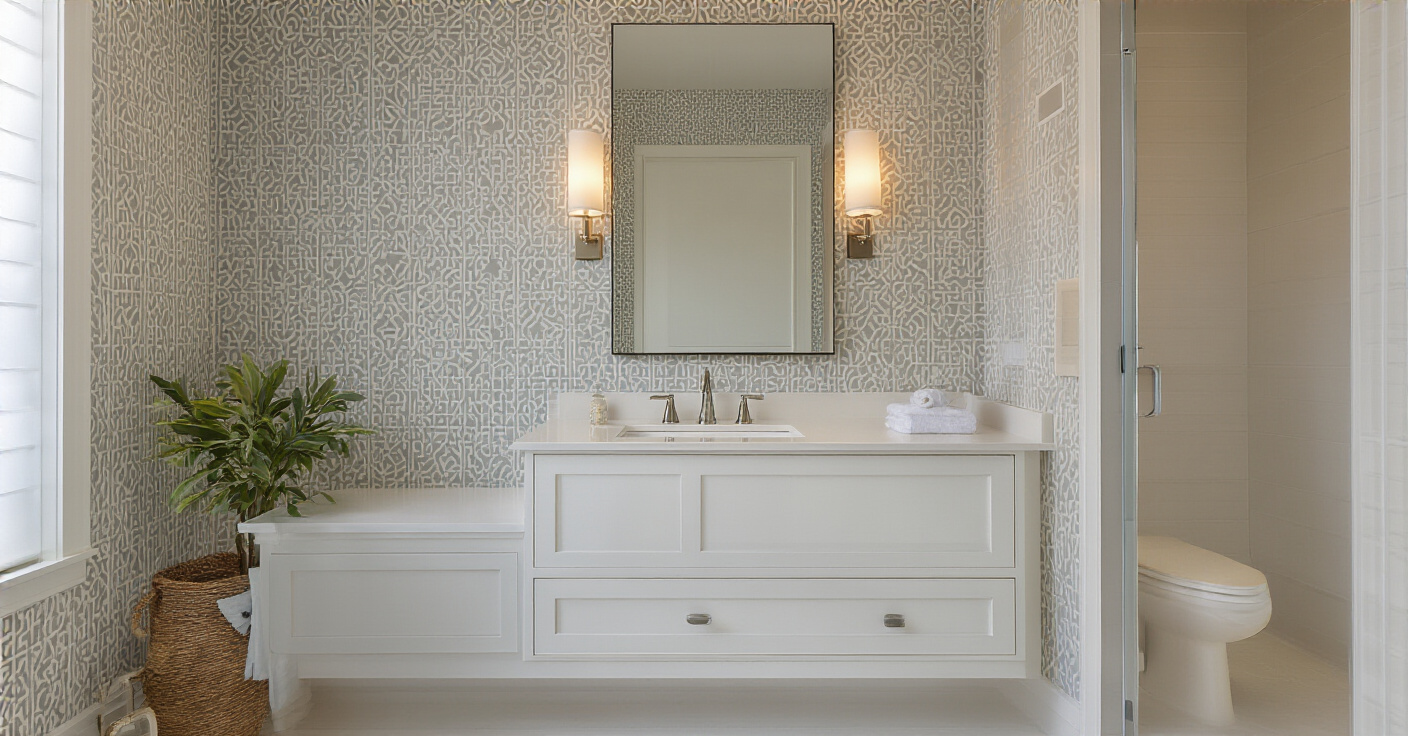
The real challenge is creating a space that feels calm, clean, and beautiful amidst the beautiful chaos of family life. That’s why I love a well-done wallpaper half wall. It’s not just a design trend; it’s a tool. It’s a way to bring in personality and art without overwhelming a small space, and it’s a practical solution for a room that works hard every single day. But there’s a lot of noise out there on how to do it right. So, let’s talk about what actually matters.
Okay, before you even fall in love with a pattern online, we need to lay the groundwork. This planning phase is what separates a project that looks amazing for years from one that starts peeling in six months. Getting this right is about respect—for your home, your time, and your money.
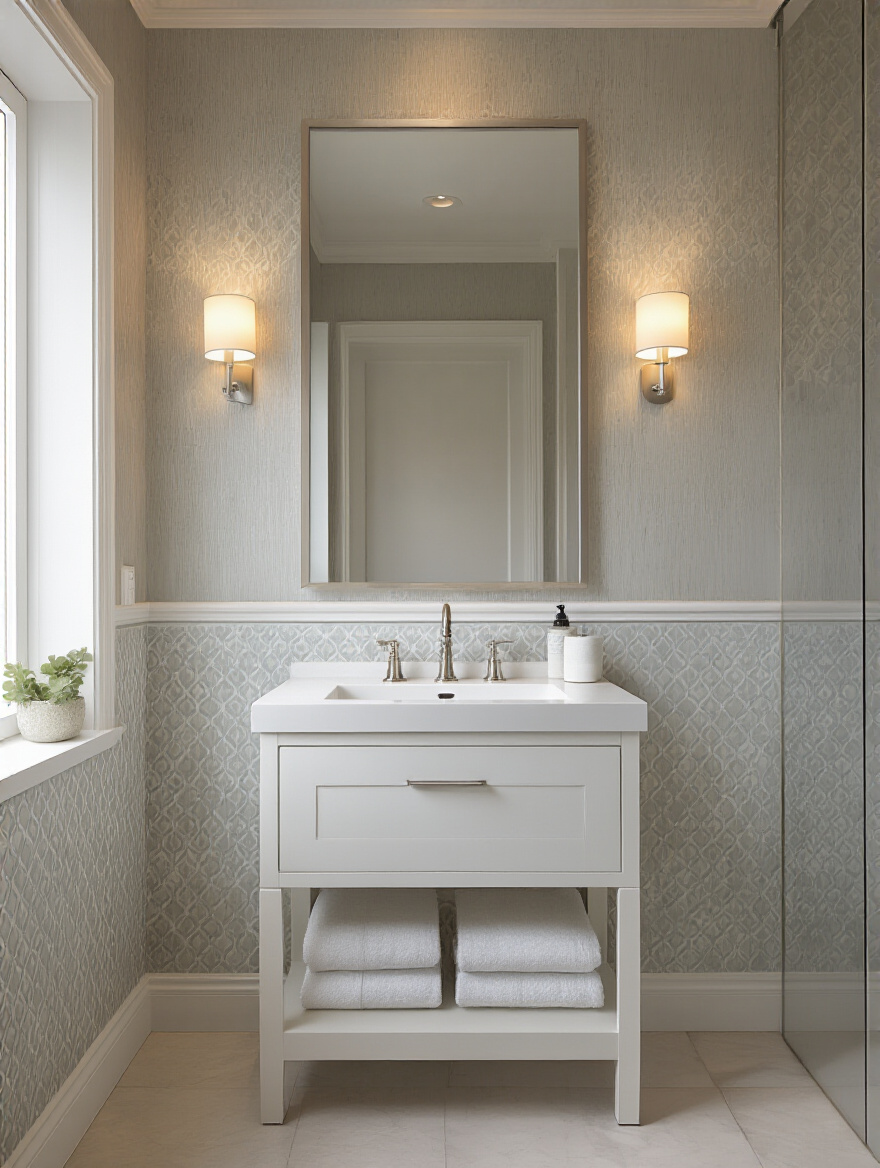
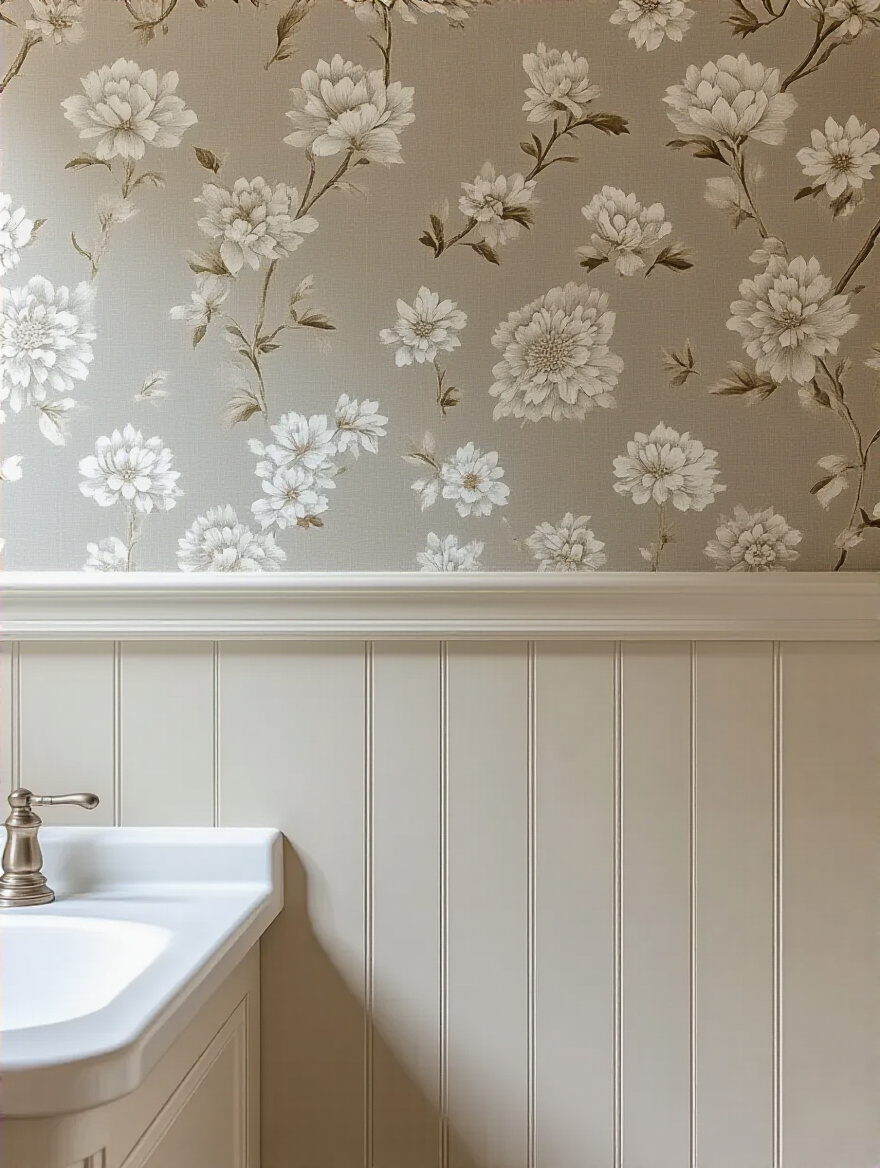
People always want to split the wall 50/50. Don’t do it. It visually cuts the room in half and can make a small bathroom feel even more cramped, like it’s wearing ill-fitting, high-waisted pants. The secret is to think in thirds. Placing the top of your wallpaper at about one-third of the wall height draws the eye up, making the ceiling feel higher. Going up to two-thirds of the wall creates a cozier, more grounded feel, turning the wallpaper into a major feature.
Look around the room for clues. Does the bottom of your mirror, the top of the vanity backsplash, or the window sill offer a natural line to follow? Aligning with an existing feature makes the design feel intentional and harmonious. The shortcut I always tell clients: use painter’s tape to mark out a few different heights. Live with them for a day. See how the light hits them. You’ll know which one feels right for your family’s space. It’s about balance, not just math.
This is a big one. You can’t just pick any pretty paper for a bathroom. It’s a high-humidity, high-traffic war zone. I had a client once who found this gorgeous, delicate paper from a boutique seller and insisted on using it in the kids’ bathroom. Within a year, the steam from showers and splashes from the sink had turned the seams into a peeling, mold-spotted mess. They had to tear it all out. It was a costly and heartbreaking lesson.
Don’t let that be you. What you need is a “solid vinyl” or “vinyl-coated” wallpaper. These are the workhorses. They’re built to resist moisture and, most importantly, they’re scrubbable. Look for those symbols on the packaging—it’s not just marketing noise. It’s your guarantee that you can actually wipe off toothpaste splatters without ruining the paper. In a multi-generational home, durability and ease of cleaning aren’t luxuries; they’re essential for keeping the peace.
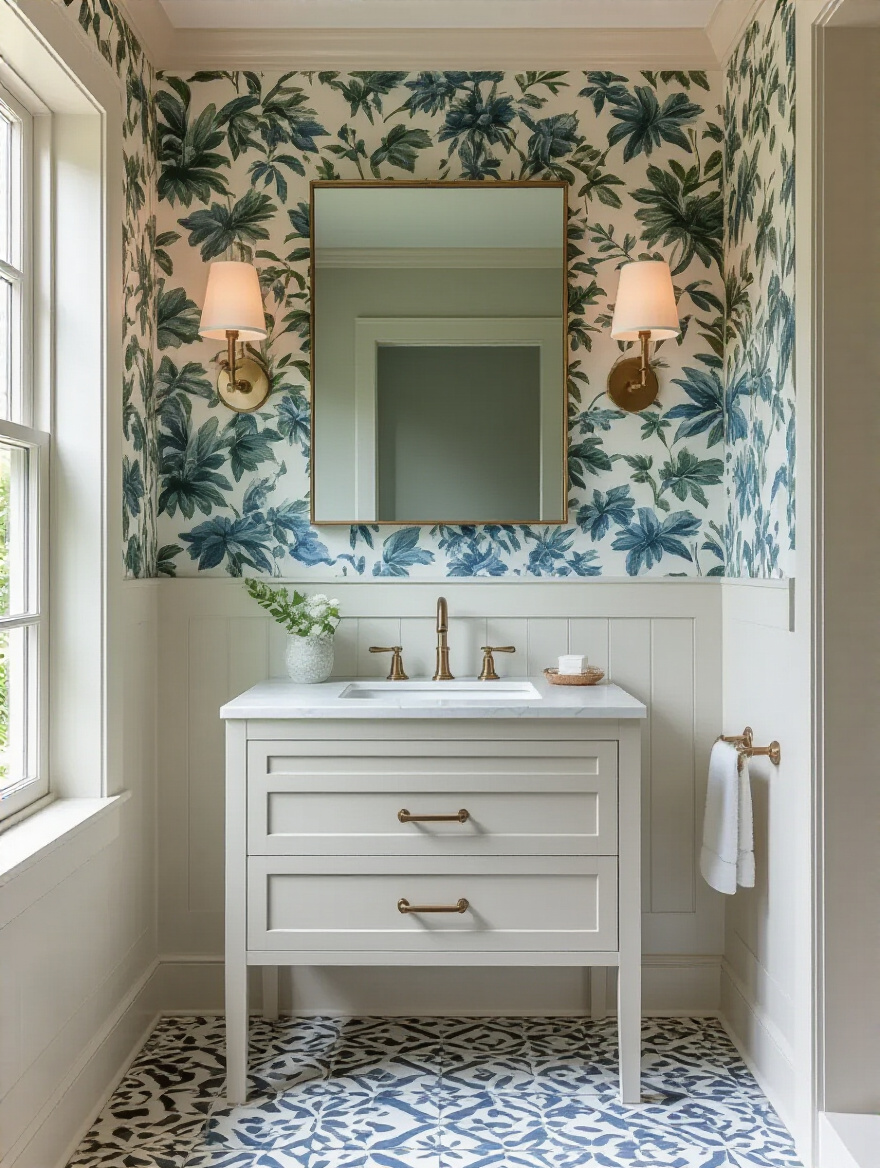
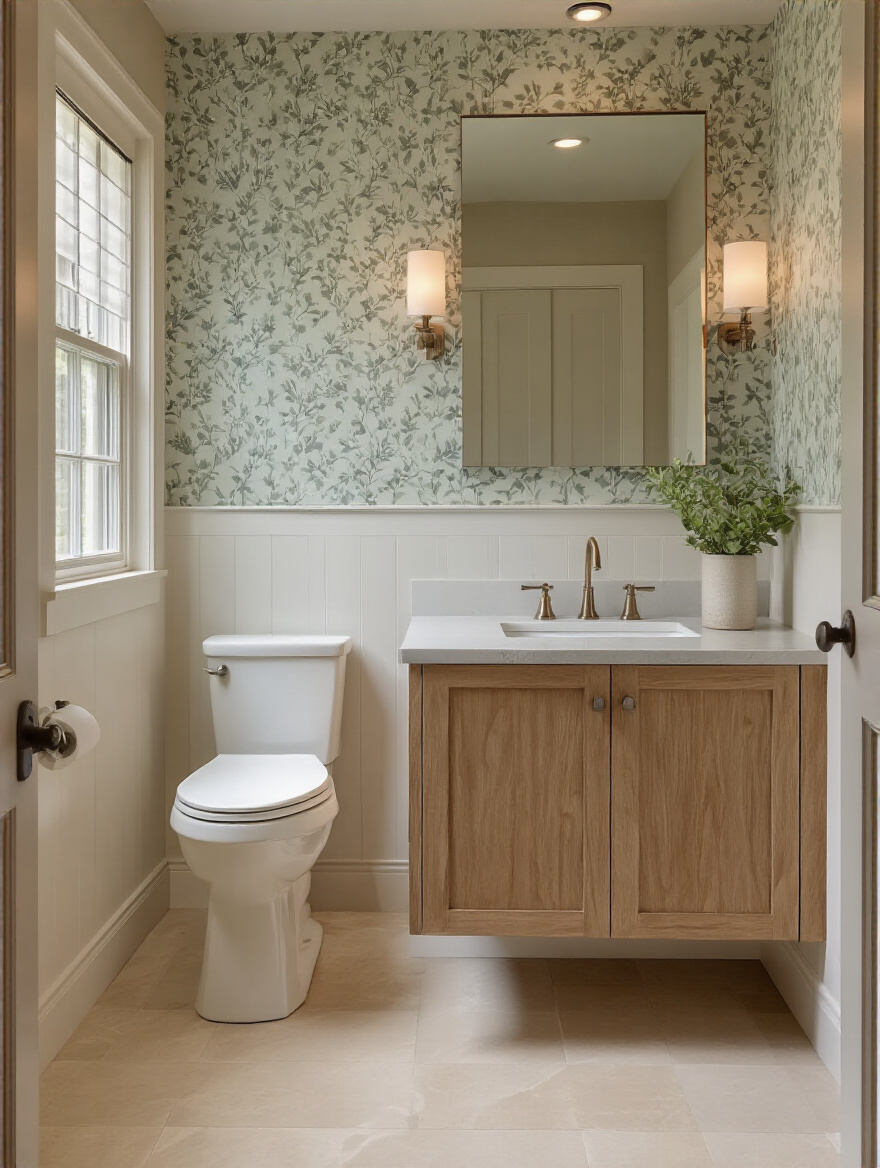
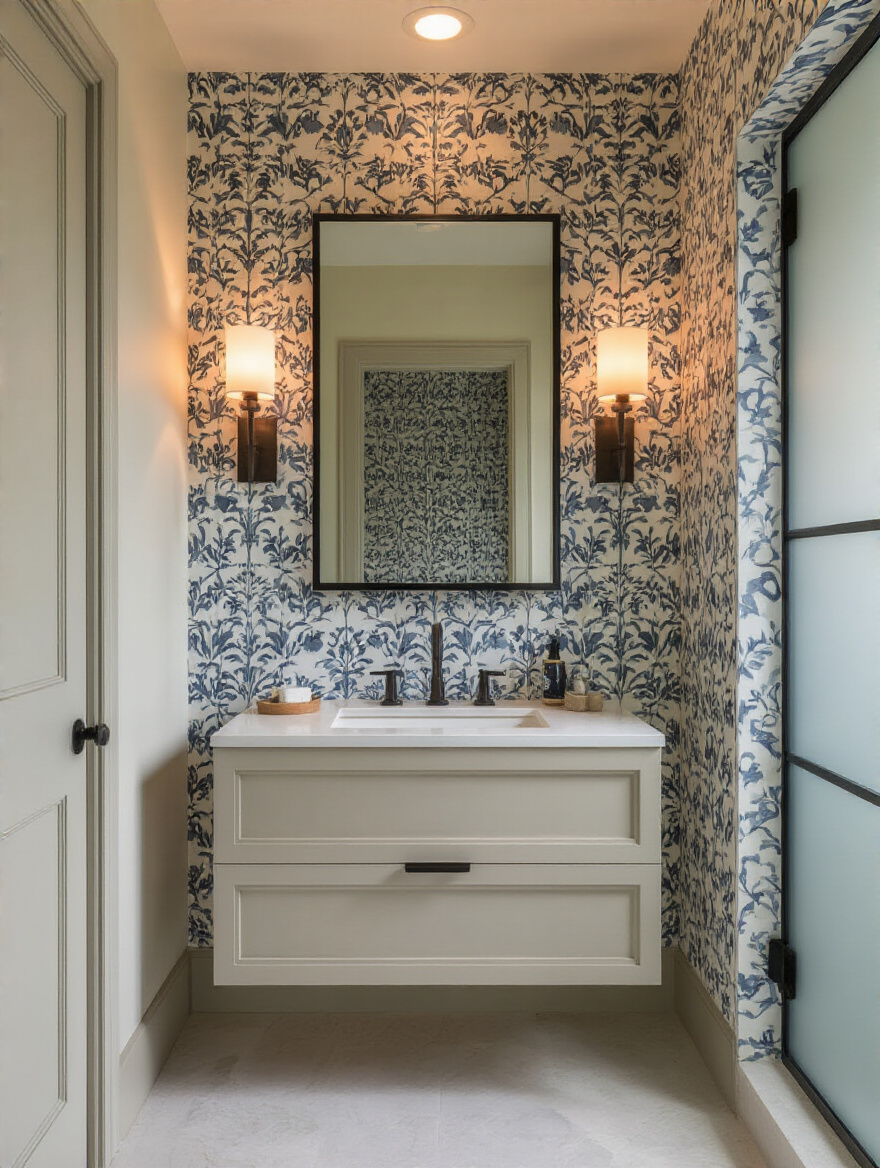
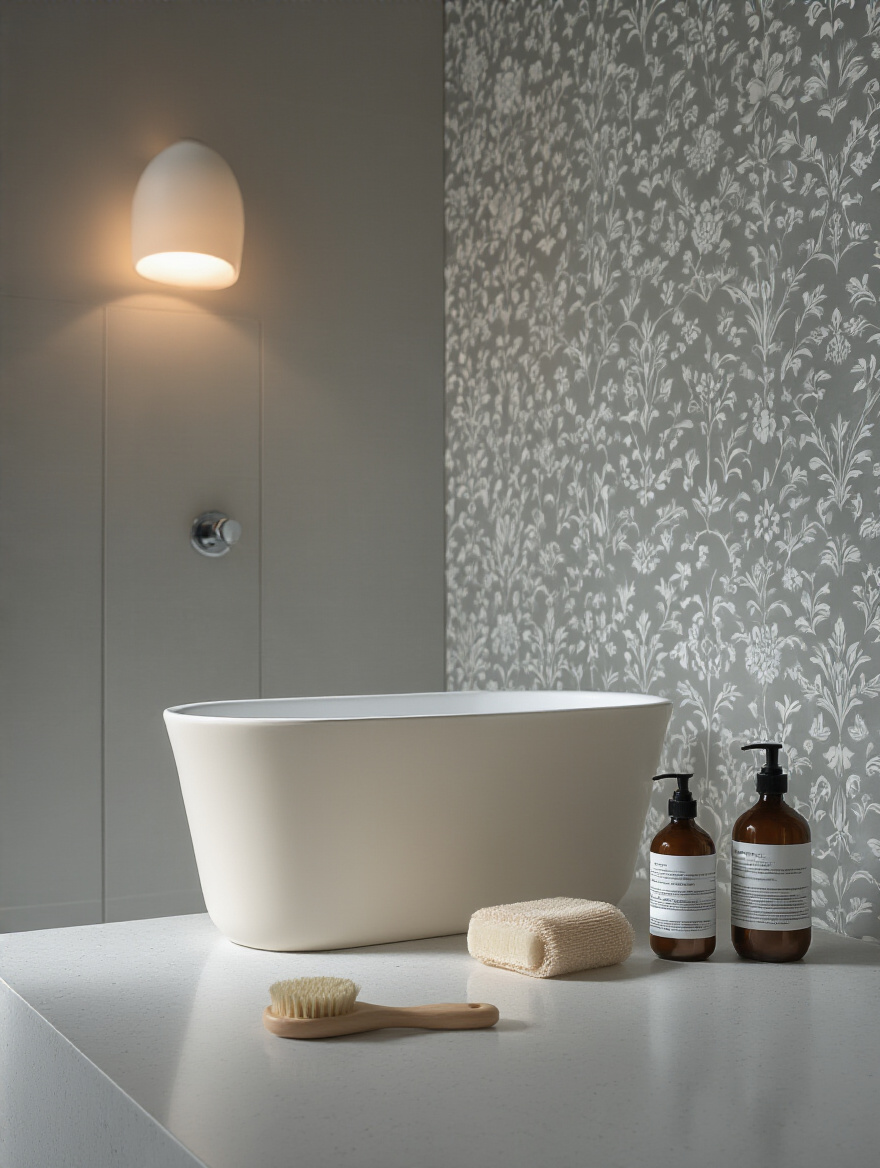
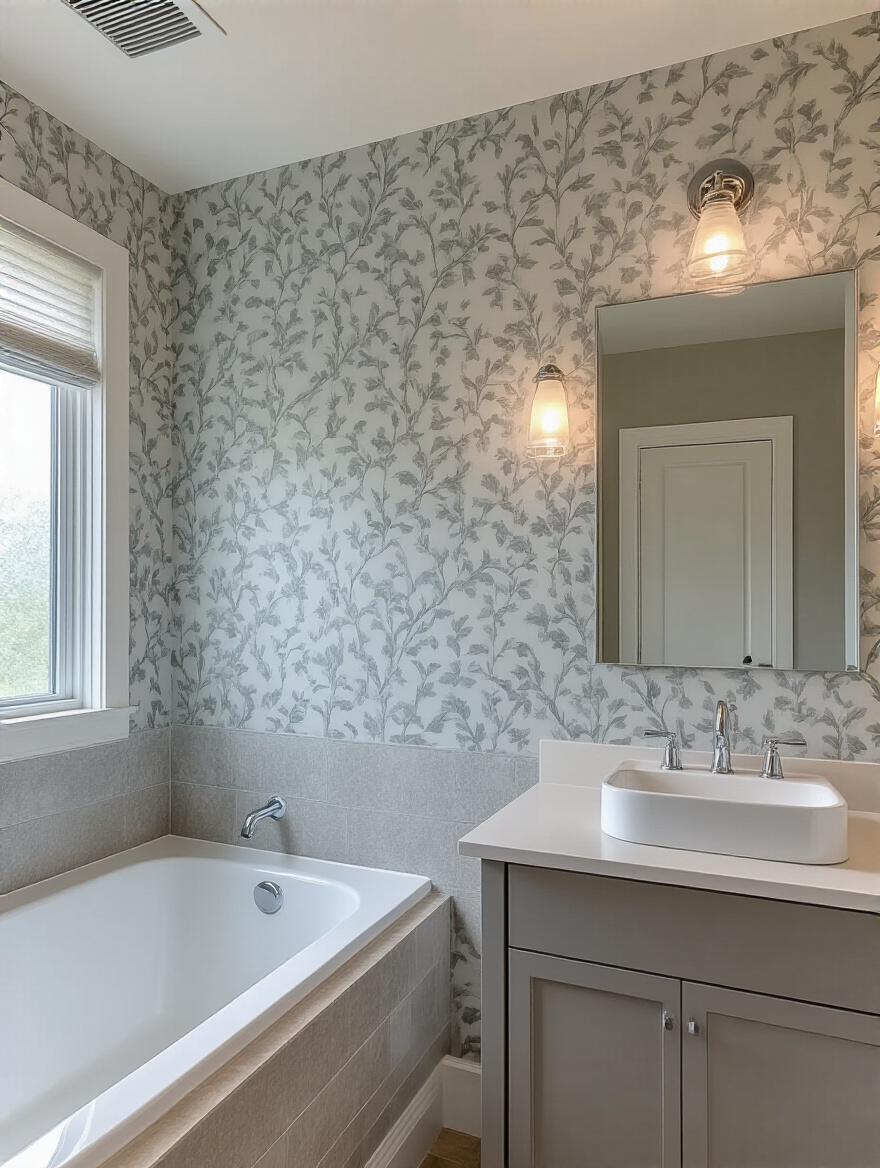
The pattern you choose sets the entire mood. In a tiny powder room, you can actually go for a large-scale, bold pattern. It’s counter-intuitive, but a big, open design can create a sense of depth and turn a small, forgotten space into a stunning “jewel box.” For a busy Family Bathroom where calmness is the goal, something more serene—like a subtle texture or a soft botanical—works better than a loud, chaotic print.
Think about the feeling you want to create. Is this a spa-like retreat for your aging parents? Or a cheerful, energetic space for the grandkids? Remember, horizontal patterns can make a narrow room feel wider, and vertical stripes can make a low ceiling feel taller. My shortcut here is to always, always get a large sample. Tape it to the wall. See how it looks in the morning light when you’re rushing to get ready, and how it feels in the evening with the lights on. A tiny swatch will lie to you every time.
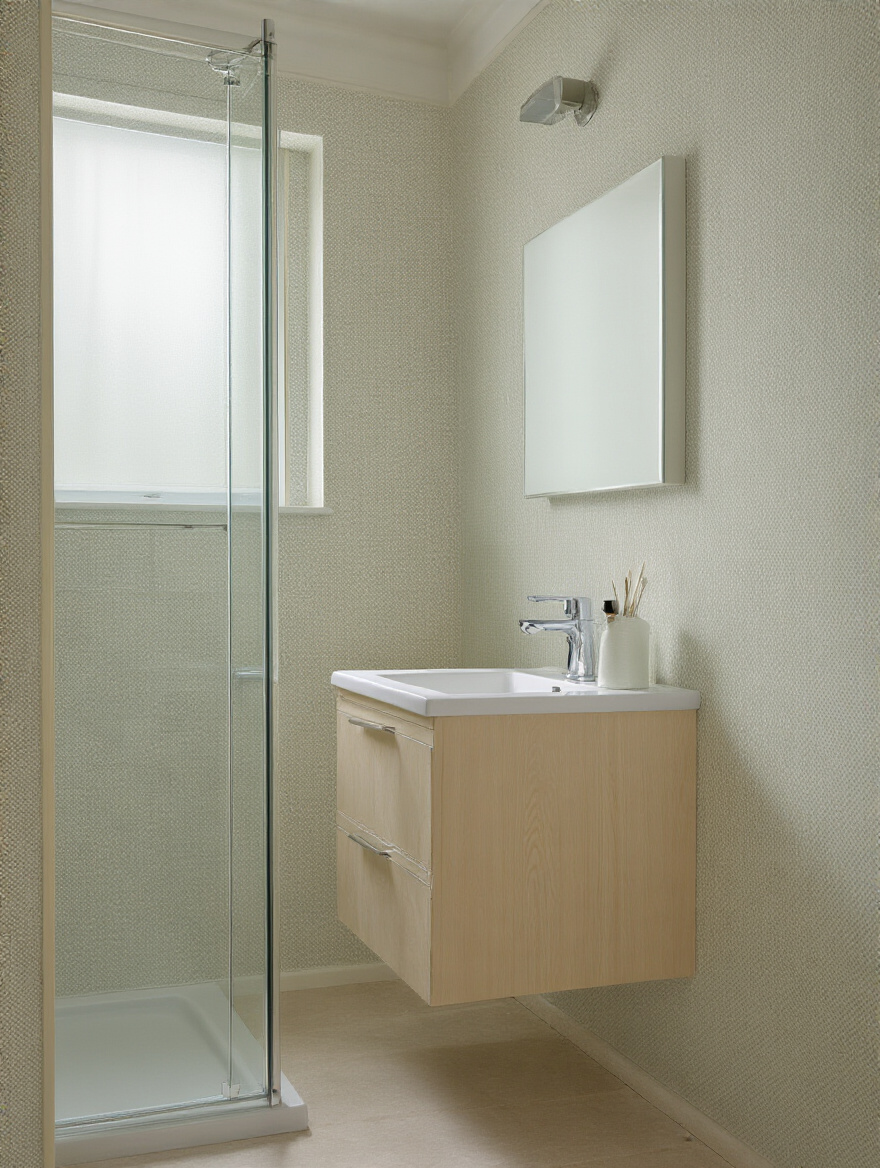
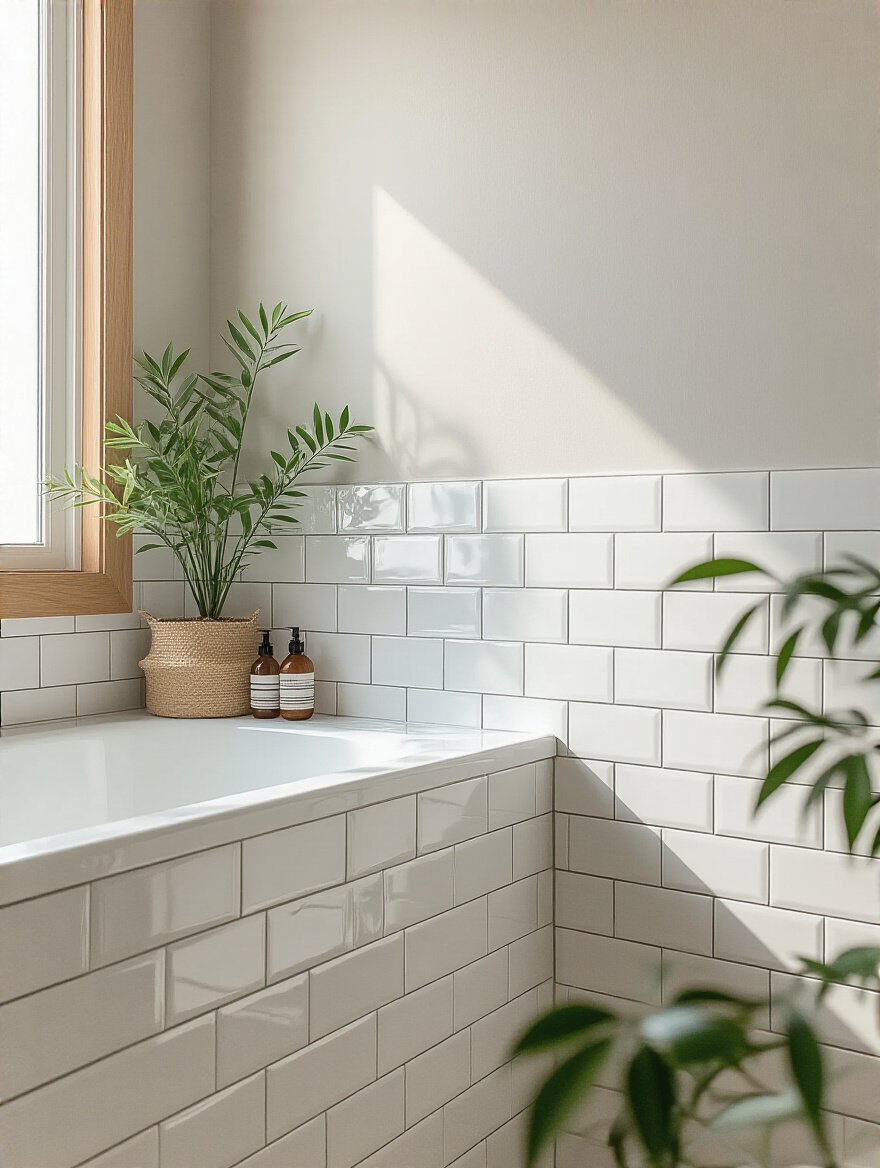
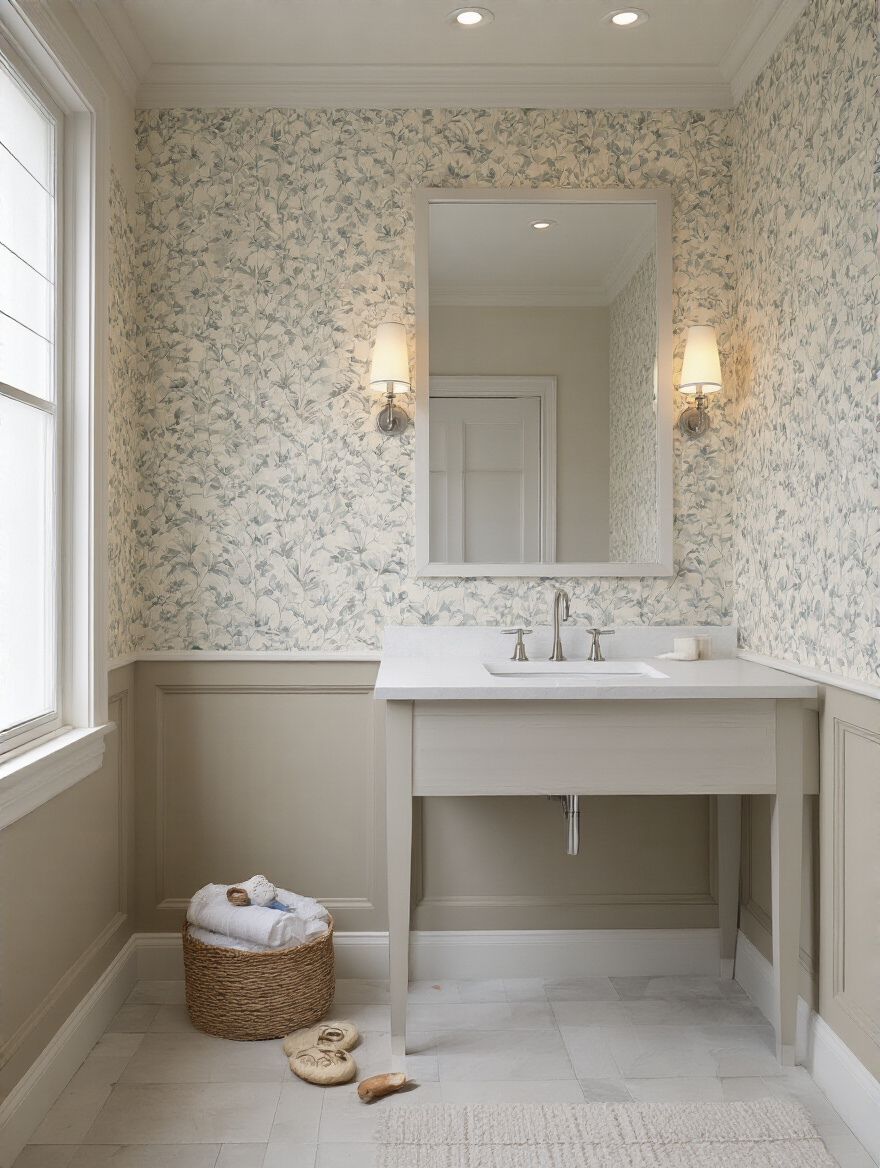
Here’s where so many people go wrong. They fall in love with a wallpaper and try to force it into a room where it just doesn’t belong. The most important colors in your bathroom are the ones you can’t easily change: your floor tile, your vanity countertop, and the color of the toilet and sink. These are your “fixed elements.” Look at their undertones—are they warm (creamy, beige) or cool (stark white, gray)?
Your wallpaper needs to harmonize with those undertones. A client of mine had beautiful warm, travertine-style floor tiles but chose a wallpaper with a stark, cool-gray background. It always felt… off. Like two people singing in different keys. The solution is simple: find a wallpaper that pulls one of the subtle colors from your fixed elements. If you have beige tiles, look for a paper with a creamy background or flecks of tan in the pattern. This single step will make your design feel cohesive and incredibly high-end.
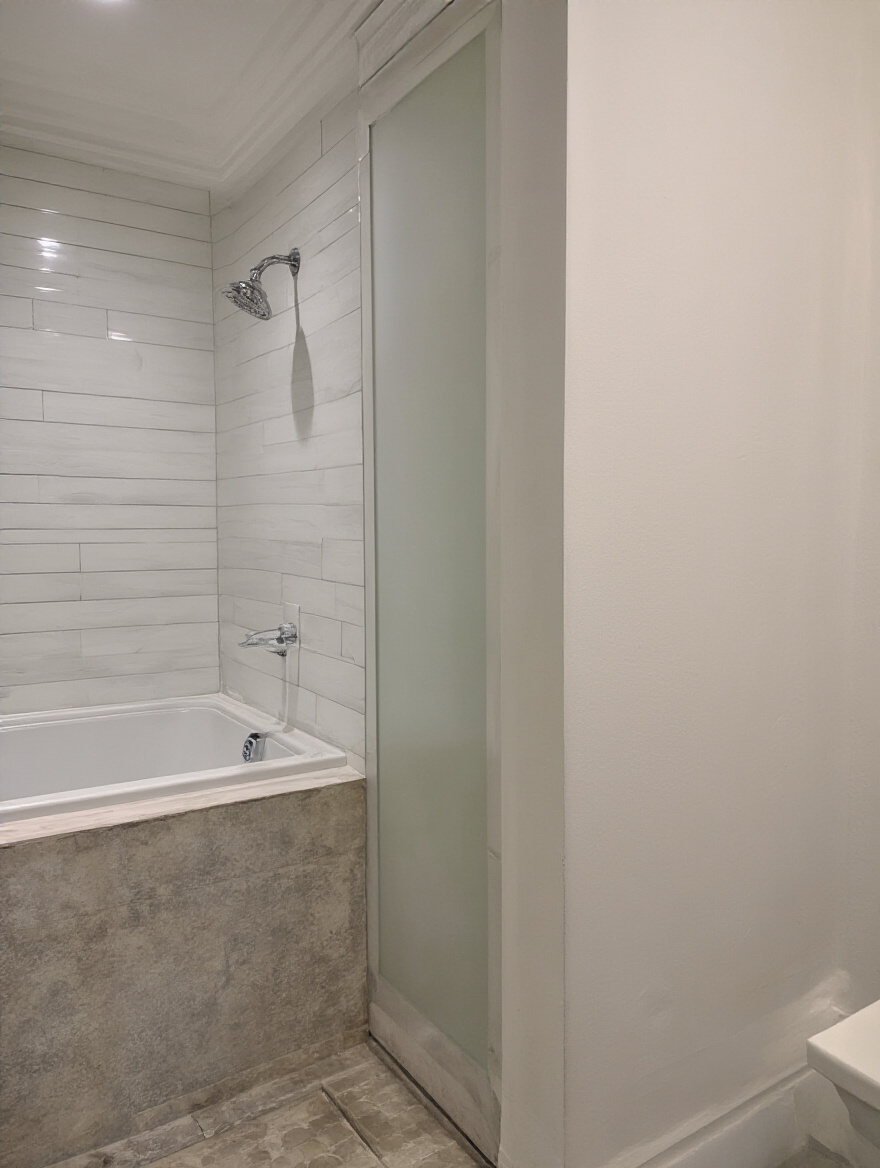
Wallpaper has to stop somewhere, and how it stops can make or break the whole look. An abrupt end in the middle of a wall looks awkward and unfinished. Your goal is to make it look like the wallpaper was always meant to terminate exactly where it does. The best places to end a run are at natural architectural breaks: the edge of a doorframe, the corner of a wall, or the side of a built-in cabinet.
Before you start, walk around the room and map out your strategy. A laser level is your best friend here. Use it to project your half-wall height line around the entire room. This will show you exactly how the line will interact with your windows and doors. Planning these breaks carefully not only looks more professional but also helps you plan your cuts, which can save you a surprising amount of wallpaper and prevent costly mistakes.
Natural light is a designer that you don’t get to hire or fire. It just does its thing. A wallpaper that looks vibrant and lovely in a bright, south-facing showroom can look dull and murky in a north-facing bathroom with one small window. Similarly, a wallpaper with a high-gloss, metallic finish might look stunning online but will create a horrible glare in a bathroom flooded with direct sun.

The only way to know for sure is to test large samples in your bathroom, at different times of the day. A trick I use is to take photos of the samples on the wall in the morning, at noon, and in the evening. Looking at the photos on your phone can often give you a more objective view than just staring at the wall. For darker bathrooms, look for papers with a subtle sheen or mica flecks—they’ll gently bounce light around and make the space feel brighter and more alive.
Alright, let’s talk about the nitty-gritty. This part isn’t glamorous, but I promise you, it’s the foundation of a job that will last. A beautiful design on a poorly prepped wall is like building a house on sand. It’s a matter of when, not if, it will fail.
This is one of the biggest BS things in the DIY world. People think any wallpaper paste will do. They are dead wrong. Using a standard, all-purpose adhesive in a bathroom is like sending a soldier into battle with a water pistol. Bathroom humidity is relentless, and it will attack that adhesive every single day. You must use an adhesive specifically formulated for high-humidity environments.
These specialty pastes contain mildewcides to prevent mold from growing behind your beautiful paper and have much stronger bonding agents. Read the wallpaper manufacturer’s recommendation—they’ll often specify a heavy-duty, mold-and-mildew-resistant paste. Don’t try to save ten dollars on the glue. It’s the cheapest insurance policy you can buy for your project, and skipping it will cost you hundreds, if not thousands, down the line.
Nothing stops a project dead in its tracks faster than running out of wallpaper mid-installation. And there’s nothing worse than having to order another roll, only to find out the dye lot is slightly different, and it doesn’t quite match. You have to be precise here. Measure the length of each wall and the height you plan to cover. Calculate the total square footage.
But here’s the key part everyone forgets: pattern repeat. If your wallpaper has a pattern, you’ll waste some paper on every strip to get it to line up perfectly. The bigger the pattern repeat, the more extra you’ll need. The rule of thumb is to add 15-20% to your total square footage for waste. It feels like a lot when you’re buying it, but I promise you, it’s far better to have a little extra for future repairs than to be one strip short of finishing the job.
I cannot say this enough: your wallpaper will only look as good as the wall underneath it. Every tiny bump, crack, or divot will telegraph right through the paper, especially if it has any kind of sheen. So, you have to be meticulous. Fill every nail hole, patch every crack, and sand it all perfectly smooth. Then, wipe it all down to get rid of the dust.
And then comes the most important step of all: prime the wall. Use a primer specifically made for wallpaper, often called a “sizer.” It does two crucial things: it seals the wall so the paste doesn’t just soak into the drywall, and it creates a slightly tacky surface for the paper to grip onto. It also makes removal a thousand times easier down the road. Skipping this step is a declaration of war on your future self.
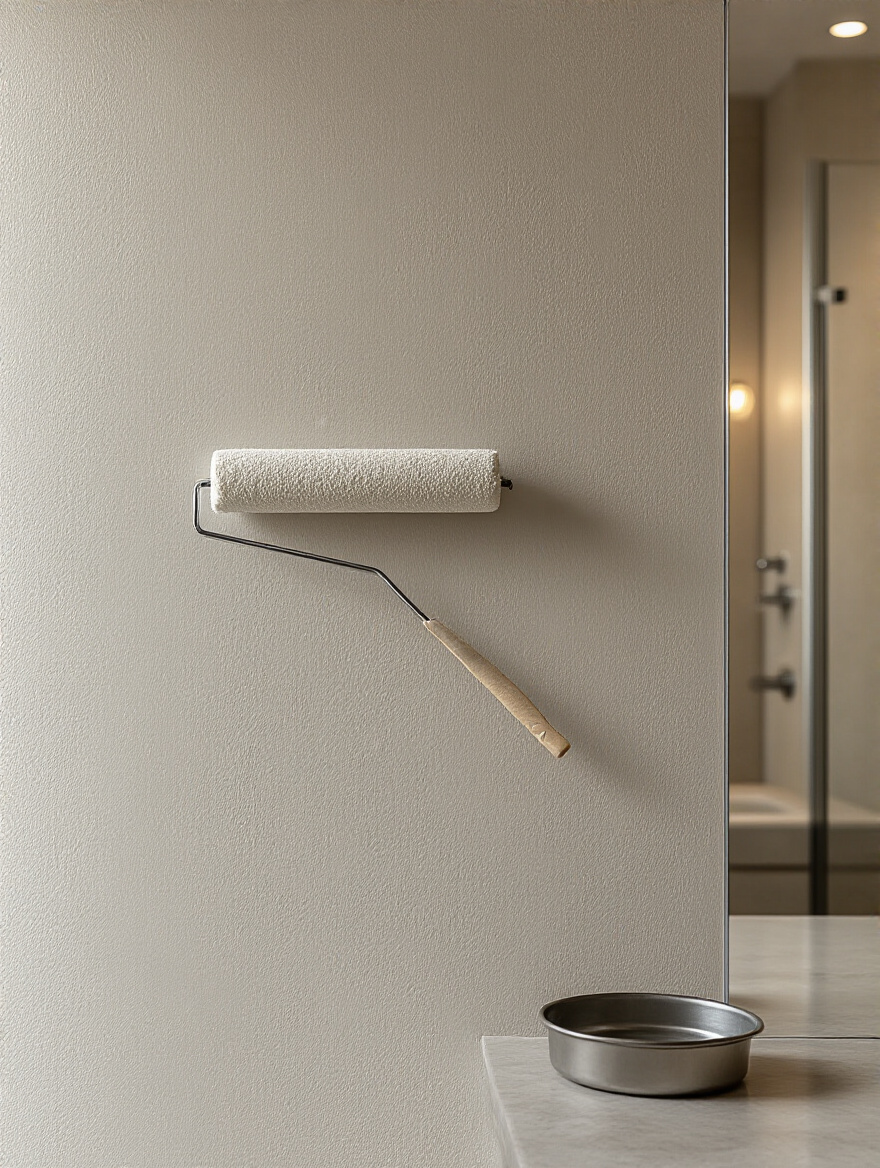
Trying to hang wallpaper with a rag and a pair of kitchen scissors is a recipe for frustration and a sloppy-looking job. Having the right tools makes the entire process smoother, faster, and more professional. Think of it as your wallpaper installation kit. You don’t need a lot, but what you need is essential.
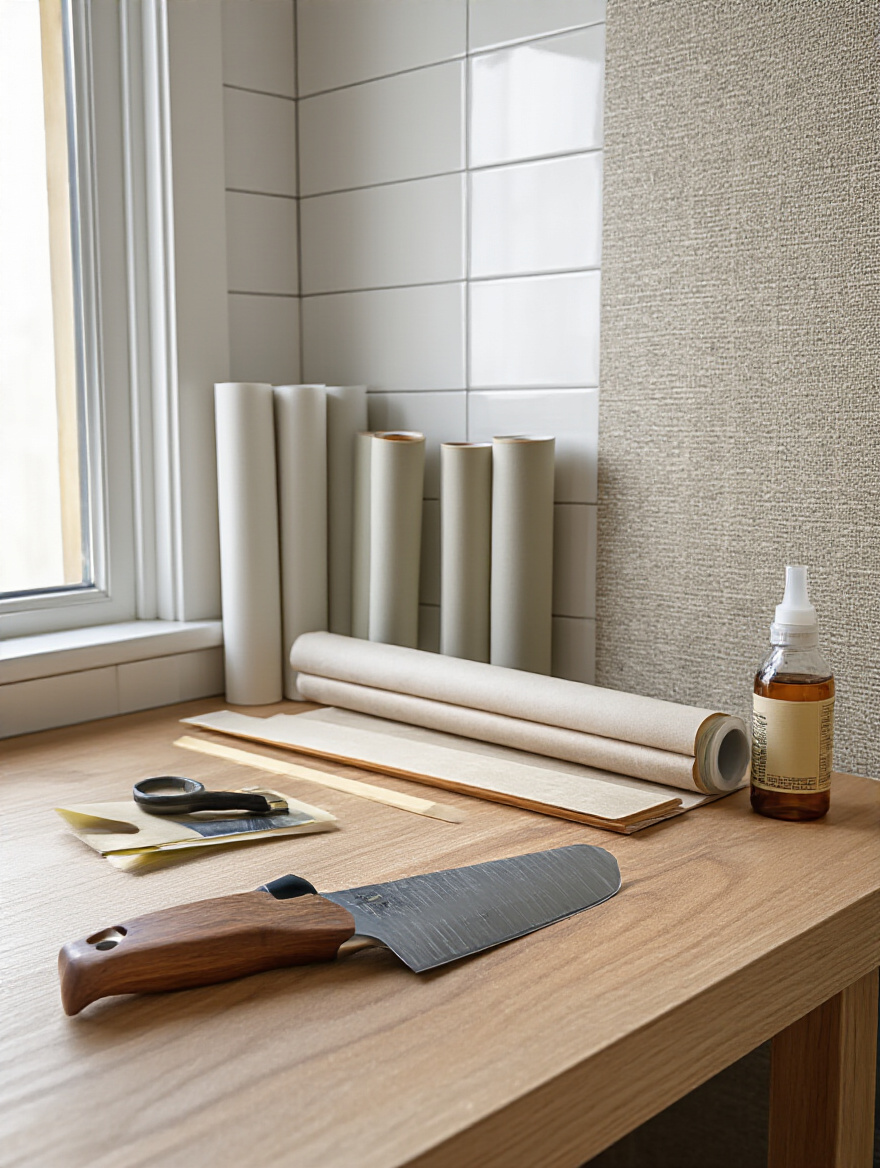
Here’s the absolute must-have list:
Pre-pasted wallpaper sounds like a dream, right? Just dip it in water and go. And for some applications, it’s fine. But in a bathroom, I almost always recommend using non-pasted wallpaper. Why? Control. With non-pasted paper, you get to choose the high-performance, moisture-resistant, mold-inhibiting adhesive we talked about earlier. You’re not relying on whatever adhesive the manufacturer decided to use.
Non-pasted wallpaper also gives you a bit more “slip” time on the wall, meaning you have a few extra minutes to slide it into perfect position before the paste sets. This is a lifesaver when you’re trying to match a complicated pattern. Yes, it’s an extra step to apply the paste, but that extra step buys you so much peace of mind and long-term durability. It’s worth it.
Yes, we already talked about priming, but it’s so important it deserves its own point. It doesn’t matter if your wall is bare drywall or if it has ten coats of paint on it. You must prime it with a wallpaper-specific primer. A standard paint-and-primer-in-one is not the same thing. It’s designed to help paint stick, not wallpaper.
Here’s a story: A client insisted the “primer was in the paint” and applied a beautiful grasscloth directly onto their painted wall. When they decided to redecorate a few years later, removing the wallpaper took the paint and the top layer of the drywall paper with it. They had to spend a fortune getting the entire wall re-skimmed. A $30 can of the right primer would have saved them all that headache. The pro shortcut: ask the paint store to tint your primer to a shade similar to your wallpaper’s background. It helps hide any tiny gaps at the seams.
Okay, your walls are prepped and your materials are ready. Now comes the part that feels like performing surgery. It requires patience and precision, but when you get it right, it’s incredibly satisfying. Take a deep breath. You can do this.
Do not, under any circumstances, start your first piece of wallpaper in a corner or against a doorframe. Walls are never perfectly straight. If your first strip is even slightly off, every single strip after it will be progressively more crooked. By the time you get to the other side of the room, your pattern will be noticeably slanted.

Instead, start on a clear section of wall. Use your laser level or a plumb bob to draw a perfectly vertical line. This is your starting line. Your first piece of wallpaper will align with this line, not the wall. This one step is the absolute key to a professional-looking job. It’s the foundation upon which everything else is built. Get this right, and the rest of the job will be a hundred times easier.
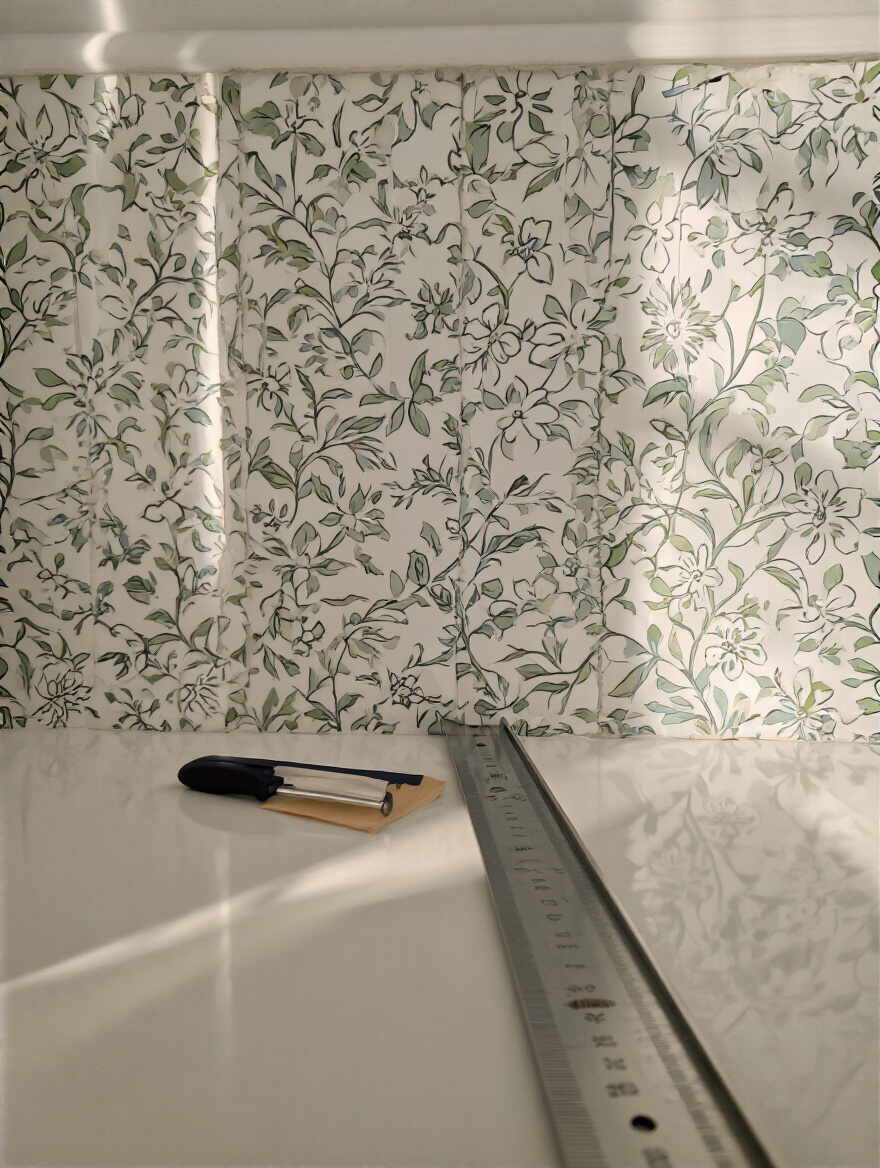
Matching a pattern isn’t just about getting it close. It’s about getting it perfect. Before you apply any paste, unroll your next strip and hold it up against the one you just hung. This is called “dry fitting.” Slide the new strip up and down until the pattern aligns flawlessly. Then, and only then, do you cut it to length (leaving a couple of extra inches at the top and bottom for trimming).
This process takes patience. You’ll be tempted to rush it, but don’t. A misaligned pattern is the most obvious sign of a DIY job gone wrong. When you apply the pasted strip, gently slide it into place until the pattern clicks. Use a wallpaper smoother to butt the edges tightly together—they should touch perfectly, without overlapping or leaving a gap.
Bubbles are the enemy of good wallpapering. The key to avoiding them is to work slowly and methodically. Once your strip is in place, take your wallpaper smoother and, starting from the center, gently push outwards towards the edges. Work from the top down, pushing any trapped air bubbles out to the side.

“Patience isn’t just a virtue in wallpapering; it’s a strategic tool. Rushing the smoothing process leaves microscopic air pockets that will make you miserable later.”
If you find a stubborn bubble, don’t panic. Gently lift the edge of the paper closest to it until the bubble is released, then smooth it back down. For a bubble in the middle of a large strip, you can use a pin or the tip of your craft knife to make a tiny puncture, then gently press the air out. The goal is a perfectly flat, smooth surface. Take your time.
The final trim is what gives your work that crisp, professional finish. And the only way to get a clean cut is with a razor-sharp blade. I’m not kidding when I say you should snap off a new segment of your utility knife blade after every few feet of cutting. The moment you feel the blade start to drag or tear the paper, it’s too dull.
Press the wallpaper firmly into the crease where it meets the trim or the top of your half-wall line. Then, using a firm straightedge (a 6-inch metal putty knife works great), press it against the crease and run your knife along it in one smooth motion. Don’t try to saw at it. A clean, confident cut is what you’re after. This is the detail that elevates the entire project.
Corners, outlets, and pipes can feel intimidating, but they just require a little extra thought. For an inside corner, press the paper into the corner and let it run onto the next wall by about half an inch. Then, start the next strip by overlapping it onto that half-inch piece. For an outside corner, wrap the paper around the corner by an inch. In both cases, the key is to ensure the next piece you hang is perfectly plumb using your level.

For outlets (with the power turned off!), hang the paper right over them. Then make an ‘X’ cut from corner to corner of the outlet box with your knife. You can then fold back the triangular flaps and trim them, leaving a neat opening. The outlet cover will hide your cuts. For pipes, make small relief cuts radiating out from the center to allow the paper to lie flat around the curve. It’s like tailoring a suit for your wall—it just takes patience and precise snips.
This is my secret weapon for bathroom wallpaper, especially on a half wall. Once everything is installed and completely dry, take a tiny bit of clear, matte-finish wallpaper seam sealer on a small artist’s brush. Carefully run a very thin line of it along the top edge of the wallpaper where it meets the painted wall, and along any seams in splash-prone areas.
This tiny step creates an invisible barrier that prevents steam and water from getting under the edge of the paper. It’s the number one thing you can do to prevent peeling over the long term. A client I worked with did this for their family bathroom, and five years later, with three kids using it daily, the edges are still as perfect as the day they were installed. It’s a five-minute job that adds years to the life of your wallpaper.
You’ve done the hard work, and the wallpaper is up. It looks great! Now, let’s talk about the finishing touches that will make it look exceptional and ensure it stays that way for a long, long time. This is how you protect your investment and create a truly harmonious space.
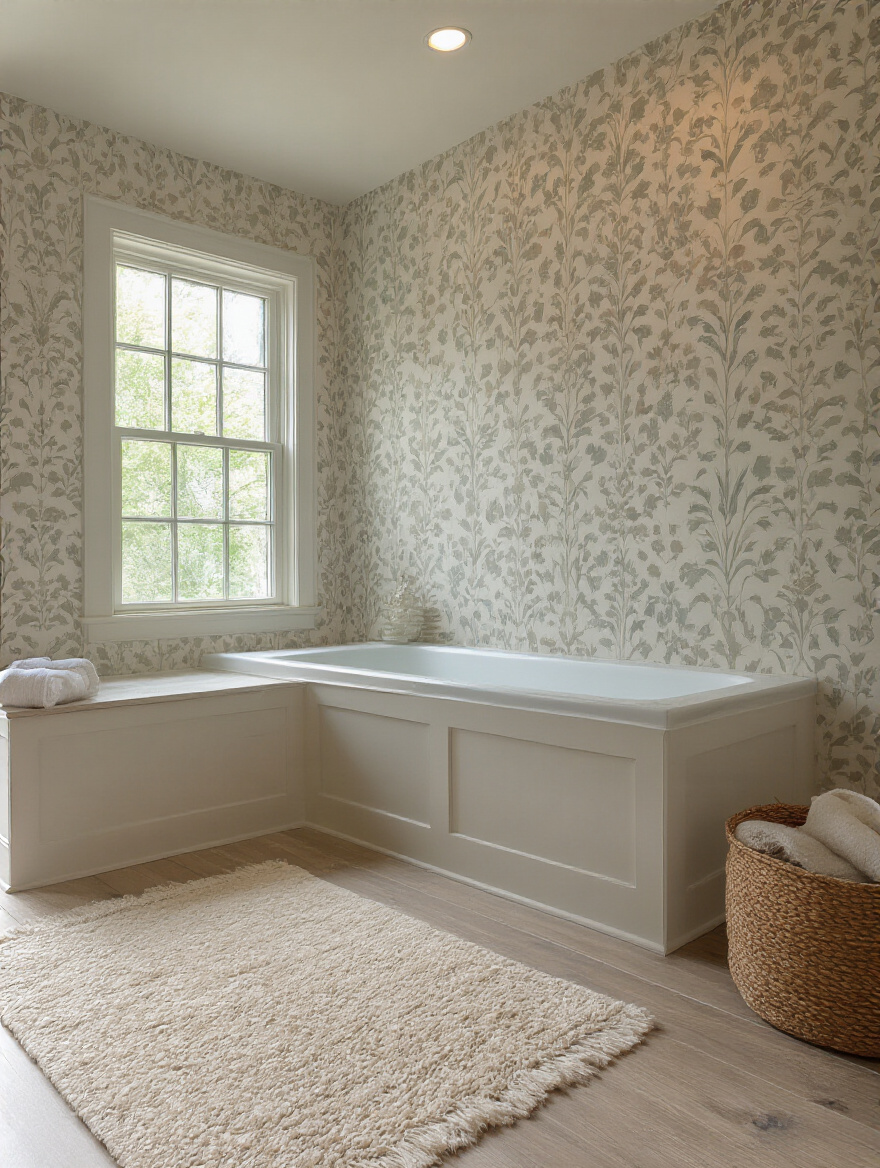
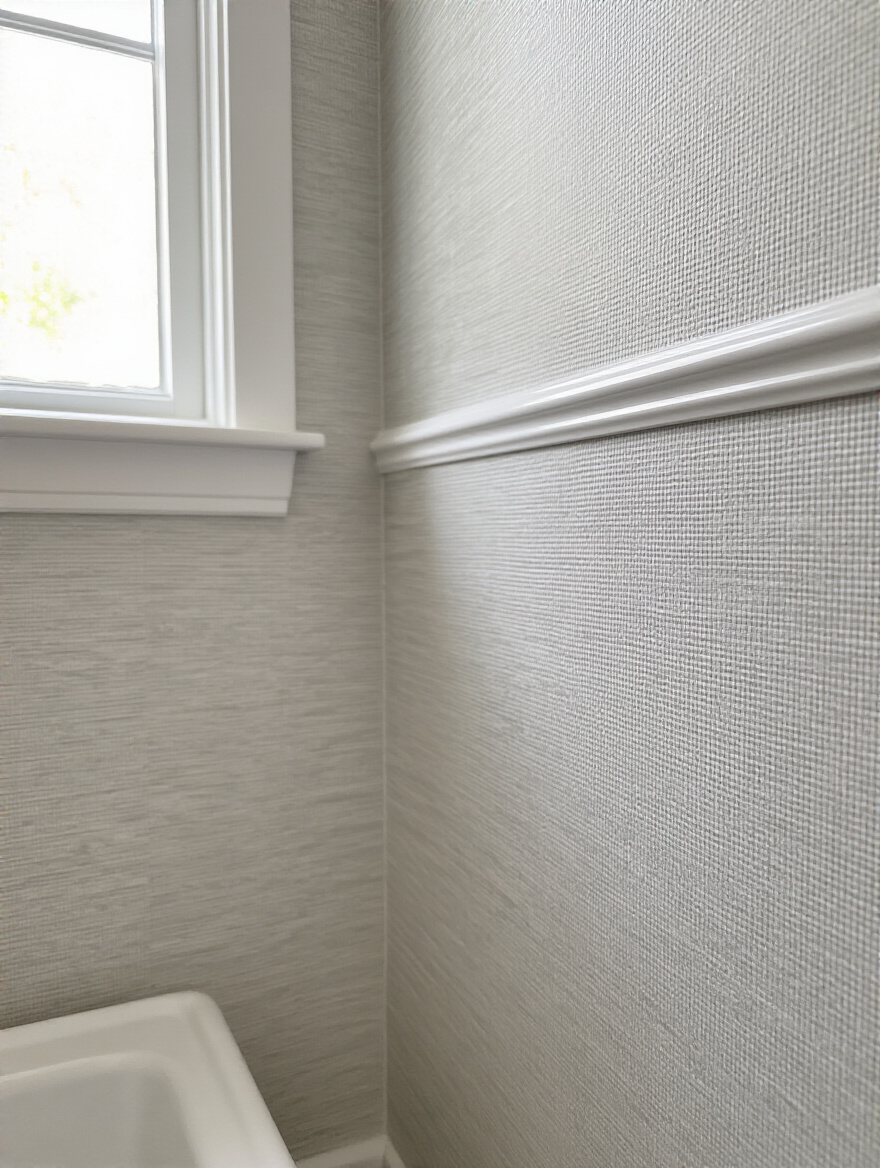
A half wall of wallpaper can sometimes look like it’s just floating unless you give it a proper “hat.” Adding a piece of chair rail molding or a simple, flat trim along the top edge is the perfect finishing touch. It creates a clean, deliberate transition between the wallpaper and the painted wall above, making the entire design look more architectural and high-end.
Beyond just looking good, this trim acts as a physical barrier, protecting the vulnerable top edge of the wallpaper from bumps, scrapes, and moisture. Choose a trim style that matches the other woodwork in your home, and make sure to use a moisture-resistant material like PVC or primed wood. Pre-painting the trim before you install it is a huge time-saver and gives you a much cleaner paint line against your beautiful new wallpaper.
The paint color you choose for the upper part of the wall is just as important as the wallpaper itself. It needs to feel like a supportive partner, not a competitor. The easiest and most sophisticated approach is to pull a color directly from the wallpaper pattern. Find the lightest background color or one of the subtler accent colors and have that matched for your paint.
This creates a seamless, cohesive look that makes the entire room feel unified and calm. In a small bathroom, using a lighter version of one of the wallpaper colors for the upper wall can make the space feel much more open and airy. Remember to test your paint samples right next to your wallpaper sample. Colors can look completely different on a tiny chip than they do on the wall, interacting with the light and the wallpaper pattern.
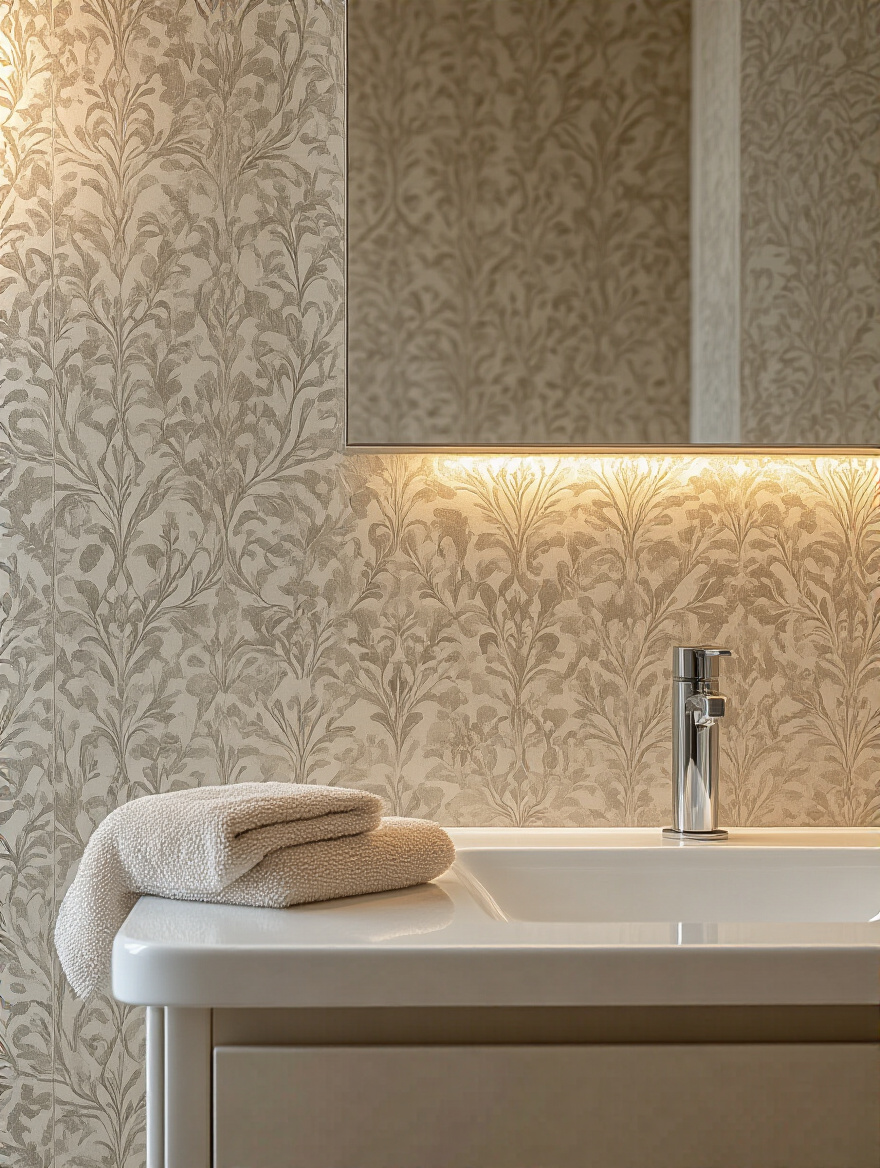
If your bathroom is small or lacks natural light, your wallpaper can be a secret tool to brighten it up. Look for patterns with subtle metallic, mica, or pearlescent finishes. These surfaces are designed to catch and reflect light, which can make a compact bathroom feel significantly brighter and more spacious. It’s a bit of visual magic.
You don’t need to go full-on disco ball. Even a simple geometric pattern with thin metallic lines or a botanical print with a soft pearly sheen can make a huge difference. The key is to make sure your wall prep is absolutely perfect, because shiny surfaces will highlight every single bump or imperfection. When done right, this is a brilliant way to make a small, functional bathroom feel a little more glamorous and expansive.
This isn’t a design tip, it’s a home health tip that doubles as a wallpaper-saving tip. No matter how moisture-resistant your wallpaper and adhesive are, they will eventually fail in a constantly damp environment. A powerful, quiet bathroom exhaust fan is not a luxury—it’s a necessity. It protects your walls, prevents mold growth, and preserves your wallpaper.
Make sure your fan is rated for the size of your bathroom (they’re measured in CFM, or cubic feet per minute) and that it’s vented directly outside, not into the attic. And here’s the key: you have to actually use it. Run it during every shower and for at least 20-30 minutes afterward to clear out all the steam. I often recommend my clients install fans with timers or humidity sensors so they run automatically. It’s the single best thing you can do to protect your investment.
Keeping your wallpaper looking fresh is easy, but it requires a gentle touch. For routine cleaning, a quick dusting with a soft cloth or a vacuum with a brush attachment is all you need. For things like toothpaste splatters, act fast. Blot the spot with a slightly damp microfiber cloth. Don’t scrub.
For a deeper clean once in a while, use a very well-wrung-out sponge with a drop of mild dish soap in a bucket of water. Wipe gently from the bottom up to avoid streaks, then go over it with another clean, damp sponge, and finally, gently pat it dry with a soft towel. The key is to use as little water as possible and to never let moisture sit on the seams. A little regular care will keep your wallpaper looking vibrant for years.
Even with the best installation, a little corner or seam might eventually lift slightly, especially in a humid bathroom. The moment you see it, fix it. Don’t wait. A small peel is a doorway for moisture, and it will only get worse.
Get a small tube of wallpaper seam adhesive and a tiny craft brush. Carefully lift the peeled section, apply a very thin layer of adhesive underneath, and press it firmly back into place with a seam roller or a clean cloth. Wipe away any excess glue that squeezes out with a damp sponge immediately. This five-minute fix can prevent a major repair down the road and keep your bathroom looking flawless and well-cared-for. It’s about respecting the work you put in and the home you’ve created.
So there you have it. Creating a bathroom half wall isn’t just about sticking pretty paper on a wall. It’s about thoughtful planning, meticulous preparation, and respecting the materials and the space. It’s a project that, when done right, can bring so much personality, warmth, and harmony to a room that serves every member of your family, every single day.
It’s about understanding that a beautiful home is also a home that functions, that endures, that holds up to the messy, wonderful reality of life. So go ahead. Take these tips, trust your instincts, and create that little sanctuary. You’re not just redecorating a bathroom; you’re making your home a more beautiful and welcoming place for everyone you love.