Physical Address
304 North Cardinal St.
Dorchester Center, MA 02124
Physical Address
304 North Cardinal St.
Dorchester Center, MA 02124
Expert kitchen floor tile guide with 19 proven tips for selecting durable, safe, and beautiful flooring that transforms your culinary space into a lasting investment.
Selecting the right kitchen floor tile transforms more than just your space’s appearance—it fundamentally changes how you experience your culinary sanctuary. From the first barefoot steps on a chilly morning to the confidence of knowing your floor can handle dropped pots and weekend dinner parties, every tile choice ripples through your daily life. The kitchen endures more abuse than any other room, facing constant moisture, temperature fluctuations, and the inevitable chaos of meal preparation.
Yet with hundreds of materials, finishes, and installation methods available, choosing kitchen floor tile can feel overwhelming. Should you prioritize the timeless elegance of natural stone or the practical durability of porcelain? How do slip resistance ratings translate to real-world safety? What about the hidden costs of maintenance and long-term care that can make or break your investment?
This comprehensive guide cuts through the confusion with 19 expert-backed strategies that address every aspect of kitchen floor tile selection, installation, and maintenance. You’ll discover insider secrets for maximizing durability, enhancing safety, and creating stunning visual impact while staying within budget. Whether you’re renovating a compact galley kitchen or designing a sprawling culinary workspace, these insights will help you make confident decisions that deliver both immediate satisfaction and lasting value.
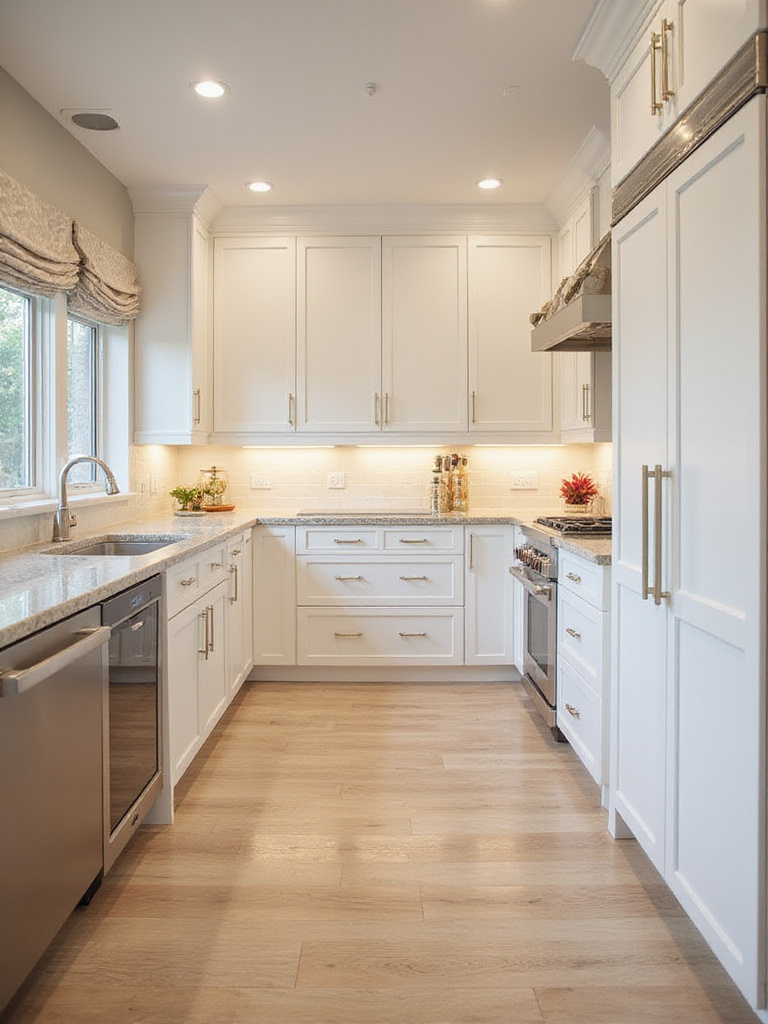
Understanding the fundamental differences between porcelain and ceramic kitchen floor tile determines whether your investment lasts decades or requires premature replacement. While both materials start with clay, porcelain undergoes firing at temperatures exceeding 2,200°F, creating a denser, less porous surface with superior durability. This manufacturing process results in water absorption rates below 0.5% for porcelain compared to 3-7% for standard ceramic tiles, making porcelain significantly more resistant to stains, moisture damage, and thermal shock.
The Porcelain Enamel Institute (PEI) rating system reveals another crucial distinction. Most porcelain tiles achieve Class IV or V ratings, indicating exceptional resistance to surface abrasion and scratching. Ceramic tiles typically max out at Class III, suitable for moderate traffic but potentially showing wear patterns in high-activity kitchens. A family with three children and two dogs discovered this difference firsthand when their ceramic kitchen floor showed noticeable wear paths within two years, while neighbors who installed porcelain in similar conditions maintained pristine surfaces after five years of heavy use.
Key factors to evaluate:
The investment difference between ceramic and porcelain often pays for itself through reduced maintenance costs and extended lifespan. While ceramic might save 20-30% upfront, porcelain’s superior performance characteristics make it the preferred choice for discerning homeowners who prioritize long-term value over initial savings.
Beyond the manufacturing differences, natural stone presents an entirely different set of considerations that blend timeless beauty with specific care requirements.
Natural stone kitchen floor tile offers unmatched character and luxury, with each piece telling a unique geological story through distinctive veining, color variations, and surface textures. Materials like granite, marble, travertine, and slate can increase perceived home value by 5-8% while creating an authentic, high-end aesthetic impossible to replicate with manufactured alternatives. However, this beauty comes with specific maintenance obligations that must align with your lifestyle and commitment level.
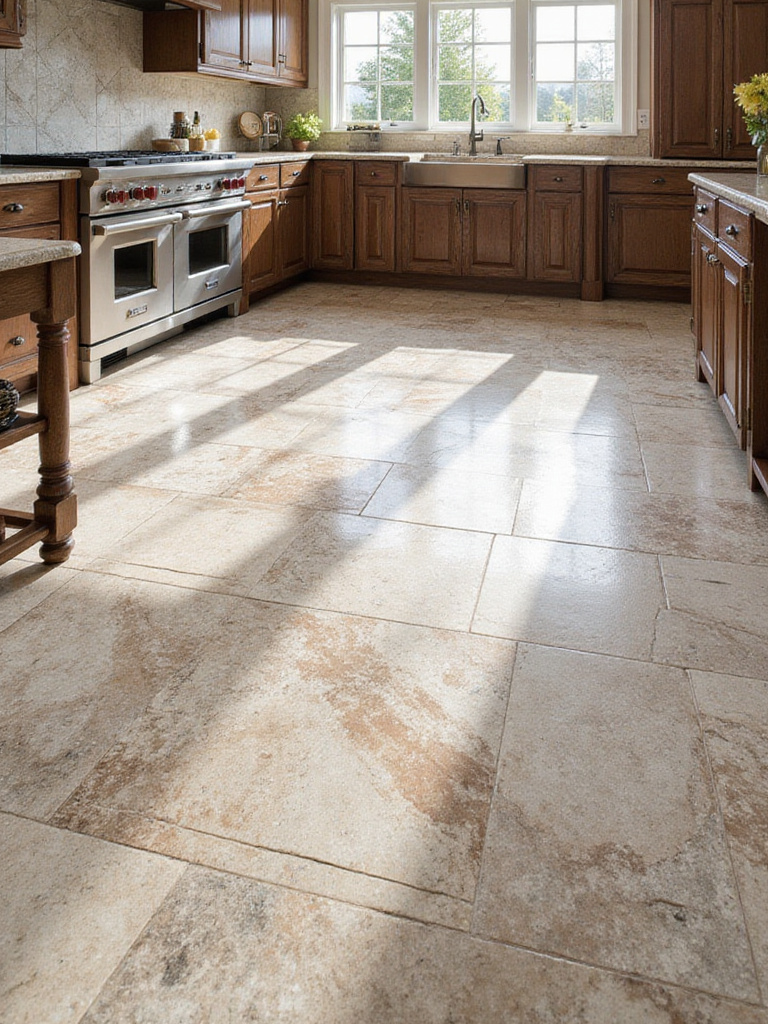
The Mohs hardness scale reveals critical performance differences among stone types. Granite rates 6-7, providing excellent durability for kitchen environments, while marble’s 3-4 rating makes it susceptible to etching from common acidic substances like lemon juice, vinegar, or wine. Porosity levels vary dramatically—dense granite may require sealing every 3-5 years, while porous travertine needs attention every 6-12 months. A restoration specialist shared that 80% of natural stone damage results from inadequate sealing and improper cleaning products, emphasizing the importance of understanding your stone’s specific requirements.
Essential maintenance requirements:
Professional installation becomes even more critical with natural stone, as improper substrate preparation or sealing can lead to costly repairs within the first year. One homeowner’s experience illustrates this perfectly: their properly sealed and maintained Carrara marble kitchen floor remains stunning after eight years, while a friend’s inadequately sealed limestone required complete refinishing after just 18 months due to widespread staining and etching.
For homeowners seeking stone’s aesthetic appeal without intensive maintenance, luxury vinyl tile offers compelling alternatives that deserve serious consideration.
Luxury Vinyl Tile (LVT) has revolutionized kitchen floor tile by delivering authentic wood and stone appearances through advanced digital printing and embossing technologies, while eliminating the vulnerabilities of natural materials. Modern LVT achieves such realistic textures and patterns that even flooring professionals sometimes need close inspection to distinguish high-quality products from genuine hardwood or stone. This innovation allows homeowners to enjoy coveted aesthetics without worrying about water damage, scratching, or complex maintenance routines.
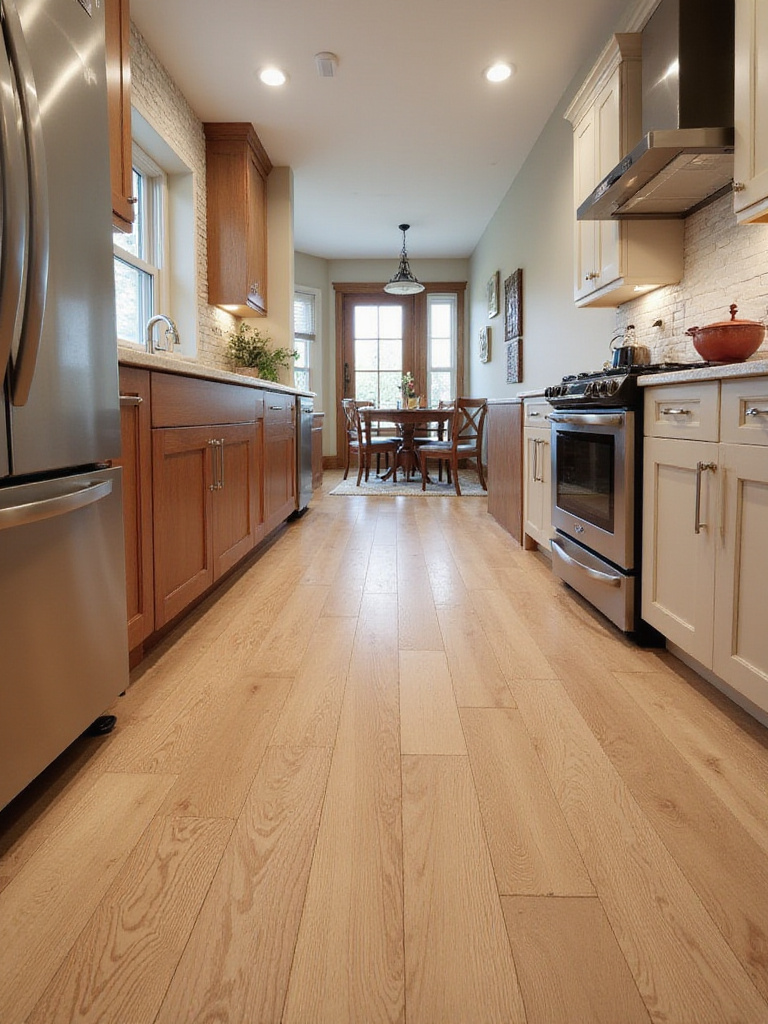
The technical specifications of quality LVT reveal impressive performance characteristics. Premium products feature wear layers of 12-28 mils thickness, providing exceptional scratch and dent resistance that often exceeds natural materials. The waterproof construction makes LVT ideal for kitchen environments where spills and humidity are constant concerns. Stone Plastic Composite (SPC) and Wood Plastic Composite (WPC) core technologies add dimensional stability and impact resistance, preventing the expansion and contraction issues that plague some flooring materials.
Performance advantages of quality LVT:
Installation flexibility represents another significant advantage. Unlike natural materials requiring perfect substrate conditions, LVT can often install directly over existing floors, reducing renovation time and costs. A busy family with young children chose 28-mil wear layer LVT resembling reclaimed oak, and after three years of heavy use, the floor shows no visible wear while providing the warmth and character they desired without the maintenance concerns of real hardwood.
While LVT excels in performance, traditional ceramic options offer their own advantages, particularly when considering surface treatments that impact safety.
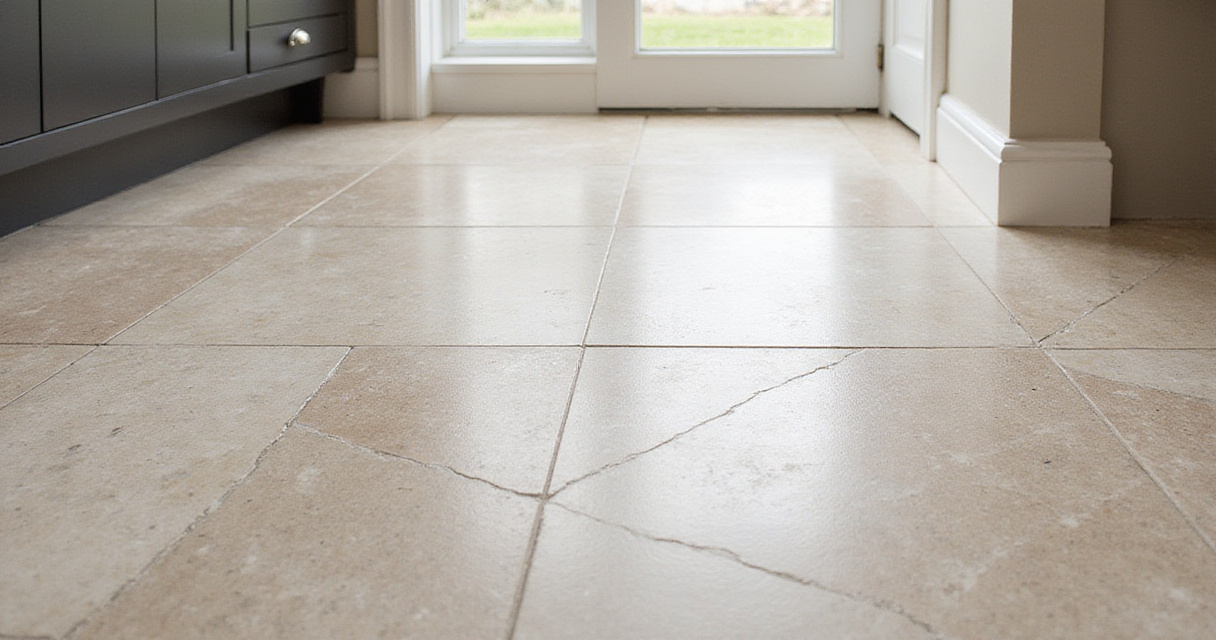
The choice between glazed and unglazed kitchen floor tile directly impacts both safety and maintenance, making this decision crucial for busy culinary spaces where spills and moisture are inevitable. Glazed tiles feature a glass-like coating that provides stain resistance and enables countless design possibilities, from high-gloss finishes to subtle textures. Unglazed tiles showcase the natural material throughout, offering inherent slip resistance through their porous, textured surfaces that provide superior grip even when wet.
Safety considerations center on the Dynamic Coefficient of Friction (DCOF) rating, which measures slip resistance under wet conditions. The ANSI A326.3 standard recommends DCOF ratings of 0.42 or higher for interior wet areas, but kitchen environments benefit from ratings of 0.50 or above. Unglazed tiles naturally achieve higher DCOF ratings due to their textured surfaces, while glazed tiles require specific surface treatments or textures to meet safety standards. A textured or matte glazed finish can provide the best of both worlds—stain resistance with adequate slip resistance.
Safety and maintenance factors:
Professional testing reveals that accidents decrease by up to 60% when proper slip-resistant surfaces replace smooth, glossy tiles in kitchen environments. One family replaced their polished ceramic tiles after several minor falls, choosing textured unglazed porcelain with a DCOF of 0.58. The improvement in confidence and safety was immediate, particularly for elderly family members who previously avoided the kitchen during meal preparation due to safety concerns.
Traditional materials like terracotta offer unique aesthetic possibilities while naturally providing the slip resistance modern kitchens require.
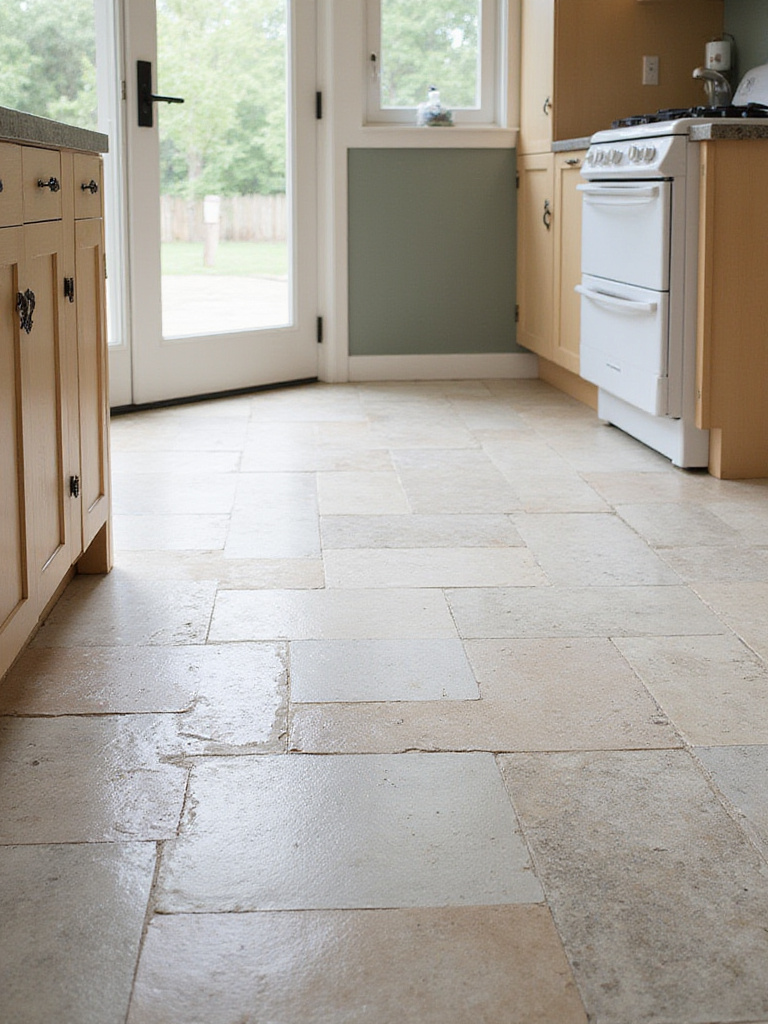
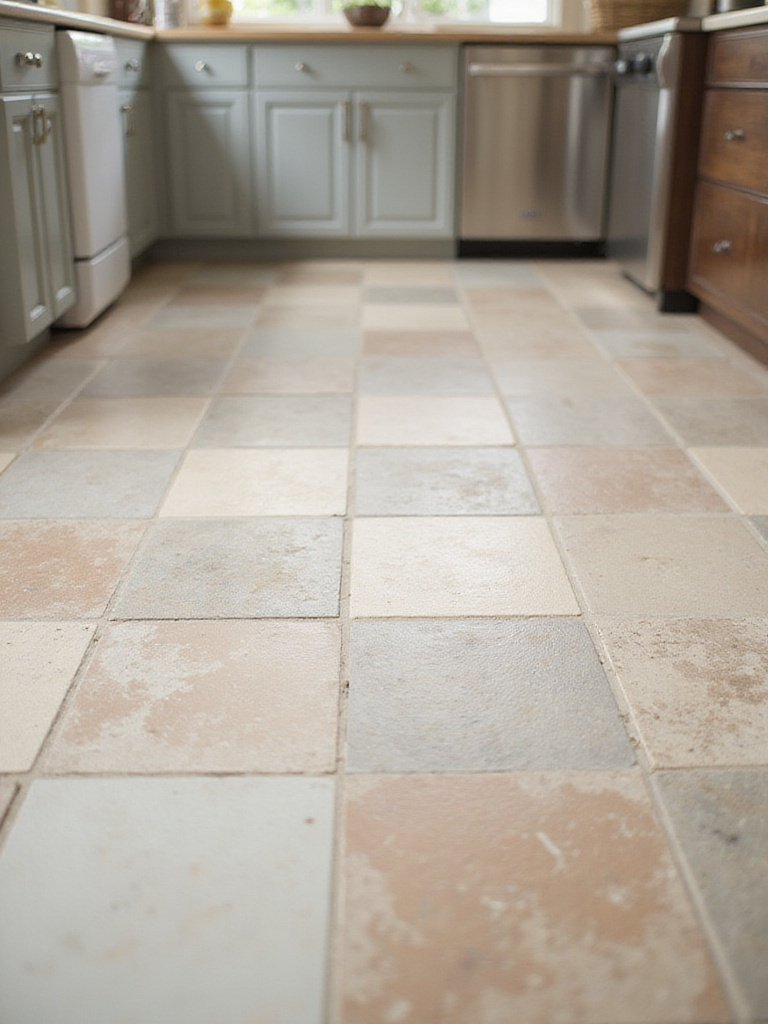
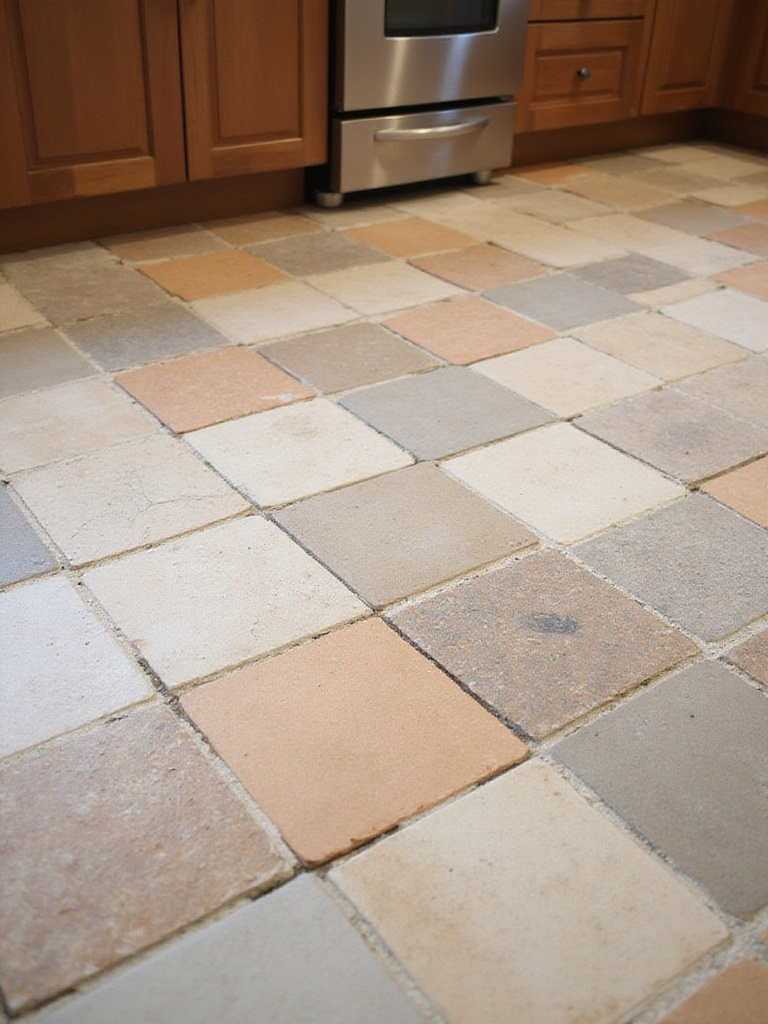
Terracotta and quarry tiles bring authentic rustic charm to kitchen floor tile installations, offering warm earth tones and natural textures that create inviting, lived-in atmospheres perfect for farmhouse, Mediterranean, or traditional design schemes. These unglazed clay tiles develop beautiful patinas over time, with subtle color variations and surface changes that enhance rather than detract from their appearance. The inherent irregularities and handcrafted qualities make each installation unique, creating floors with genuine character impossible to achieve with manufactured alternatives.
The natural slip resistance of unglazed terracotta and quarry tiles makes them excellent choices for kitchen safety, typically achieving DCOF ratings of 0.50 or higher without additional treatments. Their porous nature requires proper sealing, but this same characteristic allows them to breathe and regulate moisture naturally. Installation demands attention to substrate preparation and sealing techniques, as these materials are more forgiving of minor imperfections while requiring protection from stains and moisture penetration.
Installation and maintenance considerations:
A historic farmhouse renovation showcased the timeless appeal of reclaimed terracotta tiles, creating a kitchen floor that perfectly complemented period fixtures while providing modern durability. The homeowners embraced the natural variations and developing patina, finding that minor imperfections and wear patterns enhanced the authentic character. After five years, the floor has developed a rich, varied surface that tells the story of daily family life while maintaining structural integrity.
Whether choosing traditional materials or modern alternatives, prioritizing slip resistance remains fundamental to kitchen safety.
Slip resistance represents the most critical safety feature for kitchen floor tile, as cooking environments generate frequent spills, splashes, and moisture that can transform even moderately safe surfaces into hazardous conditions. The Dynamic Coefficient of Friction (DCOF) provides the standard measurement, with ratings of 0.42 meeting minimum requirements and 0.50+ offering optimal safety margins. Understanding and prioritizing these ratings can prevent serious injuries while ensuring confident movement throughout your culinary workspace.
Surface texture, material composition, and finish type all influence slip resistance performance. Unglazed porcelain, textured ceramic, and natural stone typically achieve higher DCOF ratings than polished or glossy finishes. However, modern manufacturing techniques now produce glazed tiles with structured surfaces that maintain stain resistance while providing excellent grip. Grout lines also contribute to overall traction, with wider spacing (3/16″ or more) creating additional non-slip surfaces throughout the floor.
Slip resistance optimization strategies:
Real-world testing demonstrates the importance of proper slip resistance. A family with elderly parents living in their home replaced smooth ceramic tiles with textured porcelain after a serious fall incident. The new floor, with a DCOF rating of 0.62, eliminated safety concerns and restored confidence in kitchen mobility. Emergency room data shows that proper slip-resistant flooring can reduce kitchen fall injuries by up to 70%, making this investment both practical and potentially life-saving.
Beyond surface safety, protecting the structural elements beneath your tiles requires careful attention to water resistance.
Water resistance in kitchen floor tile systems extends far beyond the tiles themselves, encompassing the entire assembly from subfloor to surface finish. Proper water resistance prevents costly subfloor damage, mold growth, and structural compromise that can result from moisture penetration through inadequate installations. The average water damage claim exceeds $10,000, making comprehensive moisture protection a wise investment that protects both your flooring and your home’s structural integrity.
Porcelain tiles offer superior water resistance with absorption rates below 0.5%, significantly outperforming ceramic tiles that may absorb 3-7% of their weight in water. However, tile selection represents only one component of water resistance. Professional installations include waterproofing membranes, proper vapor barriers, and sealed grout systems that create comprehensive moisture protection. Uncoupling membranes like Schluter-DITRA provide both waterproofing and crack isolation, protecting against both moisture and structural movement.
Complete water resistance system components:
Installation quality determines system effectiveness more than material selection alone. One homeowner experienced significant subfloor damage when their contractor skipped the waterproofing membrane, despite using high-quality porcelain tiles. Water penetration through grout lines caused $15,000 in structural repairs within two years. Conversely, a properly installed system with membrane protection successfully contained a major appliance leak, preventing any subfloor damage and validating the investment in comprehensive water resistance.
With moisture protection established, selecting finishes that simplify daily maintenance becomes the next priority for busy kitchens.
Choosing easy-clean finishes for kitchen floor tile dramatically reduces daily maintenance time while maintaining hygienic conditions essential for food preparation areas. Smooth, non-porous surfaces prevent spills and grime from adhering or penetrating, enabling quick cleanup with simple tools and mild cleaners. The right finish selection can reduce cleaning time by 25-30% while preserving the floor’s appearance and extending its functional lifespan through reduced wear from aggressive cleaning methods.
Glazed porcelain tiles with PEI ratings of III or higher offer optimal easy-clean properties, combining stain resistance with durability. Rectified edges enable thinner grout lines (1/16″ to 1/8″), reducing the total porous surface area that requires maintenance. Epoxy grout systems provide non-porous alternatives to traditional cement-based grouts, virtually eliminating staining and bacterial growth while maintaining color consistency over time.
Easy-clean optimization features:
Surface texture requires careful balance between cleanability and slip resistance. Micro-textured finishes provide adequate grip while remaining easy to clean, avoiding the deep textures that trap dirt and grease. A busy family with young children chose large-format glazed porcelain with subtle texture and 1/8″ grout lines, reducing their daily floor cleaning from 15 minutes to under 5 minutes while maintaining superior appearance and safety.
Understanding how PEI ratings translate to real-world durability helps ensure your easy-clean surfaces maintain their performance over time.
PEI (Porcelain Enamel Institute) ratings provide standardized measurements of ceramic and porcelain tile durability, indicating how well surfaces resist abrasion and wear from foot traffic. These ratings range from Class 0 (wall use only) to Class V (heavy commercial applications), with most residential kitchens requiring Class III (moderate traffic) or Class IV (heavy traffic) for optimal longevity. Understanding and applying PEI ratings prevents premature wear and maintains aesthetic appeal throughout your floor’s lifespan.
Class III tiles suit most residential kitchens with normal family traffic, while Class IV provides enhanced durability for busy households with children, pets, or frequent entertaining. Class V ratings indicate commercial-grade durability that exceeds most residential requirements but may be worthwhile for extremely high-traffic situations. The rating specifically measures surface abrasion resistance, not impact resistance or slip resistance, making it one component of comprehensive tile selection rather than the sole determining factor.
PEI rating application guidelines:
Traffic assessment requires honest evaluation of your kitchen’s actual usage patterns. A couple who initially selected Class III tiles for their kitchen discovered visible wear patterns within 18 months due to their large dog’s daily traffic and frequent entertaining. Upgrading to Class IV tiles during their next renovation eliminated wear concerns and maintained consistent appearance after five years of similar usage patterns.
With durability established, grout line selection becomes crucial for both visual impact and long-term performance.
Grout line width and color selection dramatically influence the visual perception of kitchen floor tile installations, affecting everything from apparent room size to pattern emphasis and overall aesthetic cohesion. Strategic grout line planning can make small kitchens appear larger, highlight beautiful tile patterns, or create seamless surfaces that emphasize continuity over individual tile definition. These decisions impact both immediate visual appeal and long-term maintenance requirements.
Narrow grout lines (1/16″ to 1/8″) create seamless appearances that emphasize tile patterns and make spaces feel larger, while wider lines (3/16″ to 1/4″) provide structural benefits and can enhance slip resistance. Color matching between grout and tile minimizes visual interruption, while contrasting colors define individual tiles and create geometric patterns. Rectified tiles enable the narrowest possible grout lines, maximizing the seamless effect while maintaining structural integrity.
Grout line planning considerations:
Digital visualization tools help predict final appearances before installation begins. Many manufacturers offer online tools that show different grout colors and widths with specific tile selections. One homeowner used these tools to discover that their preferred dark grout created an overly busy pattern with their chosen mosaic tiles, leading them to select a toning grout that maintained definition while creating a more sophisticated overall appearance.
Grout line strategy works hand-in-hand with tile size selection to optimize spatial perception and visual flow.
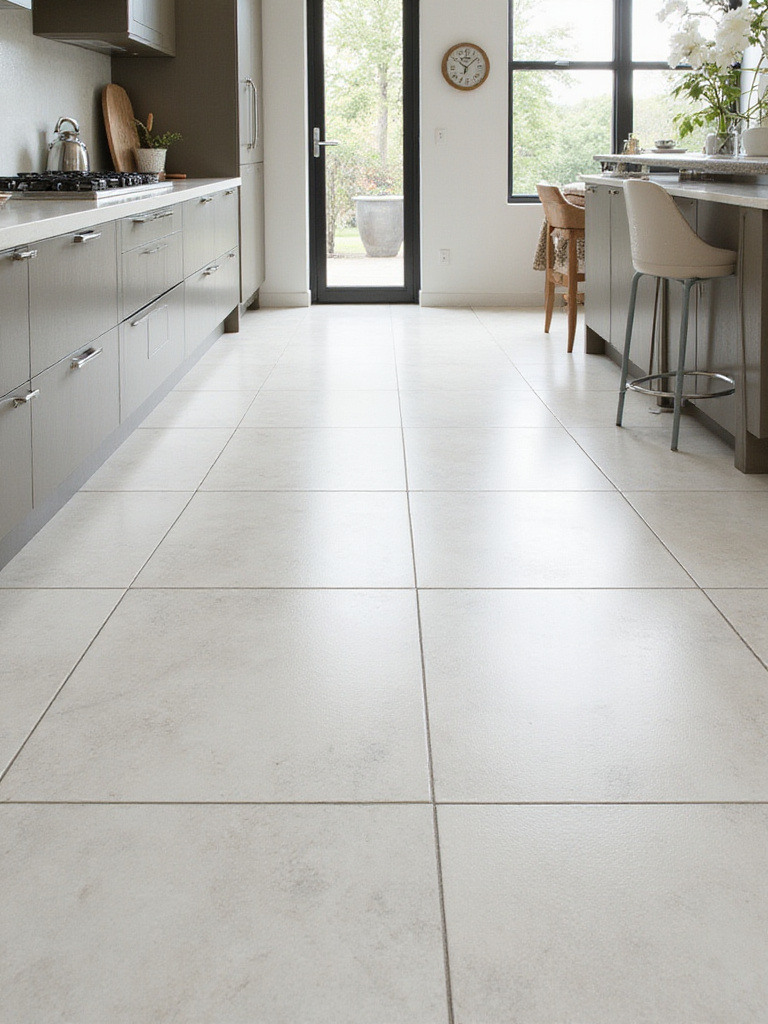
Tile size selection profoundly influences spatial perception in kitchen floor tile installations, with larger formats creating fewer grout lines and more continuous surfaces that make rooms appear more spacious and less cluttered. This effect becomes particularly important in smaller kitchens where every design decision impacts the sense of openness and flow. Large format tiles (12″x24″, 24″x24″, or larger) can increase perceived floor area by 20-30% compared to smaller traditional sizes.
The mathematical relationship between tile size and grout lines reveals the visual impact: a 100-square-foot floor using 12″x12″ tiles requires approximately 200 linear feet of grout lines, while the same area using 24″x24″ tiles needs only 100 linear feet. This reduction in visual interruption creates cleaner, more expansive appearances that particularly benefit compact spaces. Rectangular formats like 12″x24″ or 16″x32″ can emphasize length or width depending on installation orientation.
Size selection strategies:
Installation considerations become more critical with larger tiles, requiring perfectly flat substrates and skilled labor to prevent lippage and ensure proper alignment. A galley Kitchen renovation demonstrated this principle perfectly: replacing 8″x8″ tiles with 24″x48″ planks transformed the cramped corridor feeling into an open, flowing space that felt nearly twice as large despite identical square footage.
Tile size decisions must coordinate with color scheme selection to create cohesive, harmonious kitchen environments.
Successful color coordination between kitchen floor tile and existing elements creates cohesive, professionally designed spaces that feel intentional and balanced rather than accidentally assembled. Understanding color undertones, temperature relationships, and proportional balance enables confident selections that enhance rather than compete with cabinetry, countertops, and wall treatments. This coordination can increase perceived home value by 5-10% through improved aesthetic appeal and design sophistication.
Color temperature matching prevents clashing between warm and cool undertones that can create uncomfortable visual tension. Warm undertones (yellow, red, orange) pair naturally with similar warm elements, while cool undertones (blue, green, purple) complement cool color schemes. The 60-30-10 design rule provides helpful proportional guidance: dominant color (60%), secondary color (30%), and accent color (10%) create balanced, pleasing compositions that avoid overwhelming any single element.
Color coordination principles:
Lighting dramatically affects color perception, making in-situ testing essential for accurate selection. Natural daylight, warm artificial lighting, and cool LED illumination can make the same tile appear significantly different. One homeowner discovered this when their “perfect” gray tile appeared blue-toned under their kitchen’s LED lighting, creating an unwanted cool contrast with their warm wood cabinets. Testing multiple samples under all lighting conditions prevented this costly mistake.
Color coordination extends to pattern integration, where thoughtful design can add visual interest while maintaining safety and functionality.
Patterned kitchen floor tile offers opportunities to create stunning focal points and express personal style while maintaining the safety and functionality essential for culinary spaces. Strategic pattern integration can define specific areas, create visual movement, and add sophisticated design elements that elevate the entire kitchen’s aesthetic appeal. However, successful pattern integration requires careful balance between visual impact, slip resistance, and long-term livability.
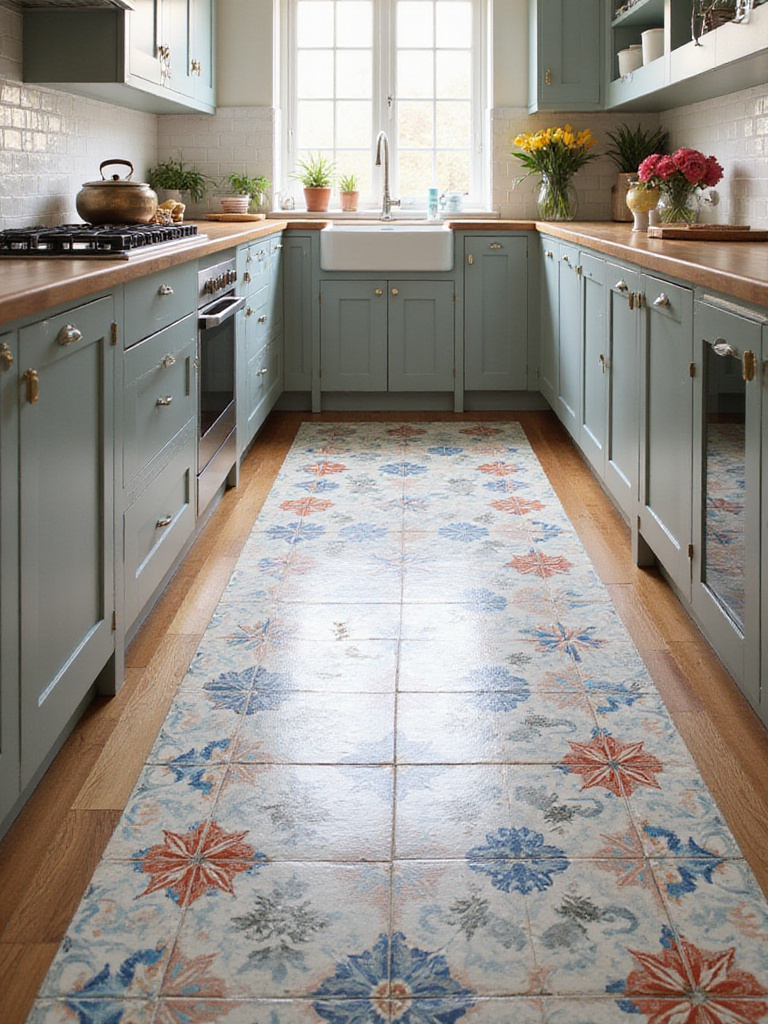
Pattern scale must relate appropriately to room size and lighting conditions. Large, bold patterns can overwhelm small kitchens, while subtle patterns may disappear in expansive spaces. Geometric patterns like hexagons, chevrons, or basketweave create structured visual interest, while organic patterns offer softer, more natural appeal. Safety considerations remain paramount—textured pattern surfaces typically provide better slip resistance than smooth alternatives, making them ideal for kitchen applications.
Pattern integration strategies:
Creative installation techniques like “tile rugs” allow pattern integration without overwhelming entire spaces. Installing patterned tiles in specific zones—beneath islands, in breakfast nooks, or as transition areas—creates focal points while maintaining neutral backgrounds. A modern farmhouse kitchen used black and white geometric patterns under their large island, creating a stunning focal point that defined the cooking zone while allowing the rest of the floor to remain visually calm.
Pattern considerations naturally lead to comfort enhancements like radiant heating that transform kitchen experiences.
Radiant floor heating transforms kitchen floor tile from merely functional to luxuriously comfortable, providing even warmth that eliminates cold spots and creates inviting environments for extended cooking and socializing. This system heats the floor surface directly, radiating warmth upward to create comfortable ambient temperatures while using 15-30% less energy than traditional forced-air heating. The consistent temperature distribution makes standing and working in the kitchen more comfortable, particularly during cold seasons.
Electric radiant systems use thin heating mats or cables installed beneath the tile, making them ideal for renovation projects and single-room applications. Hydronic systems circulate heated water through tubing networks, offering greater efficiency for whole-house installations but requiring more complex installation. Both systems require careful planning, proper insulation, and compatible flooring materials. Tile and stone provide excellent thermal conductivity, making them ideal partners for radiant heating systems.
Radiant heating implementation:
Installation timing becomes critical for radiant heating integration. The system must be installed and tested before tile installation begins, with proper encapsulation in self-leveling underlayment to ensure even heat distribution. A Minnesota family added electric radiant heating during their kitchen renovation, transforming their previously cold tile floor into a warm, welcoming surface that encouraged family gathering and reduced overall heating costs by 20%.
Comfort enhancements like radiant heating require careful budget planning to ensure comprehensive project success.
Comprehensive budget planning for kitchen floor tile projects prevents financial surprises and enables informed decision-making throughout the renovation process. Accurate cost estimation encompasses not only tile materials but also all installation supplies, labor costs, and potential contingencies that can significantly impact total project expenses. Professional contractors report that homeowners who create detailed budgets experience 25% fewer project delays and cost overruns.
Material costs extend beyond tile pricing to include adhesives, grout, underlayment, transition strips, and sealing products. Labor costs vary significantly based on tile complexity, substrate conditions, and regional market rates. Hidden costs often include subfloor preparation, disposal fees, temporary kitchen arrangements, and potential permit requirements. Adding 15-20% contingency allowances accommodates unexpected discoveries and change orders that commonly arise during renovation projects.
Comprehensive budget components:
Detailed quotes from multiple suppliers and contractors provide realistic cost baselines for comparison shopping and negotiation. One homeowner’s meticulous budgeting revealed that premium tiles with longer warranties actually provided better value than mid-range options when total lifecycle costs were considered. Their detailed planning enabled strategic splurges on key elements while maintaining overall budget discipline.
Accurate budgeting supports proper subfloor preparation, the foundation of successful tile installations.
Proper subfloor preparation represents the most critical factor determining kitchen floor tile installation success, as inadequate preparation causes the majority of premature tile failures including cracking, lippage, and grout deterioration. Professional preparation ensures level, stable, and moisture-resistant foundations that support tile systems for decades rather than years. The investment in proper preparation typically costs 15-20% of total project budgets but prevents 80% of common installation failures.
Structural assessment begins with deflection testing using straightedges and measuring tools to identify high spots, low spots, and excessive movement. Wood subfloors require secure fastening every 6-8 inches with construction screws to eliminate squeaks and movement. Concrete substrates need moisture testing and potential sealing to prevent vapor transmission. Self-leveling underlayment corrects variations exceeding 1/8 inch over 10 feet, creating the flat surfaces essential for large format tiles.
Preparation requirements:
Professional installation of uncoupling membranes like Schluter-DITRA provides both waterproofing and crack isolation, protecting tile installations from substrate movement and moisture penetration. A contractor’s experience illustrates the importance: installations with proper preparation and uncoupling membranes show virtually no callbacks after five years, while shortcuts in preparation result in 40% callback rates within two years for crack and grout repairs.
Proper preparation supports effective grout sealing, essential for maintaining hygienic and attractive kitchen environments.
Professional grout sealing creates protective barriers that prevent stains, moisture penetration, and bacterial growth in kitchen floor tile installations, preserving both appearance and hygiene throughout the floor’s lifespan. Unsealed grout absorbs spills, harbors bacteria, and develops permanent discoloration that requires costly replacement or restoration. Proper sealing techniques can extend grout life by 5-10 years while maintaining original color and cleanliness with minimal maintenance.
Penetrating sealers soak into grout pores to create invisible barriers without altering appearance, while topical sealers form surface films that may wear or peel over time. Application timing is critical—grout must cure completely (typically 24-72 hours) before sealing, and surfaces must be perfectly clean and dry. Quality sealers require reapplication every 1-3 years depending on traffic and exposure, making this an ongoing maintenance commitment rather than a one-time treatment.
Sealing best practices:
Application technique determines sealing effectiveness and appearance. Using applicator bottles with roller tips enables precise application along grout lines while minimizing waste and tile contamination. A homeowner who consistently resealed their grout every two years maintained pristine white grout lines for over 15 years, while neighbors who skipped sealing required complete grout replacement after just five years due to permanent staining and deterioration.
Even with proper sealing, occasional repairs become necessary to maintain optimal floor appearance and performance.
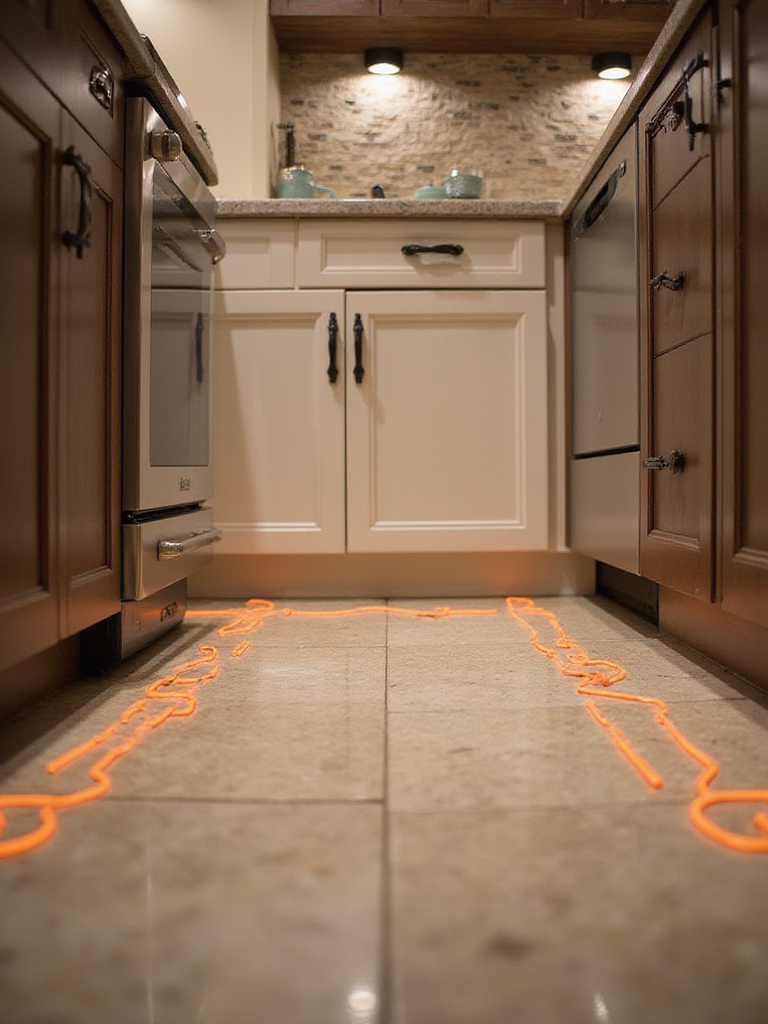
Prompt repair of chipped or cracked kitchen floor tile prevents minor damage from becoming major problems while maintaining the floor’s aesthetic appeal and structural integrity. Small chips and hairline cracks can allow moisture penetration that leads to subfloor damage, mold growth, and extensive repair requirements. Professional repair techniques can restore damaged areas to near-invisible condition at 10-20% of replacement costs.
Repair material selection depends on damage type and severity. Color-matched repair compounds work well for surface chips, while epoxy resins provide structural repair for cracks. Thorough cleaning and preparation ensure proper adhesion, while careful application and finishing techniques create seamless repairs. Saving spare tiles from original installation enables perfect replacement when damage exceeds repair capabilities.
Repair methodology:
Professional repair techniques often involve multiple application stages to build up damaged areas gradually. A family noticed a hairline crack developing near their refrigerator and immediately applied clear epoxy filler, preventing moisture penetration and creating an virtually invisible repair. The prompt action prevented potential subfloor damage that could have required extensive and expensive remediation.
Successful repairs complement comprehensive maintenance programs that preserve tile beauty and performance over time.
Systematic maintenance of kitchen floor tile preserves both aesthetic appeal and structural integrity while minimizing long-term costs and replacement needs. Proper cleaning techniques prevent abrasive damage, protect grout systems, and maintain slip resistance throughout the floor’s lifespan. Well-maintained tile floors can retain their original appearance for 20+ years, while neglected floors may require replacement within 5-7 years due to preventable damage.

Daily dry cleaning removes abrasive particles before they can scratch surfaces or embed in grout lines. Weekly damp mopping with pH-neutral cleaners removes soil and maintains hygiene without damaging tile or grout systems. Bi-annual deep cleaning addresses accumulated grime and allows inspection for developing problems. Acidic or alkaline cleaners can damage both tile surfaces and grout systems, making product selection critical for long-term preservation.
Maintenance program elements:
Microfiber cleaning tools provide superior soil removal while minimizing water usage and residue. A family who implemented comprehensive maintenance routines maintained their porcelain tile installation in pristine condition for over 12 years, avoiding replacement costs while preserving their substantial initial investment. Their systematic approach demonstrates how proper care transforms flooring from consumable to permanent home improvement.
Professional maintenance techniques support the comprehensive approach needed for kitchen floor tile success.
Selecting and maintaining the perfect kitchen floor tile requires balancing multiple factors from durability and safety to aesthetics and budget considerations. These 19 expert strategies provide the foundation for making informed decisions that deliver both immediate satisfaction and long-term value. Whether you prioritize the timeless elegance of natural stone, the practical performance of porcelain, or the innovative benefits of luxury vinyl, understanding the principles behind each choice empowers confident decision-making.
The key to success lies in matching your specific needs, lifestyle, and preferences with appropriate materials and installation techniques. Consider your household’s traffic patterns, maintenance preferences, and design goals when evaluating options. Remember that initial investment in quality materials and professional installation typically provides better long-term value than budget alternatives that require premature replacement or extensive maintenance.
Transform your kitchen with confidence by applying these expert insights to create a floor that combines beauty, safety, and durability. Your kitchen floor tile selection will serve as the foundation for countless meals, memories, and moments of daily life—make it a choice that enhances every experience in your culinary sanctuary.